
I wanted to share a little peek behind the scenes around here. I’ve mentioned that I’m making a DVD with Hot Off The Press, focused on mixed-media techniques made easy. We’re playing with inks, stamps, paints, embellishments, sprays…you name it, we’re mixing it!
This project has been super-fun and a great learning experience as I’m designing the projects and filming them here as well. I get questions about this a lot—how I prepare pieces, where I film and how to organize something giant like this. So here’s what it’s been like today:
1.Wait until Anna and babysitter are out the door for a guaranteed few hours at the library. The house has to be quiet, so I’m kicking myself for starting a load of laundry! Prep while spin cycle wheezes in the background.
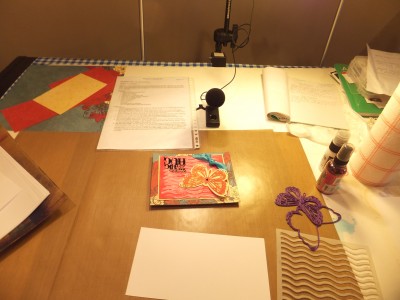
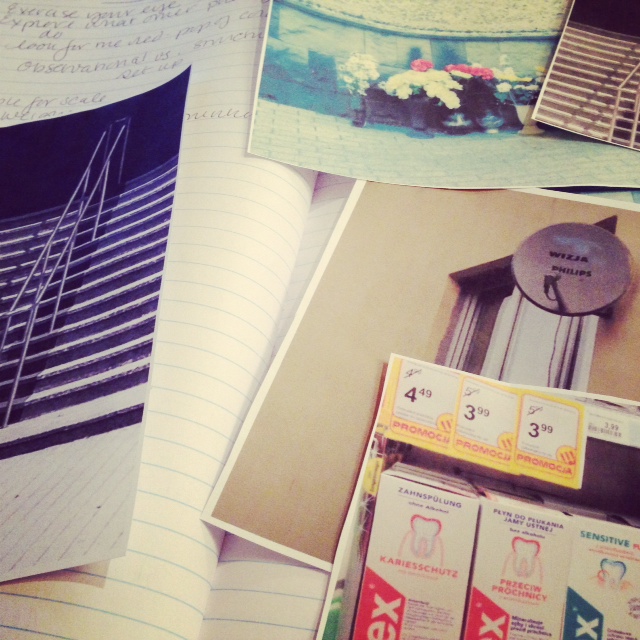
2. Organize pieces for filming. Besides the project itself, and the supply listing and instructions, I need to make step pieces. That way, I can play like a chef on TV and pull out a cooked chicken from the oven…except in my case, it’s paper with paint already dry. I always have a couple on hand for re-takes since you never know when the neighbor’s German Shepherd will go bonkerdoodles.
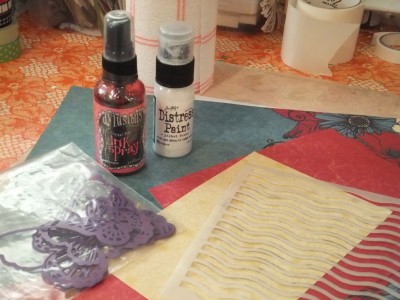
3. Set the stage. This gets to be second nature: When I’m filming, my notes are on my right with ink and spray; papers, stamps and embellishments on the left. That way I don’t have to grope around for things—I know right where they are. (This is also the time to double-check that the mike is on.)
4. Film. Then re-film. I rarely get it perfect (in my mind) on the first go, so it’s usually Take Two that I’m happy with. I also have a lot of false starts, where the intro sounds off or silly or too long-winded. Occasionally, as in the case of The Epic Painting Segment, I have more than two takes. More like nine! (None of which can be blamed on the German Shepherd.)
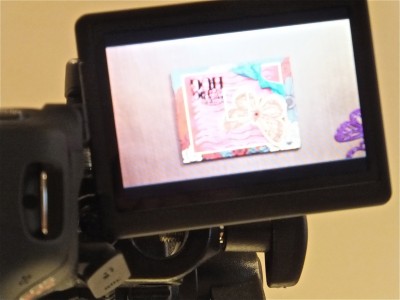
I can look up while filming to make sure the project is in the center of the camera.
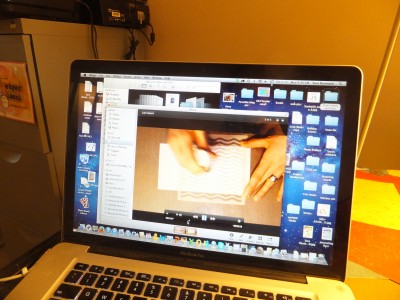
5. Download the video to my computer and check for sound and overall quality. Save it to my external hard drive and upload it to the HOTP server. Then film film film—I’ve got to take advantage of the empty house, so I usually film several segments in a row. Today I was above average with 8 segments filmed.
6. Spot-check all files and send them off. It takes a few hours to send the files across the wires (and miles) to HOTP, and this is when I have to do my least favorite part: Cleaning up! Papers, pens, inks…all go back in the stash for future segments. Stencils have to be cleaned, brushes and palette knives washed. (Well, you know what it’s like…)
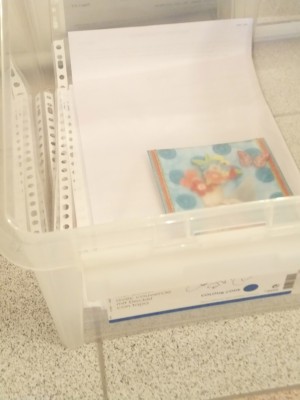
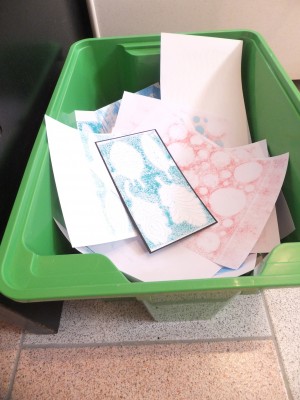
Finished projects go in sheet protectors and into the “mail to HOTP” bucket. Half-done step pieces go in the Extras Box, so I can use them for other projects later or use them to distract a certain three-year-old “helper”.
So today felt like a great day, with lots of progress on the DVD. My deadline is coming up so it feels good to click away—of course, I’ve been working on this since December, so it’s a practice I have down pat!
That’s the view from my studio today—what about you? Any processes you have down to a science?
Happy Monday!
Thanks for that behind the scenes! You always make it look so effortless! Love watching you and really miss your webisodes with Paulette! No one that has done it since has been quite the same!
Aw, thanks Janet! 🙂
Sara,
I am so excited to know you are doing the DVD
on Mixed Media….. Miss you… You are the one
that showed me how to have fun doing paper crafts, when I first started watching you on HOTP! I can’t wait for the release of your DVD !
I never really thought about how much work it takes to make these wonderful videos. It makes sense to have to have examples finished for every phase of the project otherwise there would be a lot of dead space waiting for paint/ink/material to dry on the video. The results make it all look so simple and easy and encourage me to want to try.
Thanks, Pam, for your kind words! 🙂 You made my day!
Yes, the idea of “as exciting as watching paint dry” does come to mind! 🙂 I’m glad you like the videos and thank you for your encouragement!