This week I’ve been experimenting with Ice Resin. I love Ice Resin for filling jewelry bezels, but hadn’t done much with it and paper. A long time ago, I tried coating vintage paper with Ice Resin and the result was ghastly (I was working in a hurry, which is never good) and I might have given up there but I’m glad I didn’t. Anyway, I broke out the IR to see what would happen if I coated Lazertran photos with it.
Okay, a bit of info first….
What’s Ice Resin? This is a jeweler’s grade two-part resin epoxy. You mix the two parts together, then pour it into jewelry bezels. It dries clear and with a rock-hard finish that won’t scratch. While you’ll see lots of examples of using this with jewelry, it can also be applied to paper. For example, coating a piece of vintage paper with Ice Resin will turn the paper translucent. It also gives a bit more body to the paper. The more layers of Ice Resin, the thicker the paper will become.
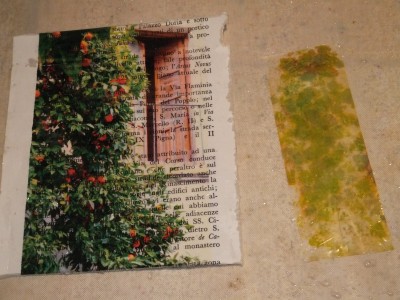
What’s a Lazertran photo? It’s a photo that’s been computer-printed onto Lazertran Waterslide Decal Paper. You then soak the photo in water until the decal separates. The result is the photo printed onto a wispy piece of plastic-y material; you can then glue it to whatever surface you want. (For a tutorial on using Lazertran, click here.) The photo will dry with sort of a whitish effect, which is great when you layer it onto text paper because it mutes the writing.
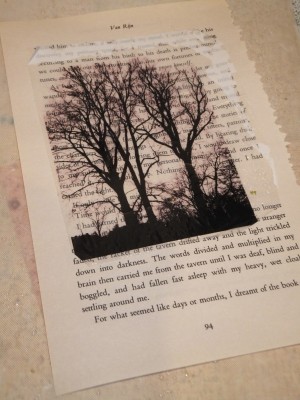
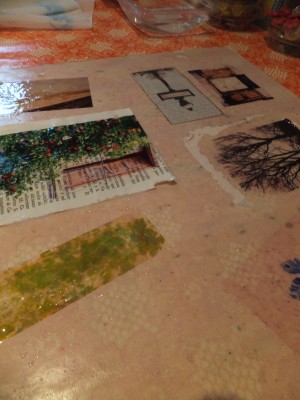
Well, I really wanted to see what this wispy plastic-y photo would look like with a coat of Ice Resin. I had a brief panic as I was applying the resin—Ice Resin doesn’t stick to plastic, which is why I can use a plastic garbage bag or a craft sheet as my work surface…and I thought, well, the Lazertran is kind of plastic-y so what if this is just a big disaster? But I applied it anyway and I think it’s super-amazing because it removes the whitish background so the photo is completely translucent…wow!
So, how to do this? Simple.
1) Mix up the Ice Resin according to the package instructions. I just do a little batch for coating papers.
2) Print a photo on Lazertran, soak it and dry it. Place it on a plastic garbage bag or craft sheet.
3) Cut a small piece of kitchen sponge (like 1/4 of the sponge) and dip it into the cup of mixed Ice Resin, then apply to the photo. Turn the photo over and coat the other side. Let dry for a few hours before touching.
After it’s dry, you can mix up another batch of Ice Resin and do it again…as often as you want, to get the thickness you want. With one coat or a couple of coats, my photo is still pliable and punchable and staple-able so you might want to think of what you’re going to do with it when it’s all done and lovely.
Now I’ve got pieces of Lazertran photos drying all over my two work surfaces, and I’m super-excited with the possibilities. I will also cheerfully admit that I am in a small minority of people who will get super-excited about this—I nattered on about the whole thing to Keith, who gamely tried to muster up some enthusiasm, with visible effort.
That’s what is on my desk this week!

