Today on Studio SN: How to Stencil with Faber-Castell Gelatos!
Stenciling with Faber-Castell Gelatos, what you need:
– Snow Cone Gelato Pigment Sticks (Faber-Castell)
– Greetings & Labels stamps (Hot Off The Press/Paper Wishes)
– Tiny Tags & Little Labels template (Hot Off The Press/Paper Wishes)
– Daisymania stencil (Judikins)
– Clear Matte Dull Regular embossing powder, Primary Bark (WOW Embossing)
– Embossing ink (Versamark)
– White acrylic paint
– Book paper
– Cardstock: Red, teal, white, kraft
– Brayer
– Check ribbon
– Baby wipes
Stenciling with Faber-Castell Gelatos, how to do it:
1. Paint a sheet of book paper with white acrylic paint. When dry, color entirely with Snow Cone Gelato. Use your finger to blend.
2. Place stencil on background. (Tape if you wish.) Use a damp baby wipe to remove the Gelato color through the stencil, constantly turning the baby wipe.
3. Brayer with embossing ink, taking care to roll only one direction with the brayer. Clean brayer between applications. Immediately sprinkle with clear embossing ink, tap off excess and heat-set.
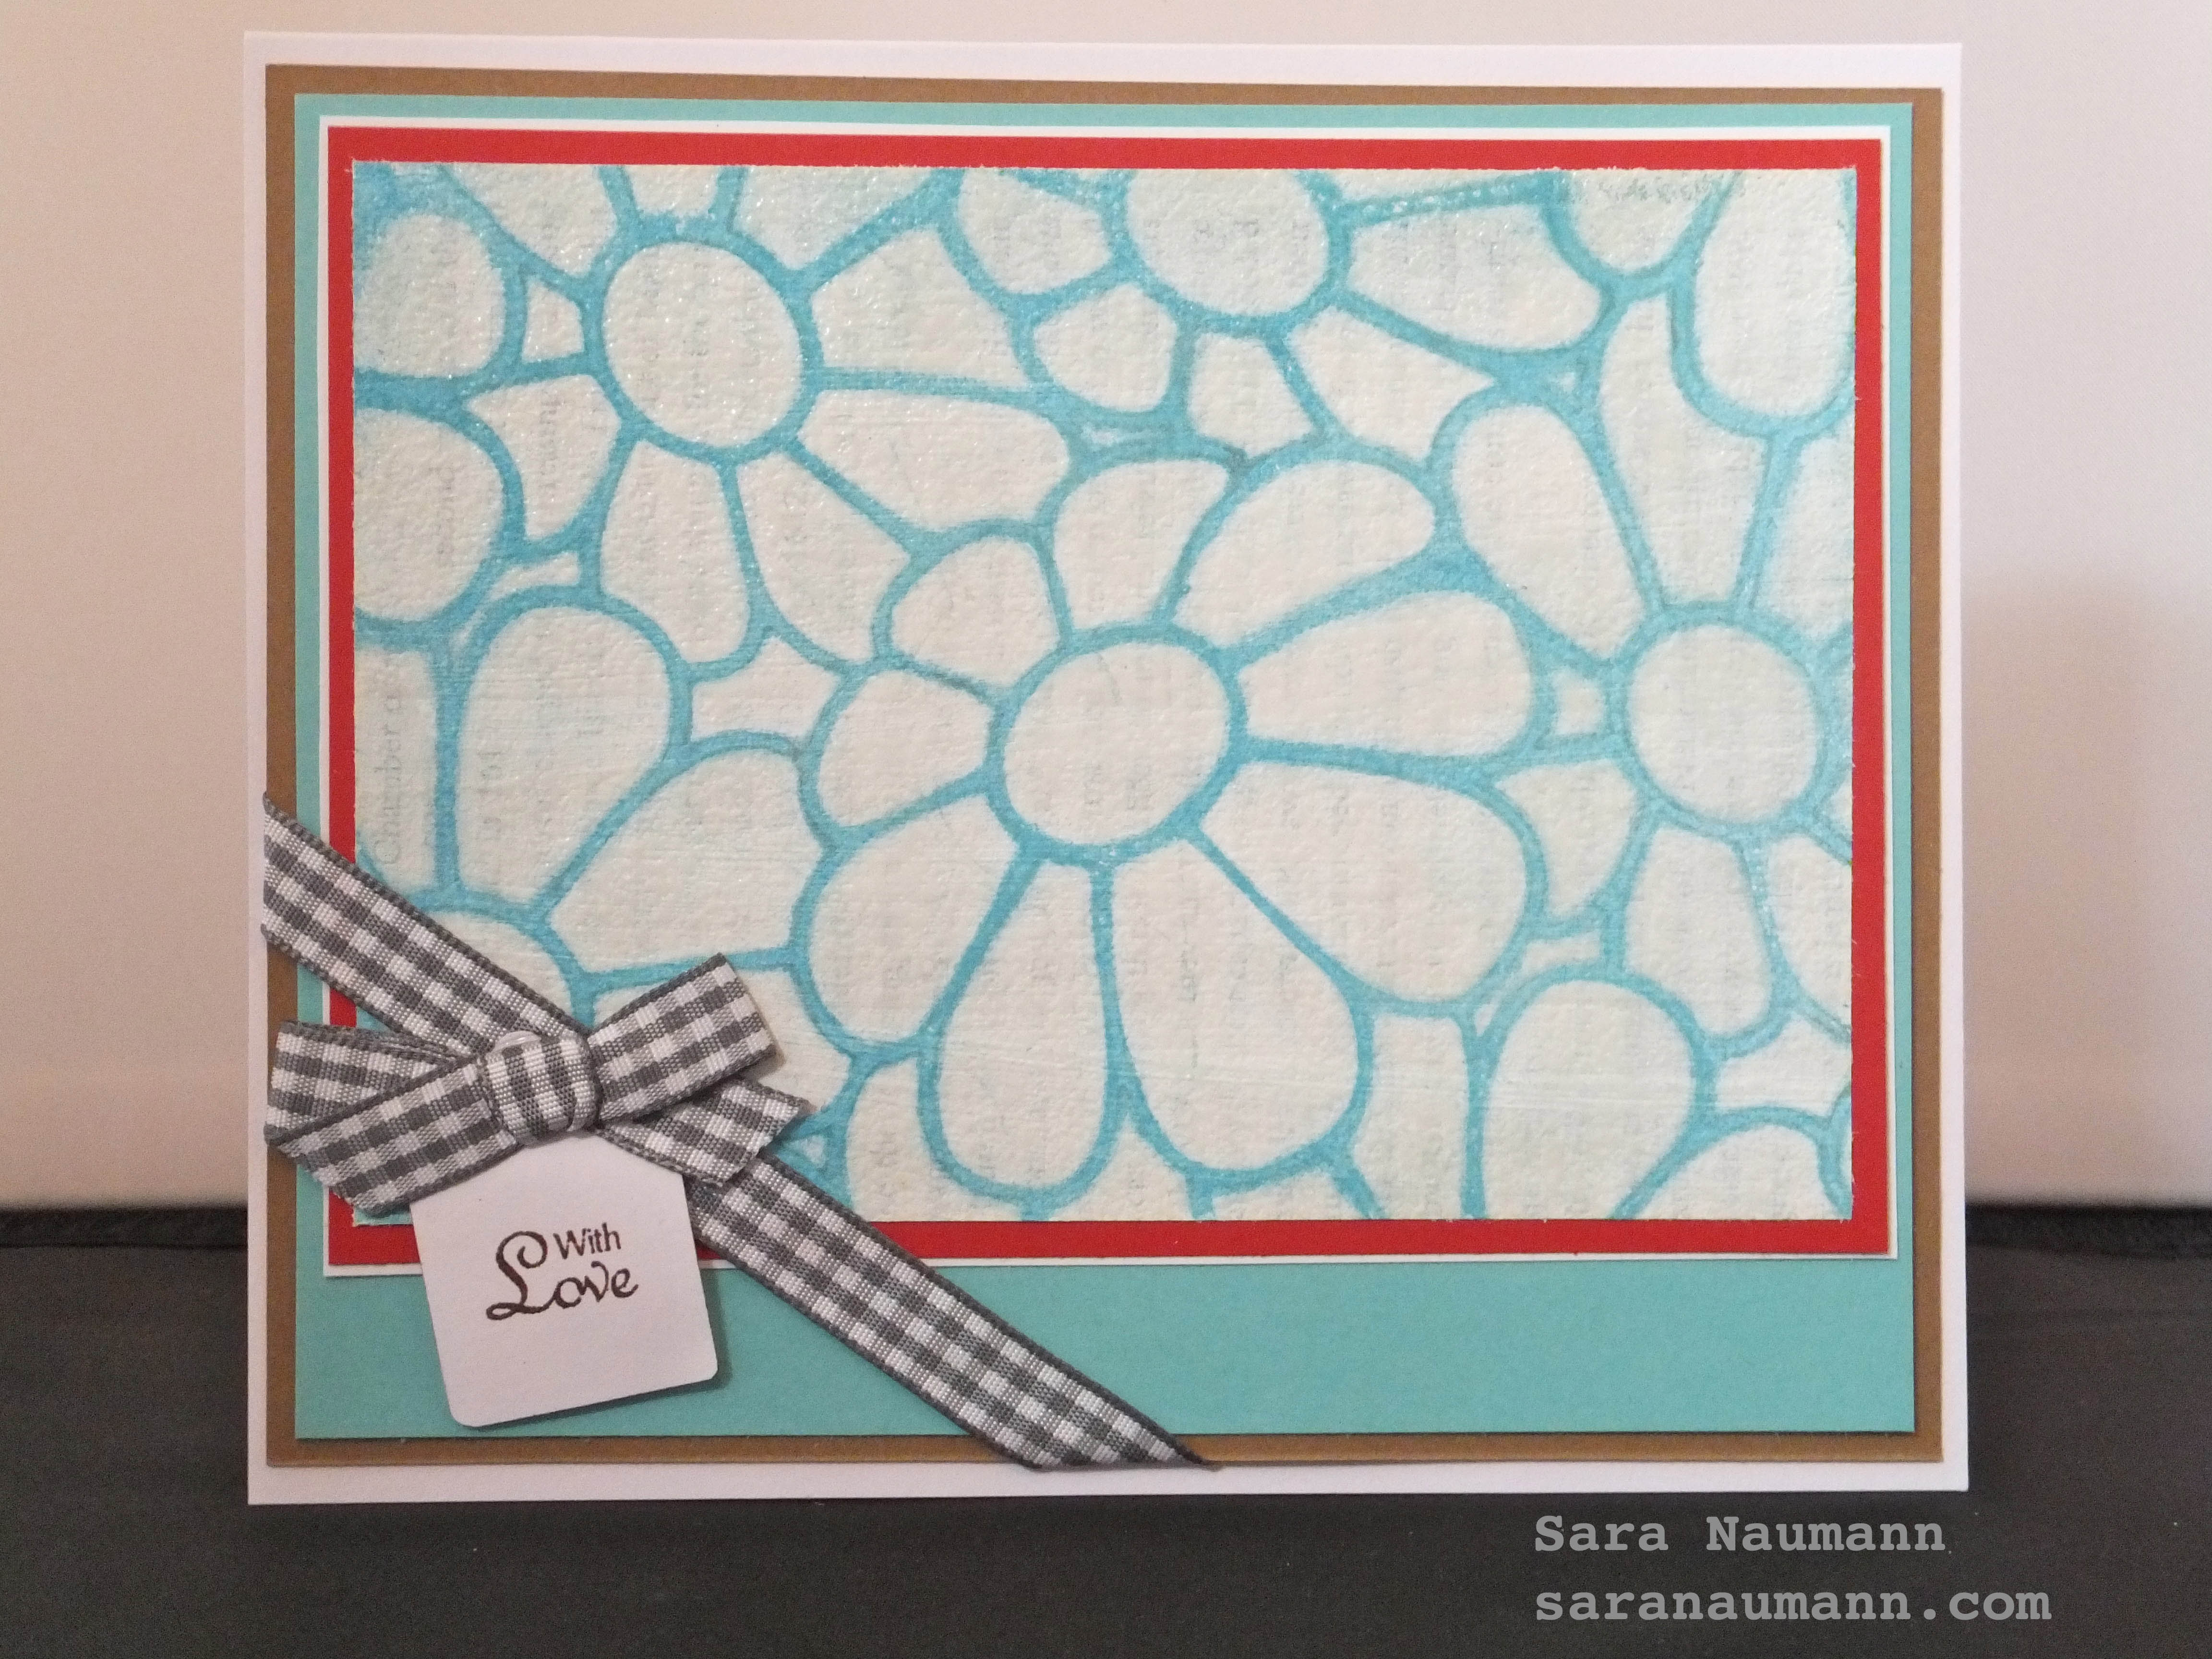
4. Mat onto red, white, teal and kraft cardstock. Wrap with check ribbon and add a bow. Stamp “with love” and emboss with Primary Bark, then use the template to cut it into a Squared Tag B shape. Glue as shown, then mount onto the card blank.
That’s it—easy! For a video tutorial, please visit Studio SN on You Tube to watch How to Stencil with Faber-Castell Gelatos!