
This week in the Studio SN show on You Tube: Packing tape transfers!
I adore this technique because it’s fast, easy, inexpensive…and it’s a great way to incorporate your own photos into your handmade cards. I know I’m not the only one who struggles with cards for guys, and I often find that a nice photo makes the perfect card focal.
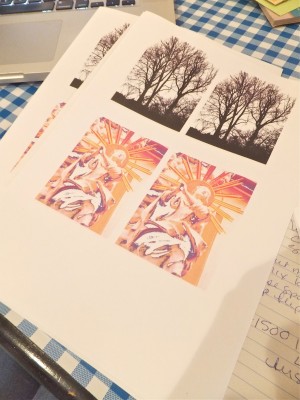
For this technique, you do need color copies of your photos. I’ve tried regular laser and inkjet prints from a home printer and the results are less than stellar, so instead I make a lot of color copies at the copy shop to have on hand.
Here are the basic steps:
1) Cut out one photo and cover the front completely with packing tape. Because the tape isn’t as wide as the photo, you’ll need to use two pieces of tape. Overlap them slightly.
2) Use a bone folder or the back of a spoon to burnish the tape, smoothing out air bubbles.
3) Turn the photo face down on your work surface (preferably a craft sheet) and spray with water, totally saturating it.
4) Let the water soak into the paper. Rub off the paper from the back of the photo. It does take some time to remove all the paper but the results are worth it. Oh—and if your hands get tired or you need a break from rubbing off paper, you can stop partway, then respray and carry on later.
5) Let dry, then attach to your paper! (The photo will still be a bit sticky but you might need to use a bit—just a bit—of glue stick to adhere the picture securely.)
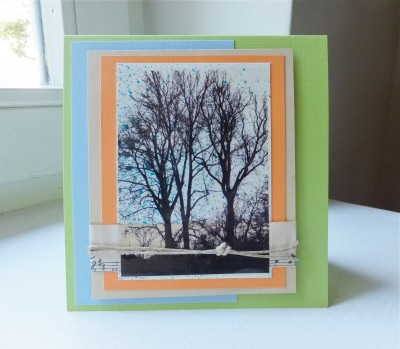
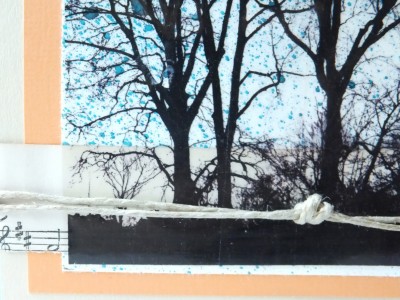
The fun part is in layering the photo onto a background and in this case, I sprayed a piece of cardstock with Dylusions color spray and put the photo on top. There’s a narrow strip of sheet music paper put down first, though—here’s a close-up:
Which photos work best for this technique? Those with color contrast, like the silhouette you see here, are ideal.
Catch the whole process in action over at Studio SN on You Tube! See you there!


Very creative.I love your idea.It gives idea to others also.
What kind of paper do you use to print on? Is it card stock or regular printer paper? I just love this transfer idea 🙂
Hi Darlene, so glad you like the idea! It’s one of those oldies-but-goodies. I print my photos onto regular computer printer paper at home, then (and this is the important part) I take them to the local copy shop and make color copies. I’ve tried doing the transfer right from the print I make on my printer, and the ink bleeds, so it’s best to get them professionally copied. I believe it has something to do with the kind of ink they use. Hope this helps! 🙂