
About white space: I love white space and clean, spare designs—just as much as I love inky and layered designs. When I make something, I’m always keeping the recipient in mind, and sometimes less is more depending on that person’s taste and style.
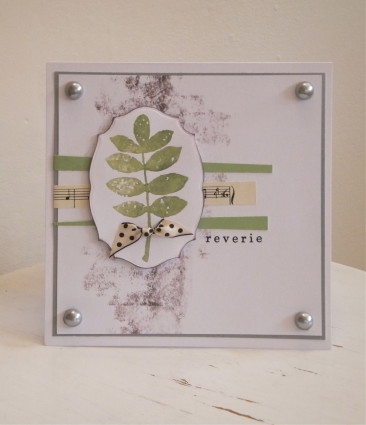
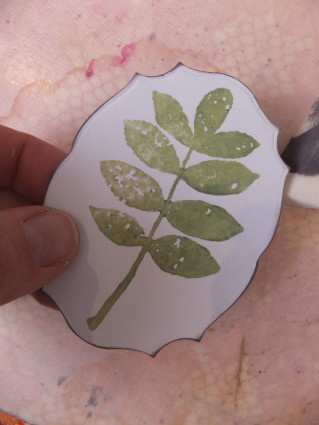
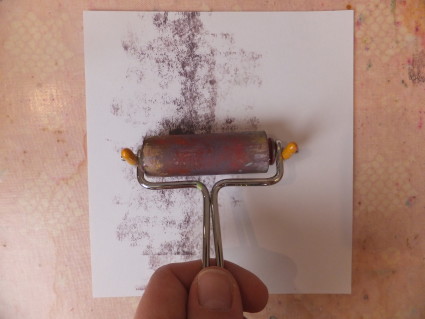
For this card, I wanted to use the white space to brighten up the background and provide contrast to the leaf and the very small stamped word “reverie”. The idea of white space doesn’t have to mean blank or boring…in fact, it doesn’t even have to be all white! Here I’ve added some interest and texture with a very light brayered application of London Night Fresco Finish. This keeps the background from overwhelming the focal point and provides some depth.
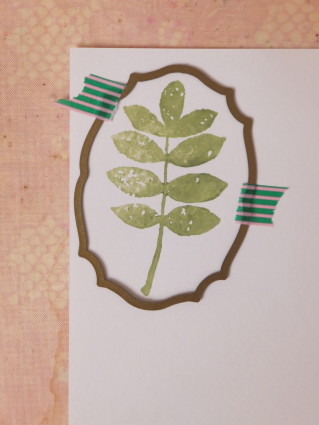
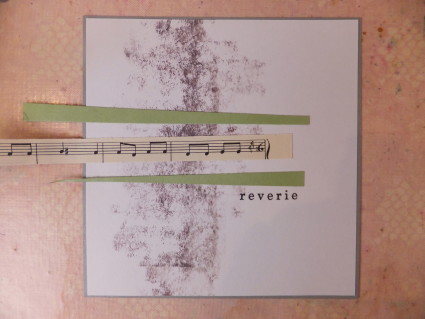
Step Six: Use foam tape to adhere the stamped focal to the white cardstock.
After that, simply mat the piece on gray cardstock and glue it to the front of a card. Add gray cabochons at each corner and a knotted piece of black and cream ribbon.
The embellishments will add another hint of contrast and dimension: The cream of the ribbon highlights the cream sheet music paper, while the blue cabochons coordinate with the London Night brayered area. Everything is in crisp contrast to the white space background and help the stamped focal come forward.
I hope you’ve enjoyed this project! Some other ways to expand on the general theme—instead of brayering on your background, try a stencil pattern. Or instead of literal white space, opt for the same layout with cream or black.
Thanks so much for joining me today! For more ideas, please stop by the PaperArtsy blog.
And now a note from PaperArtsy: We would love to see how you interpret this White Space topic by linking what you make to our 2016 Challenge #8: White Space, on this page HERE.
All of our bloggers love to see your twist on their ideas, particularly if you were inspired directly by their post.
All links go in the draw to win a £50 voucher to spend on products of your choice from the PaperArtsy online store. The White Space link will close 17:00 (London Time) Sunday, May 1st 2016. The winner will be announced 2 hours later at 19:00.


Gorgeous! Beautiful use of white space. My take will be on the PA blog tonight – hope you will come and visit me too 🙂 gorgoeus stamp set, too..
Beautiful card, Sara. Love your new stamps and seeing ideas on how to use them!
Thanks, Ellie! I’ll be sure to pop by the PA blog to see your design! 🙂
Thank you, Dawn! 🙂