Today on Studio SN on You Tube: Stenciling & Embossing with Clearsnap Pigment Ink!
This was a really fun one to play with—colors, layers and even texture in the form of clear embossing on top of the background. And yet, so, so, so easy to do.
One note: If you want to heat-emboss, you really do need to use pigment ink for this technique. If you opt to skip that step, you can use other kinds of inkpads. If you still use pigment ink without the embossing, be sure to heat-set the ink anyway so it’s completely dry.
Here’s what you need:
– Crafter’s pigment inks from Clearsnap: Spiced Plum, Purple
– Lovely Art Screen stencil from Clearsnap
– Clear embossing powder, heat tool
– Brayer
– White, dark purple cardstock
– Heartfelt Greetings stamps from Hot Off The Press
– Punches: 1 3/4″ circle, 2 1/2″ scallop
– Water mister
– Craft sheet
– Foam tape
– Pink ribbon
– Scrap paper
Here’s how to do it:
1. Squash the Spiced Plum inkpad directly onto your craft sheet. Spritz with water, then brayer the watery ink onto the white cardstock. Let dry.
2. Place the stencil on scrap paper and ink it thoroughly with Purple.
3. Place the Spiced Plum brayered piece face-down onto the inky stencil and press. (You might place another piece of scrap paper on top, so your hands don’t get too inky!) Lift off to reveal your stenciled piece.
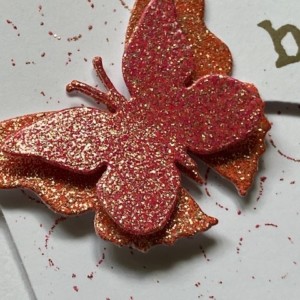
4. While the ink is still wet, sprinkle with clear embossing powder and heat-set.
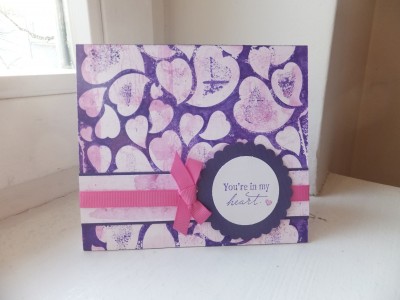
5. For the card front: Cover the front of a 6″x5″ blank card with the stenciled paper. Mat a 1 1/4″-wide strip of leftover Spiced Plum brayered cardstock on purple cardstock and glue to the card front. Wrap pink ribbon around the card front and tape the ends on the front, on the right side.
6. Use Purple to stamp the sentiment on white cardstock. Add a Spiced Plum heart stamp. Circle-punch. Mat onto a scallop-punched piece of purple cardstock. Foam-tape to the card front, hiding the ribbon ends. Tie a bow in the pink ribbon and use foam-tape to secure it to the card front.
That’s it—easy-peasy! And how fun to try this with other kinds of stencils, too!
Want to see the video for the technique? Then pop on by Studio SN on You Tube, I’d love to see you there!