

Today I made cards!
I had a lot of cards to make to restock my stash at The New Label Project here in Amsterdam, so today I had the assembly-line process in use. Although the cards are all slightly different, they all have the same basic components, which makes it pretty quick and easy to do. Here’s my process—
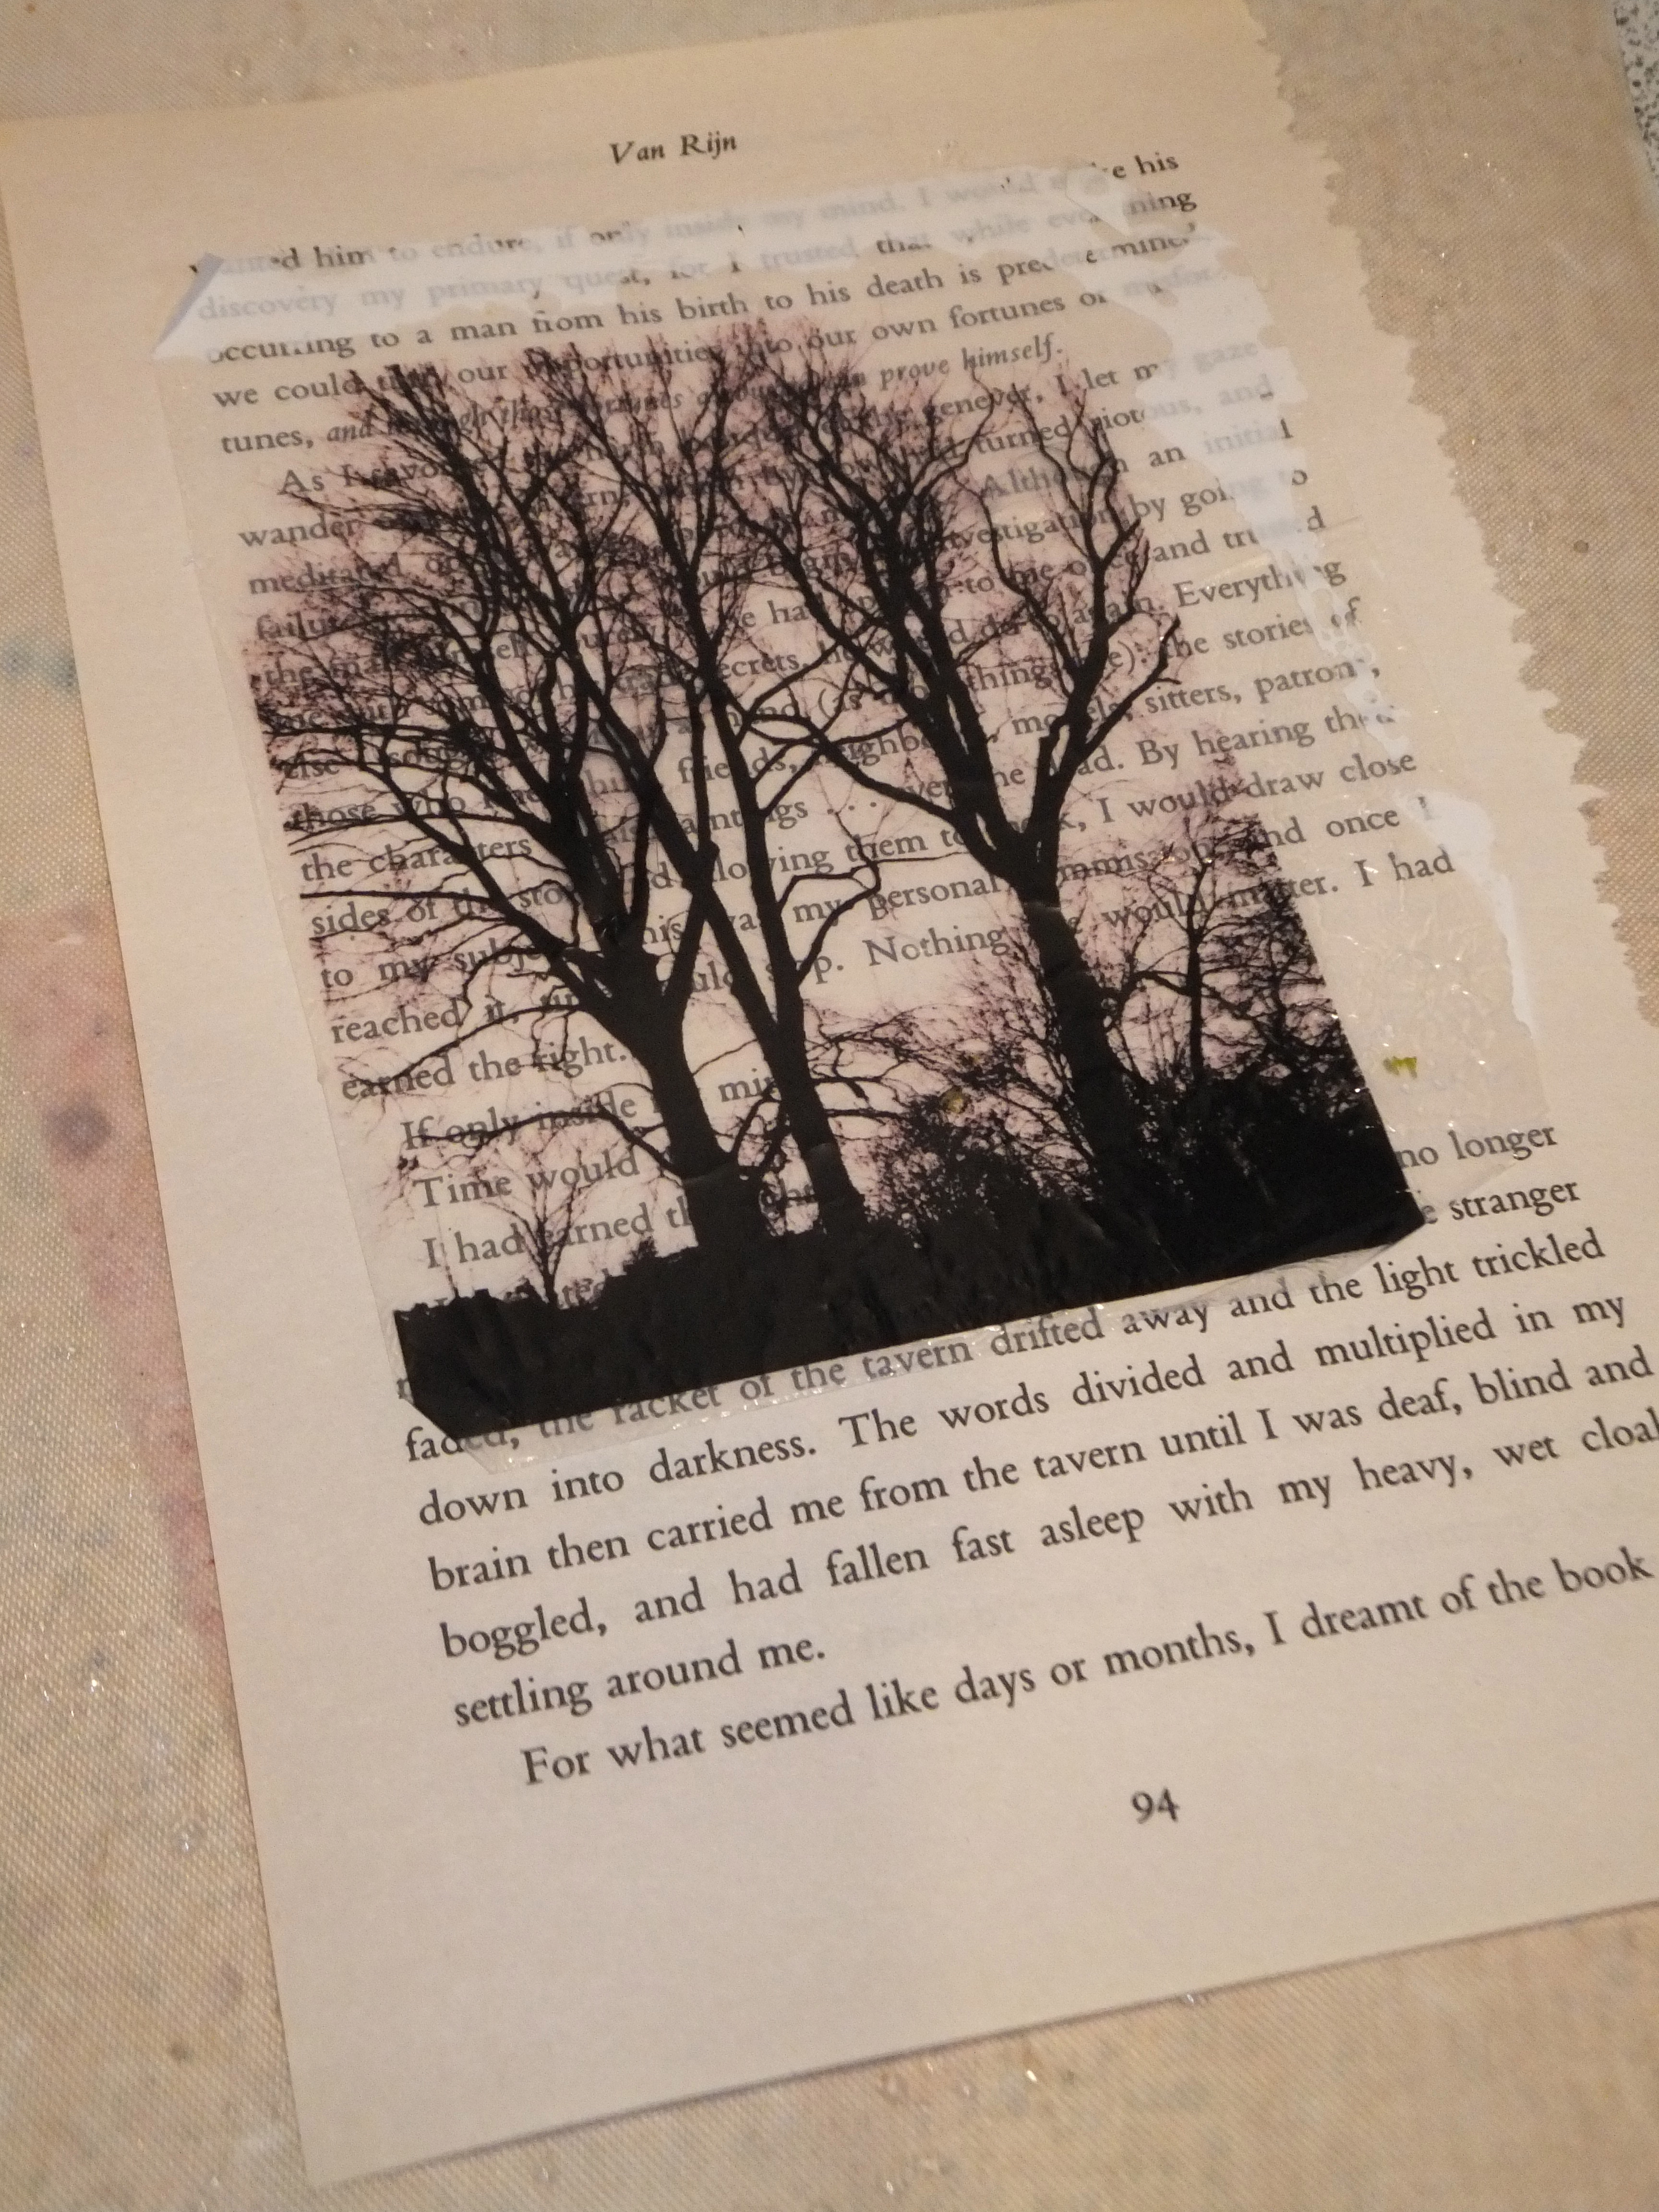
Step 1: Paint some text paper. I use an old copy of The Penguin Companion to European Literature, and a Dutch book on astrology, both of which I picked up for one euro at a used bookstore. They’re both a nice size, and I don’t have to worry about scanning every page for potentially offensive language like I do with novels. I paint the pages with white acrylic paint, using a dry brush and a light touch. I paint a lot of pages and let them all dry thoroughly.

Step 2: Stamp the image (in this case, one of my favorites from Endless Creations). I use Archival Ink in black. Trim and mat onto plain colored cardstock—the nice thick kind.

Step 3: Tie a knot in a piece of ribbon. Wrap it around the stamped and matted piece, then use clear tape on the back to secure it.


Step 4: Position the piece on the card front, but don’t glue it down. Stamp a sentiment (this is from Hot Off The Press) onto the card front. You’ll notice I like to off-set things, so the knot is a little to the right and the stamped image a little to the left.

Step 5: Glue the matted piece to the card front, making sure the fold of the card is on the side or the top! (You’re not a cardmaker until you’ve done it all upside down and backwards.)

After I’ve finished my cards, I double-check everything is glued, straight, tidy and has an envelope to match.

Then all the cards are put into clear plastic envelopes, with little inserts that have my name and email address. They get sealed up and off to The New Label Project on Wednesday!

Thanks for taking the tour of my day!
Happy Monday!


Wow that’s a lovely card, Sara. Love the sheer gorgeousness of it. Like the tip about ‘non offensive’ book page, any anecdote you’d like to share ? lol Tot Straks X Fab
i love making cards and gift tags. you make it look so easy. love the tutorial.