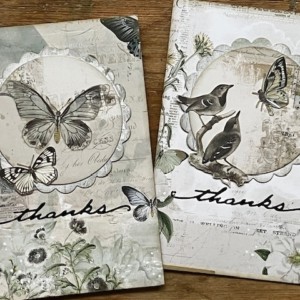
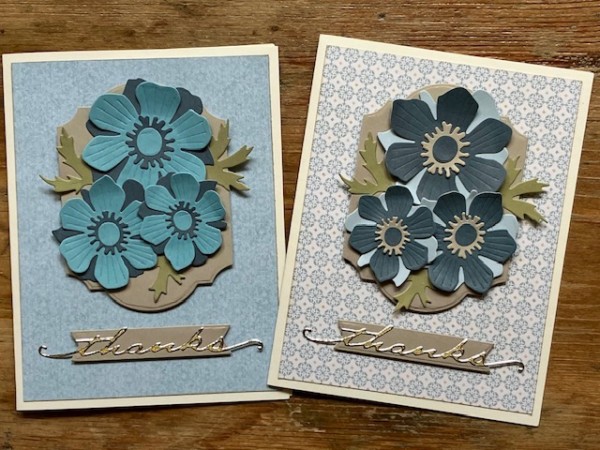
This week I needed to make a couple of thank-you cards, and just so happened to have some new-to-me dies that I wanted to put to use: Windflowers.
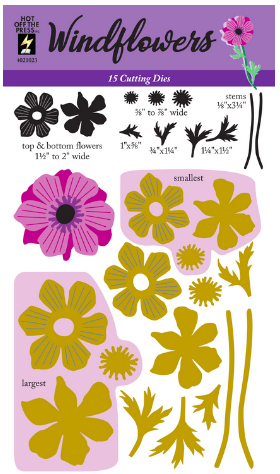
I love a layering die, especially one that is easy to do, and these flowers fit the bill perfectly. You have three different sizes, ranging from 1.5″ to 2″ wide so you can use one as a focal, or group them together in lots of different combinations. The basic format for both of these cards is the same—I just swapped out the patterned papers and flower cardstock colors.
Supplies:
- Magnolia Blossoms 6×6 Patterned Cardstock
- Windflowers Dies
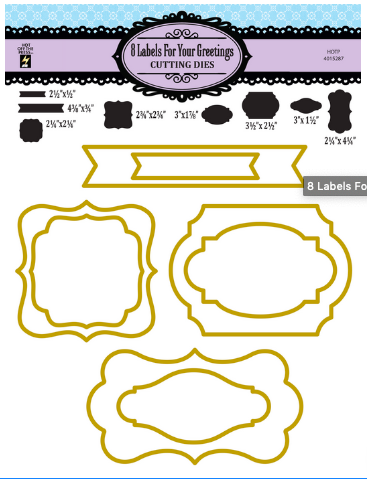
- 8 Labels For Your Greetings Cutting Dies
- Script Greetings Dazzles
- Assorted colors of cardstock (this is a great time to use up those extras!)
First, let’s look at how easily the dies come together—
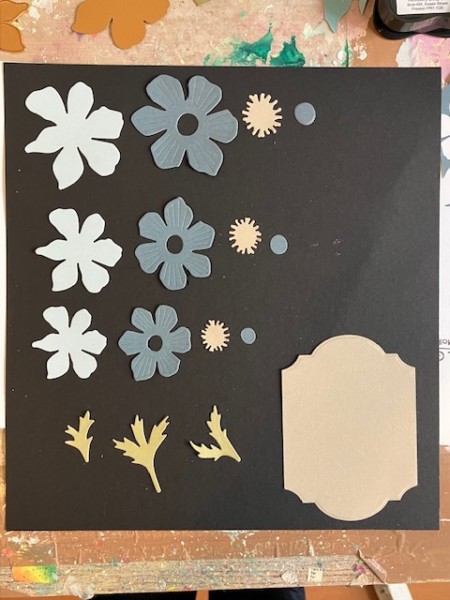
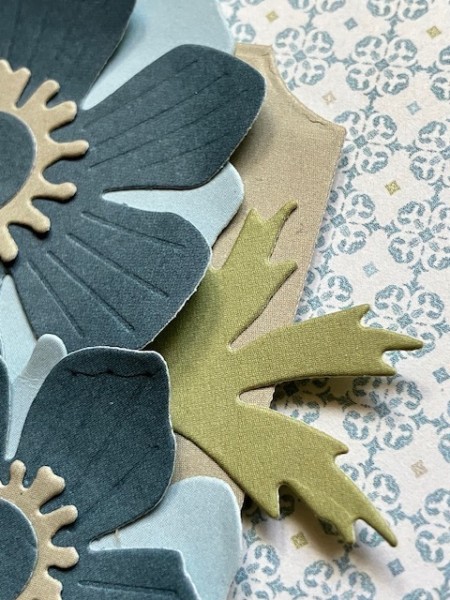
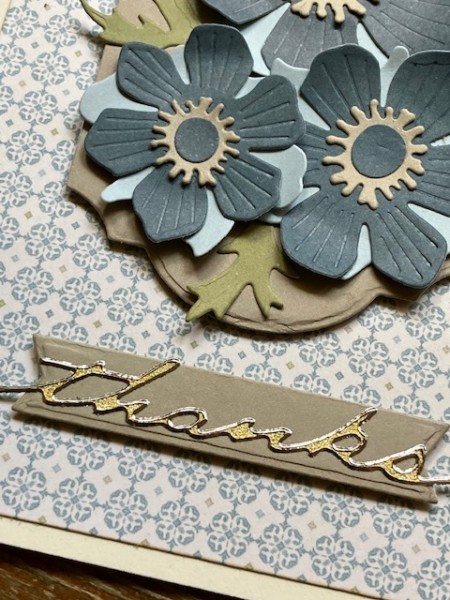
I’ve die cut each of the three flowers (top- large; middle- medium; bottom- small) from light blue and dark blue cardstock. The leaves are cut from light green and the label is cut from tan.
(The label shape is from another new-to-me die set, 8 Labels for Your Greetings.)
You can gently roll the petals forward with a rolling/quilling tool.

Then, simply layer the flowers together.

I used the cluster as my card focal, and tucked the green leaves underneath.
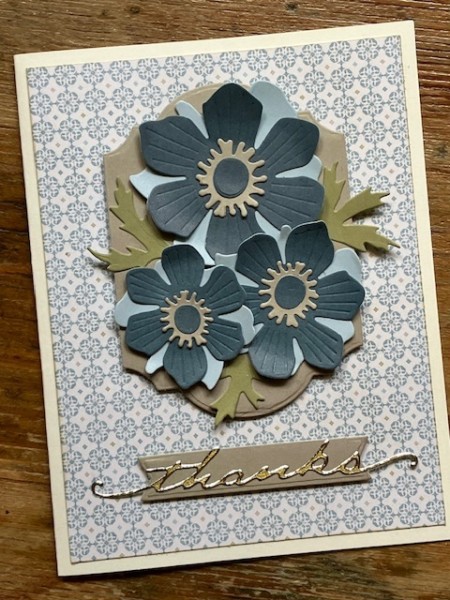
My card base is a light cream color, so I trimmed the patterned paper slightly smaller than the card front, then inked the edges with gold pigment ink.

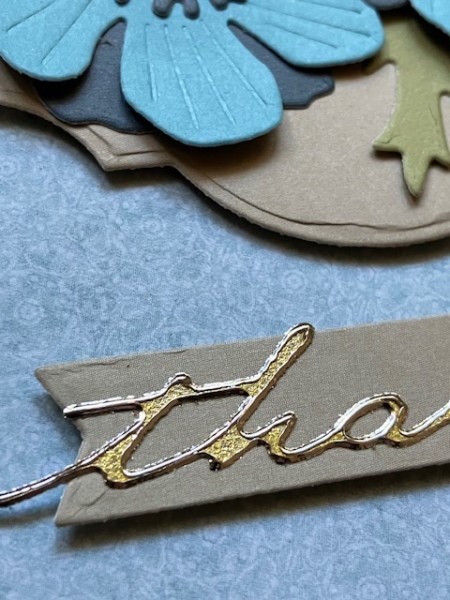
I added the label with foam tape.
The “thanks” sticker is on a label shape and attached with foam tape.
The second card is the same layout, but with different colors.

I love the dimension you get, without having too much bulk on your card.
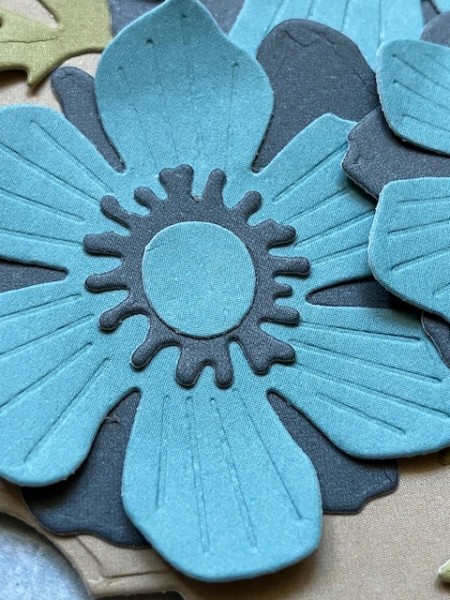
You could also add gemstones to the flower centers.
Again, I’ve added foam tape for a little lift.
Here’s another look at both cards—
They’re off on their way in the post this morning!
Until next time!