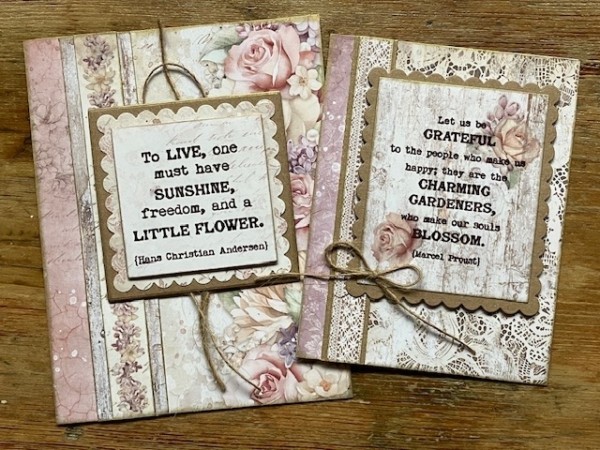
Last weekend I had a play with a very fun combination papers, stamps and rub-ons—and created some soft and elegant floral cards with a vintage vibe. Let’s have a look!
Materials Needed:
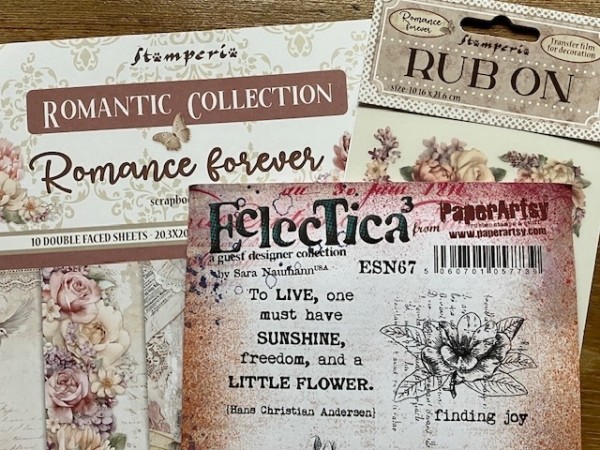
- Stamperia Romance Forever papers
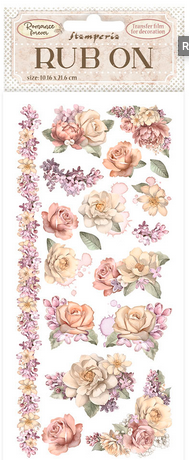
- Stamperia Romance Forever Roses Rub-ons
- PaperArtsy ESN67 stamps
- WOW! Embossing Clear Embossing Powder
- Heat tool
- Kraft cardstock
- Versafine brown pigment ink pad
- Gold pigment ink pad
- Square and rectangle scallop nesting dies
- Hemp twine
Step 1: Choose Your Papers: For each card, I’ve combined a variety of papers from the paper pack, covering the front of each card base with paper, then adding a border strip of a second paper along the left side, where the fold is. For both cards, I used a strip of a third patterned paper to cover the seam in between.
I’m inking the edges of all the pieces with gold pigment ink.
Step 2: Stamp and Emboss for the Sunshine Card: Use the brown pigment ink pad to stamp the “one must have sunshine” sentiment onto lightly-patterned papers. While the ink is still wet, sprinkle clear embossing powder generously over the stamped design. Make sure the entire image is covered with powder. Gently tap off any excess powder.
Using a heat tool, carefully heat the embossing powder until it melts and becomes raised and shiny. Hold the heat tool a few inches away from the paper and move it in a circular motion to ensure even heating. Allow the embossed design to cool for a few seconds before proceeding.
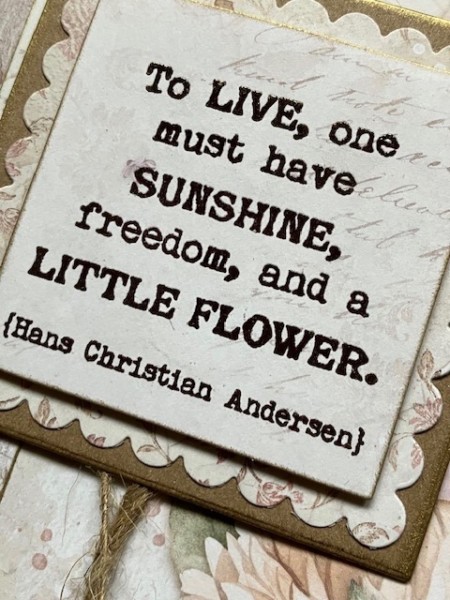
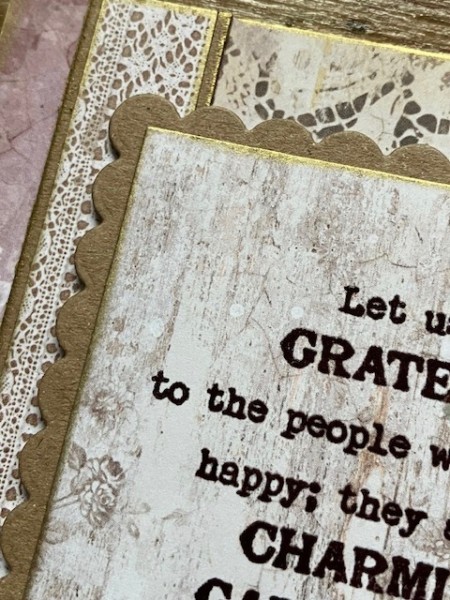
Step 3: Die Cut: Die cut the sentiment into a square, then ink the edges with gold and mount onto a nested scalloped square and then a third kraft square. Use foam tape for dimension.
Step 4: Emboss On a Rub-on for the Grateful Card: For the Grateful card, I’ve stamped and embossed the sentiment on top of rubbed-on images. First, apply the flower rub-ons onto lightly patterned paper, positioning them so one will be at the top right corner of the sentiment and the other will be at the bottom left. Then, stamp and heat-emboss the sentiment on top as normal. Die-cut into a rectangle, then ink with gold and mount onto a nested scalloped kraft rectangle.

Step 5: Finish Your Cards: Once you’ve created your card backgrounds and stamped your focals, it’s time to combine the two. I’ve added some hemp twine—a bow on the Grateful card and a swirl of twine underneath the matted focal on the Sunshine card.
Note: The border on the Sunshine card is a border rub-on! Here’s the rub-on sheet:

And here’s a last look at both cards:
I hope you enjoyed this week’s tutorial! See you next Thursday!