Oh, paper, how I love thee…
{insert romantic sigh…}
But I don’t love keeping paper organized. For someone who loves paper (and has quite a bit) I’ve always struggled with organizing it. The big pads of paper are easy—they go into my big plastic bins, in the closet. My issue comes with the off-cut scraps I don’t want to toss but are small enough to easily get lost or damaged. I have a TON of these.
So here’s my solution, recently implemented and one that has worked so far.
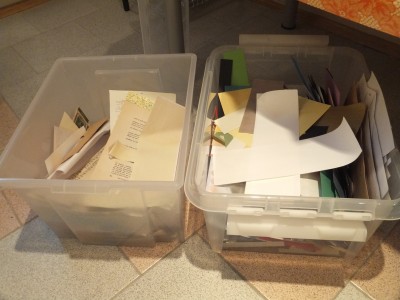
Yes, we return to my big plastic boxes. These are 50 x 29 x 36 cm. I will let you do the inches conversion if you wish, but 50cm is about 1.6 feet so you can see they are pretty substantial.
These two sit under my work table. One is for scraps of cardstock and commercial patterned paper. As I work, or after a project clean-up, I toss all my scraps in here, regardless of size, shape or color. If I need a piece of something, I dig around in here first, before going into my pads or full-size sheets.
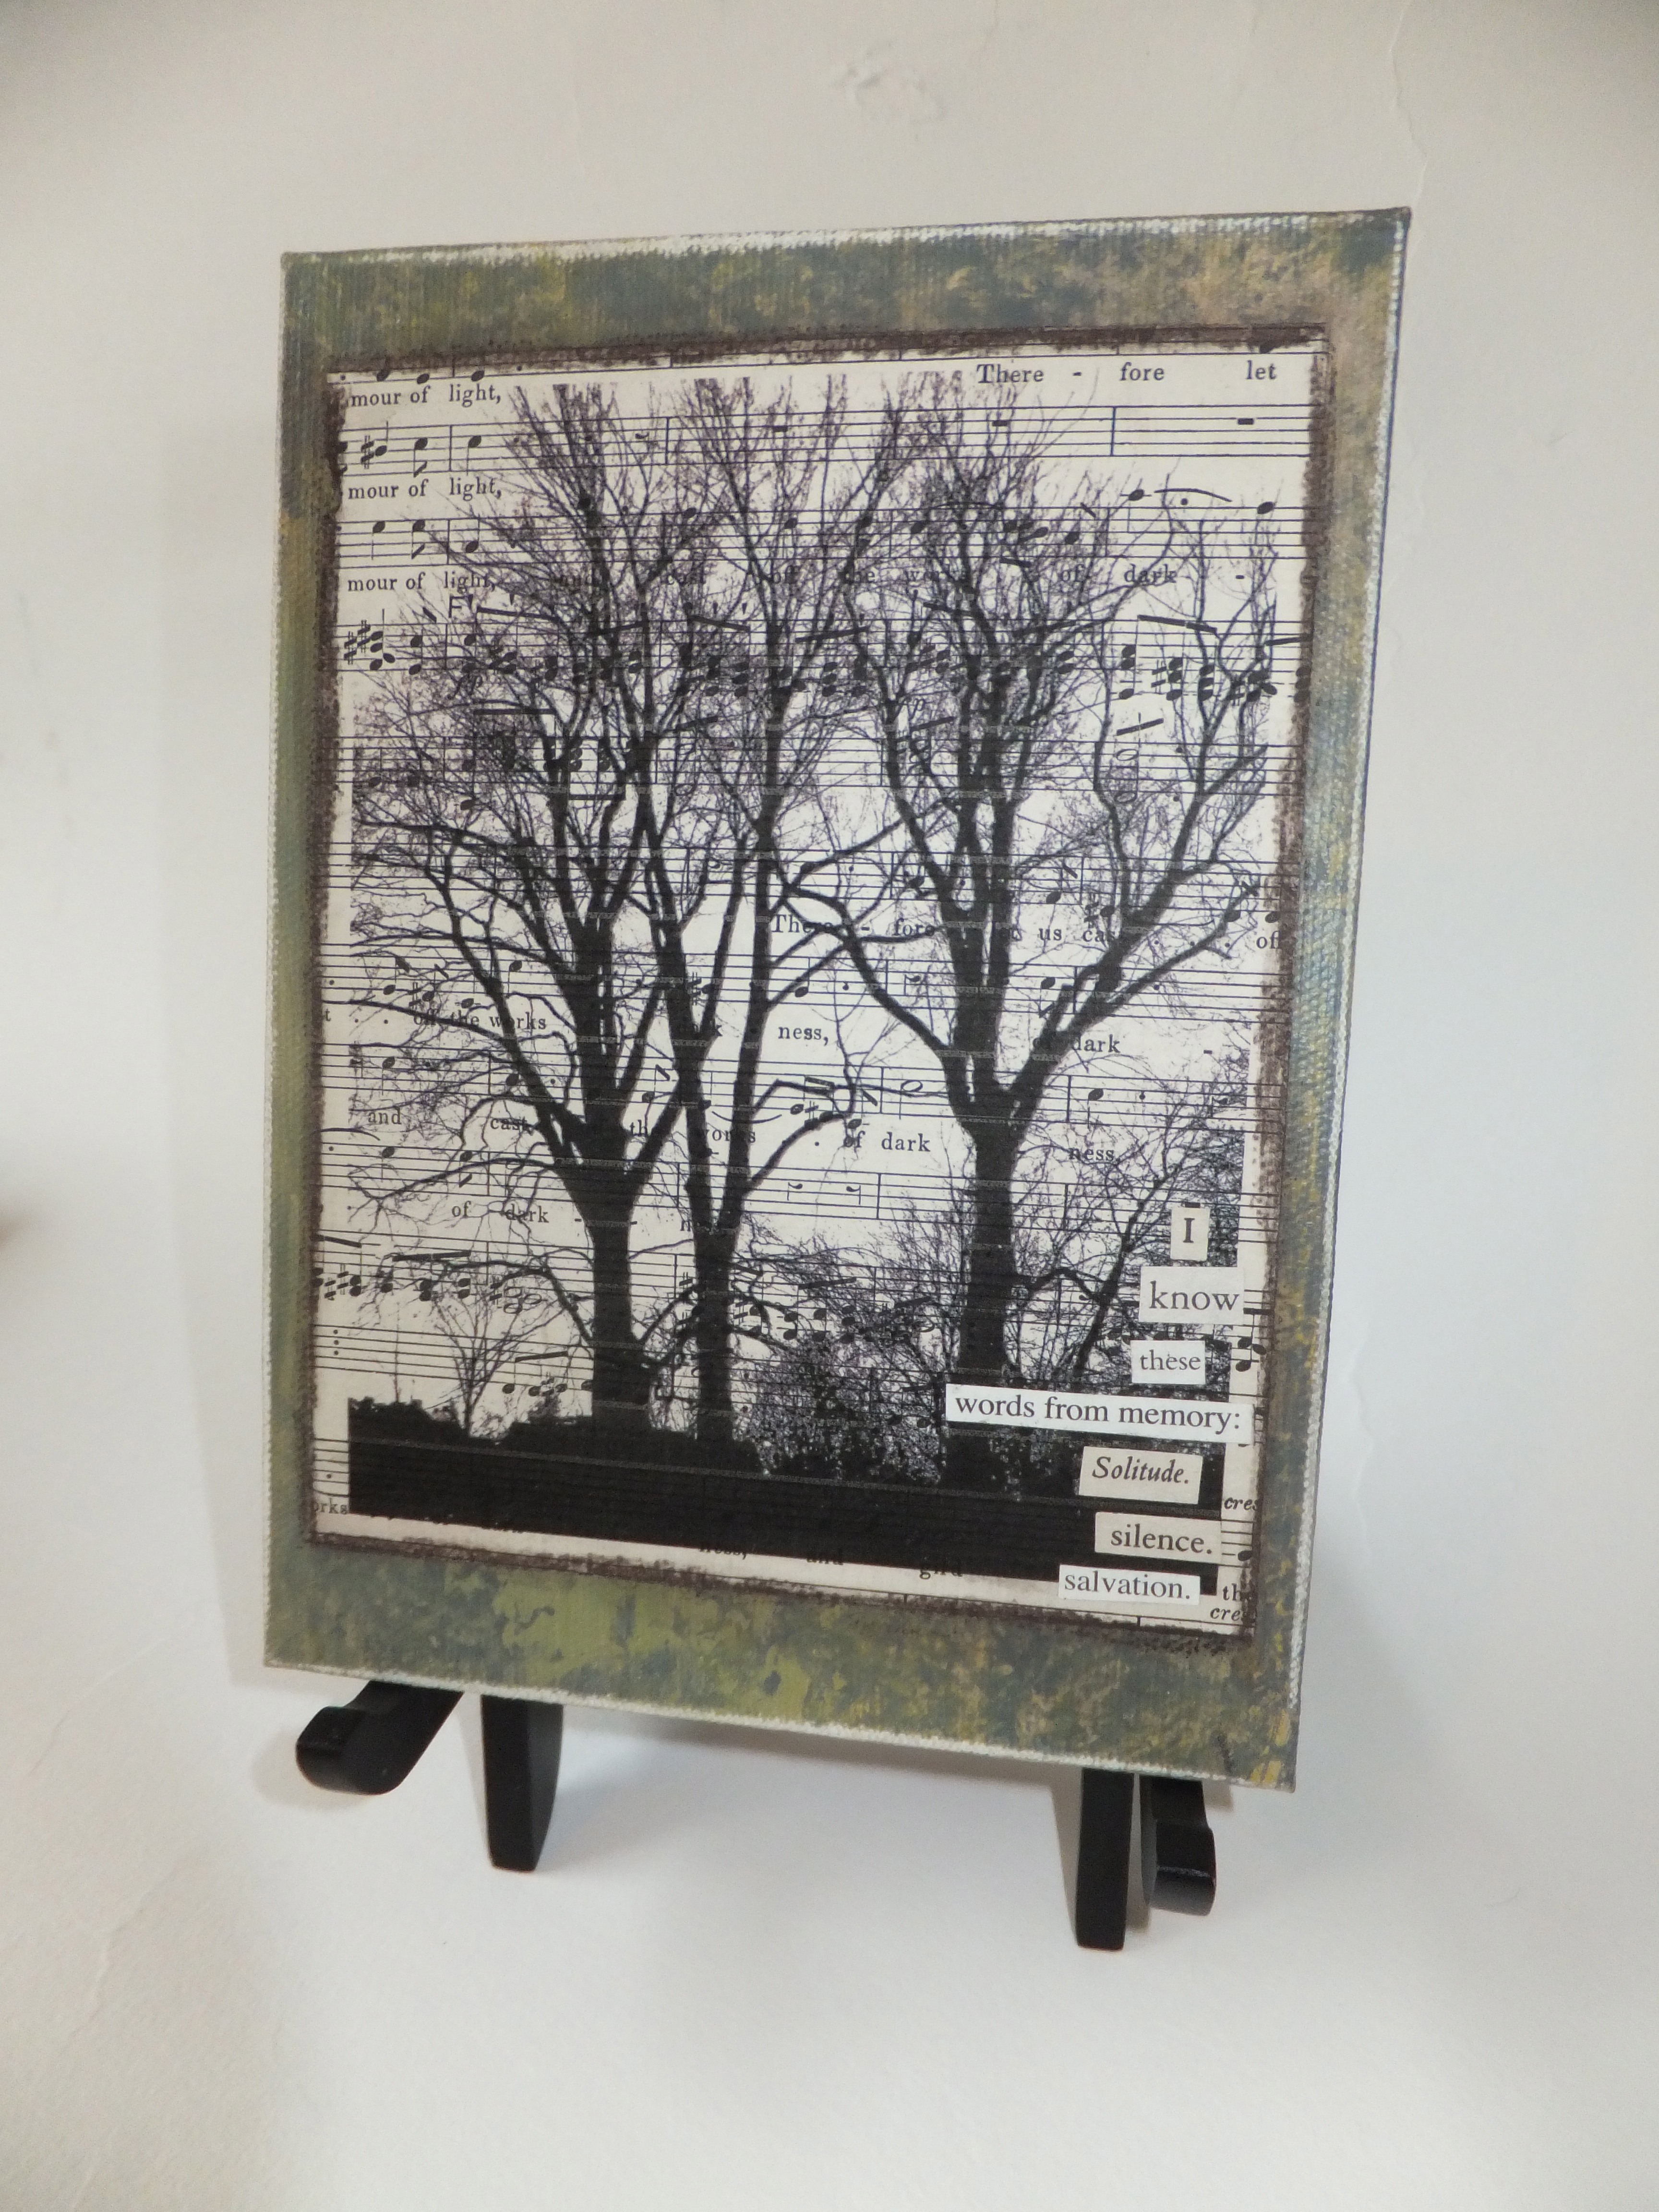
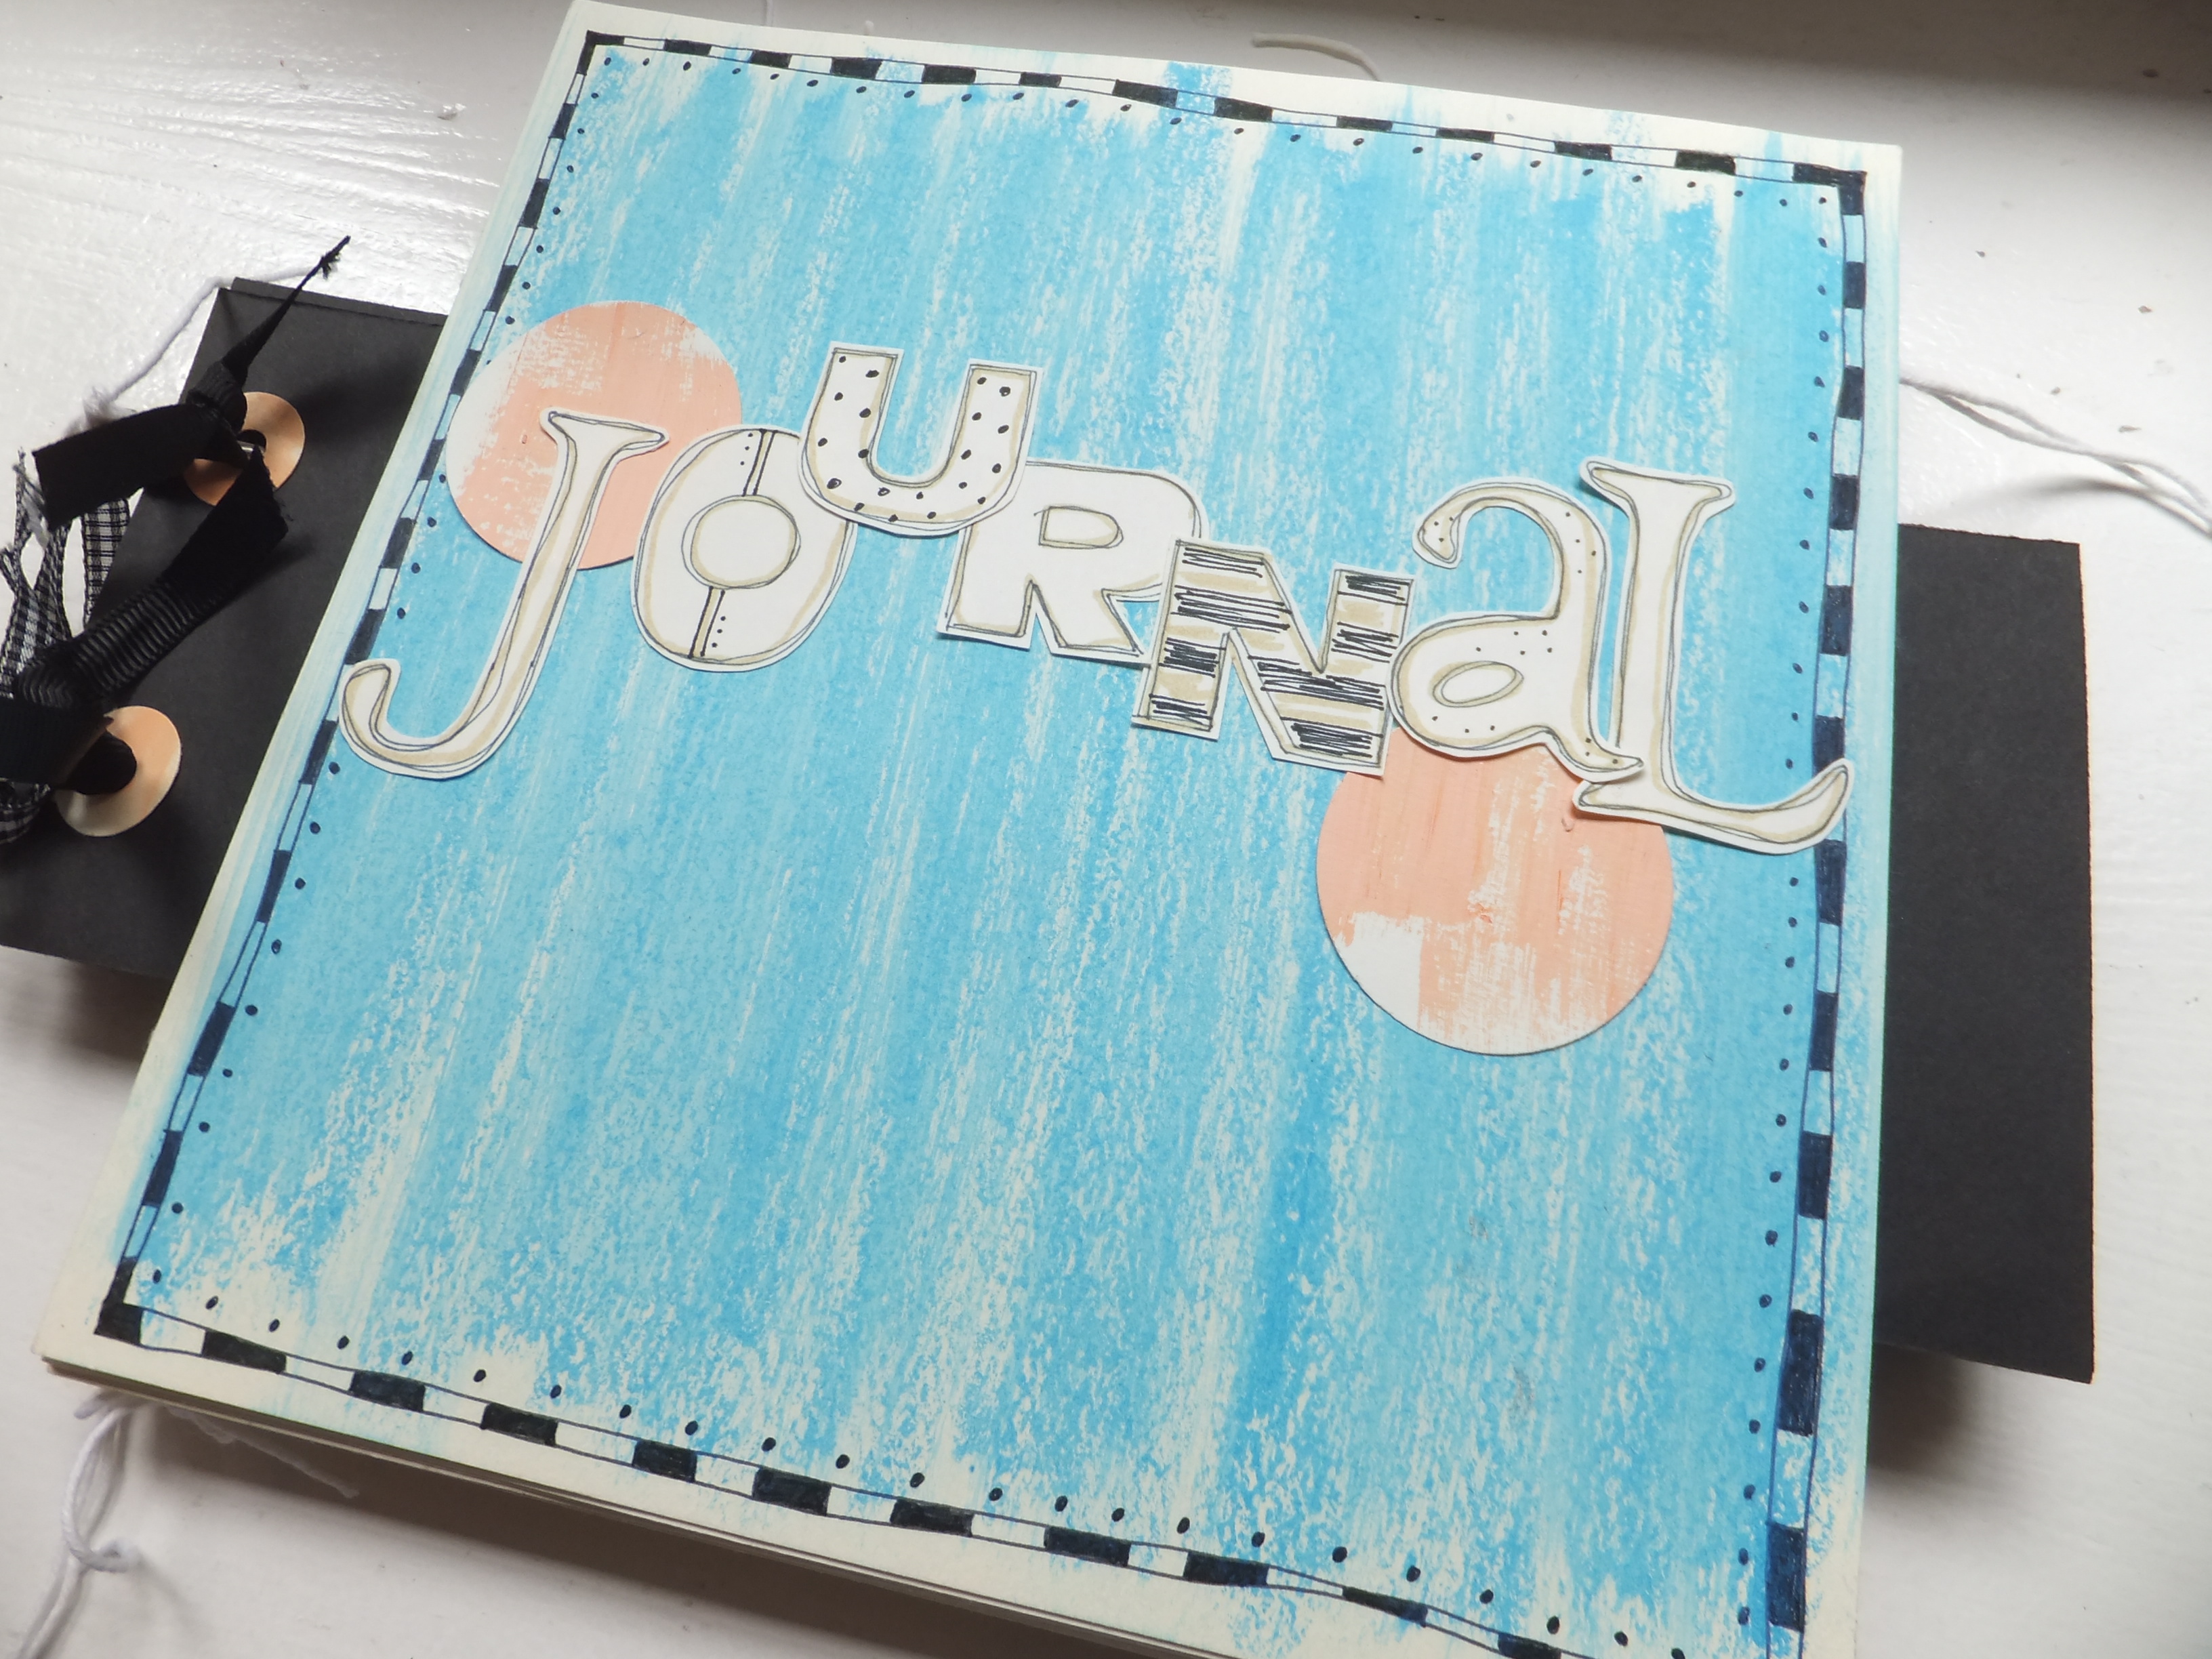
A second box is for my “special” papers—vintage sheet music, text paper, handmade papers, Italian papers {swoon}, Gelli Plate papers, and so on. Basically, the one-of-a-kind papers.
I only keep them separate because of my work. Most projects I do for classes or magazines have to use paper that the reader or student can find easily—not something that requires a trip to the flea markets in Paris. So Box #1 is for that. Sometimes, though, I can dip into Box #2 for magazine projects for, say, Somerset Studio, where readers more often prefer to interpret a piece, rather than duplicate it exactly.
Hope this gives you some ideas for paper organization! Happy Monday!