{Project} Wednesday: More Stamping and Stenciling with Eclectica

Happy Wednesday, everyone! Last week I shared a card project featuring my new Eclectica stamps and stencils from PaperArtsy. Today I’ve got another project for you!

This is the Eclectica ESN20 set. (What, have I designed 20 stamp sets for PaperArtsy?!! Why, it seems I have!)

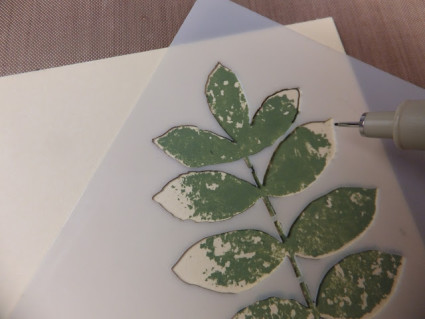
So the stamp set: Well, I love garden and botanical stamps. They’re so versatile, you can use a botanical image on just about any card. And there are lots of flower stamps available but not as many leaf designs. The great thing about leaves is that they can be stamped in bright greens for spring or soft oranges for autumn designs. These leaves also have a bit of mottling to them so you get really nice texture.

(The leaf at the top was discovered on a wet and windy walk in the German mountains; I found  the leaf at the bottom when I was out running errands. I got some strange looks for photographing leaves on the ground but hey…it’s for art, right?)

Eclectica ESN Stamps Sara Naumann PaperArtsy

The stencil I’m using is PS027. The leaves do correspond with the leaf stamps plus you get two more really nice and unusual leaf shapes.

Eclectica ESN Sara Naumann stencils PaperArtsy

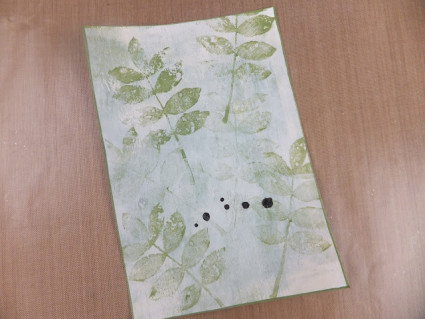
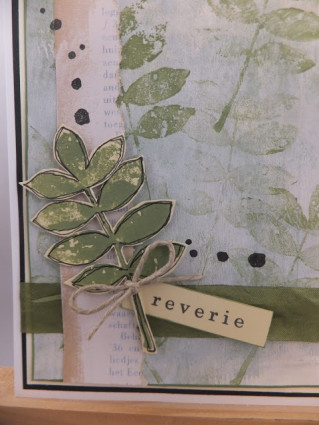
Ready for the card? Here I wanted to create a layered effect with a painted background.  I love having the option of a stamped background and a coordinating focal image.

Reverie+main

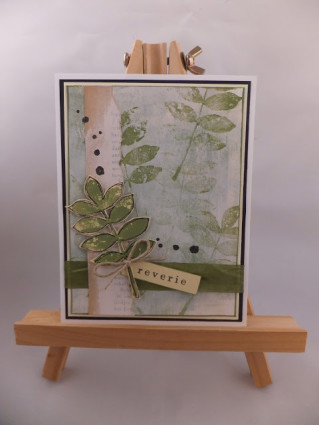
So let’s see how to build it up—Reverie+background

Step One:  First I brayered white cardstock with Fresco Finish Chalk Acrylic Paint in Tinned Peas. When that dried, I added a second brayer application of Nougat Paint, to soften the color.

Sara Naumann PaperArtsy Eclectica card

Step Two: Now you paint up the leaf stamp with Tinned Peas. I use a piece of Cut & Dry foam to apply the paint to the stamp. You could also use a cosmetic wedge. (Just be sure to wash the stamp right after using.) Stamp the leaf all over the painted background, randomly and off the edges of the cardstock. Use the paint applicator (either the cosmetic wedge or Cut & Dry) to add paint on all four sides of the cardstock. Stamp the dots with black ink.
 REverie+leaf+stencil+paint
Step Three: Stamp the leaf again on a separate piece of cream cardstock. Let it dry, then place the same leaf shape from the stencil on top, slightly offset. Trace with a fine-tip black pen.
Remove the stencil and freehand follow the traced shape, so you have an irregular, hand-drawn effect. Cut it out, allowing space around the traced lines.

Reverie+close+up

Step Four: Wrap green silk ribbon around the cardstock, then add a torn strip of book paper painted with Nougat. Stamp the dots again at the top left. Stamp “reverie” and add as shown, with the leaf, raised on foam adhesive. Add a bow tied in twine at the base of the leaf. Mount on cream, then black and white card.

Reverie+main

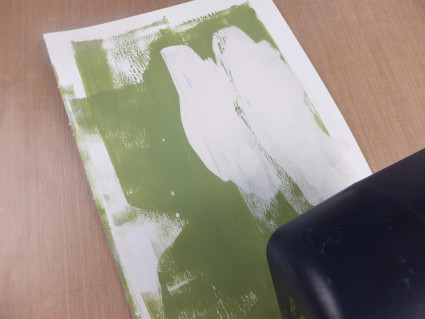
How about a video? Here’s the lovely Leandra from PaperArtsy showcasing the new Eclectica stamps—she shows the card you see here, plus several other designs!

Thanks for coming by!

Share It

Got Something To Say:

Your email address will not be published. Required fields are marked *

Back to top