
Welcome to Washi Tape Tuesday! Love washi tape? (Or maybe you have a stash that you want to put to use?) Then join me for tips, techniques and ideas for adding washi tape to your handmade cards!
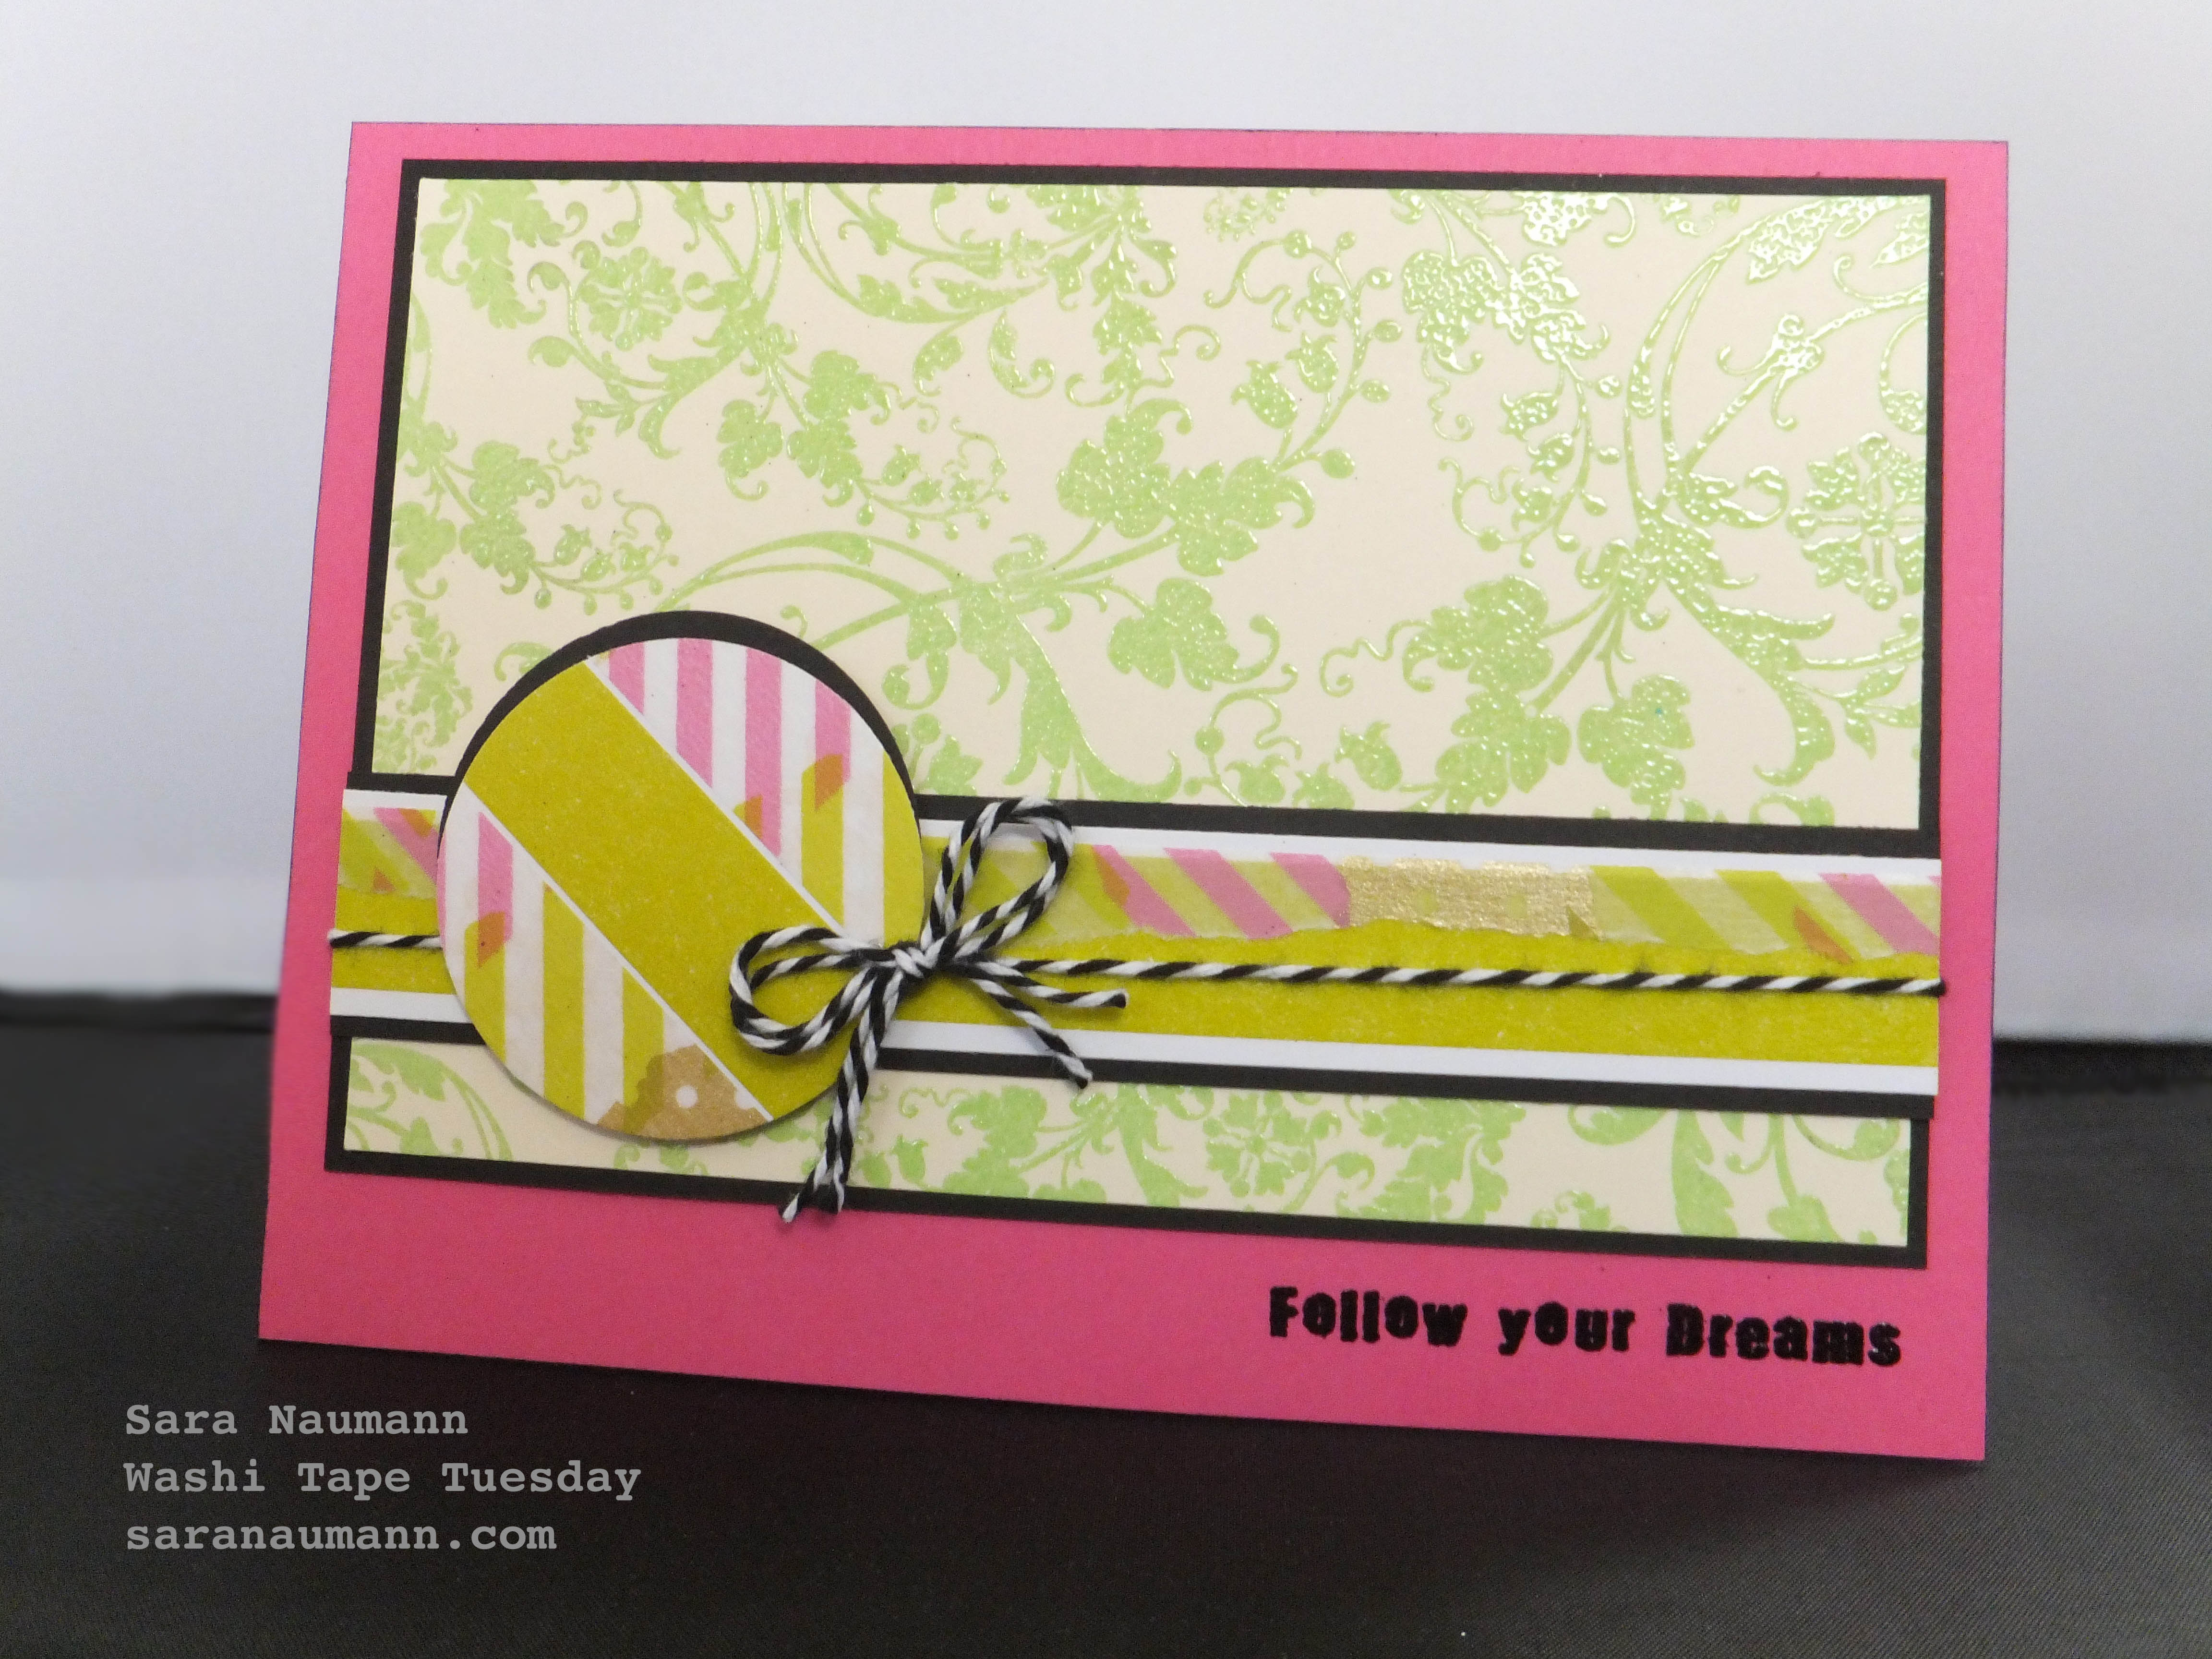
This week I’ve got another super-simple design for you—one that’s easy to do and has a fun design principle to it. I’m combining straight lines and curves, which is an easy and effective way to get a nice sense of visual balance. You’ll see how the straight lines of the washi tape and the “follow your dreams” sentiment balance nicely with the circle-punched piece and the elegant swirls on the stamped background.
Washi tape simple lines & circles card, what you need:
– Washi tape (MT): green solid, pink and green patchwork
– Embossing powders (WOW Embossing): Primary Luscious Lime, Primary Ebony Superfine
– Stamps (WOW Embossing): De-Vine, Collage
– Black and white baker’s twine
– 1 3/4″ circle punch
– Ink: embossing ink (Versamark), black ink
– Cardstock: white, cream, black, hot pink
– Foam tape, craft glue
– Blank card
Washi tape simple lines & circles card, how to make it:
1. Stamp the De-Vine design on cream cardstock and emboss with Primary Luscious Lime. Trim and mat on black cardstock.
2. Place a strip of green washi tape on white cardstock and trim a narrow border at the top and bottom. Tear a piece of patchwork washi tape in half the long way and place on top of the green washi tape, aligning it with the top edge. Mat on black and glue across the embossed background. Wrap with baker’s twine.
3. Place a strip of green washi tape and two strips of patchwork washi tape on a 2″ square of white cardstock, leaving a narrow gap between them. Punch into a circle. Punch a circle of black cardstock and glue the two together, offset. Adhere to the washi tape border with foam tape.
4. Cover the card front with hot pink and stamp “follow your dreams” at the bottom right. Emboss with Ebony Superfine. Glue the embossed focal to the card front. Tie a bow in baker’s twine and use craft glue to adhere as shown.
5. Ink the edges of the card with black.
Love washi tape? Want tons of ideas, techniques and card projects? Twenty to Make Washi Tape Cards is packed with 20 washi tape projects, each with complete step-by-step instructions—PLUS 20 alternate card ideas…you get 40 creative washi tape card project ideas in all. Available from Search Press, this instruction book is the perfect thing for cardmakers who love washi tape! Click the video below to learn more!


