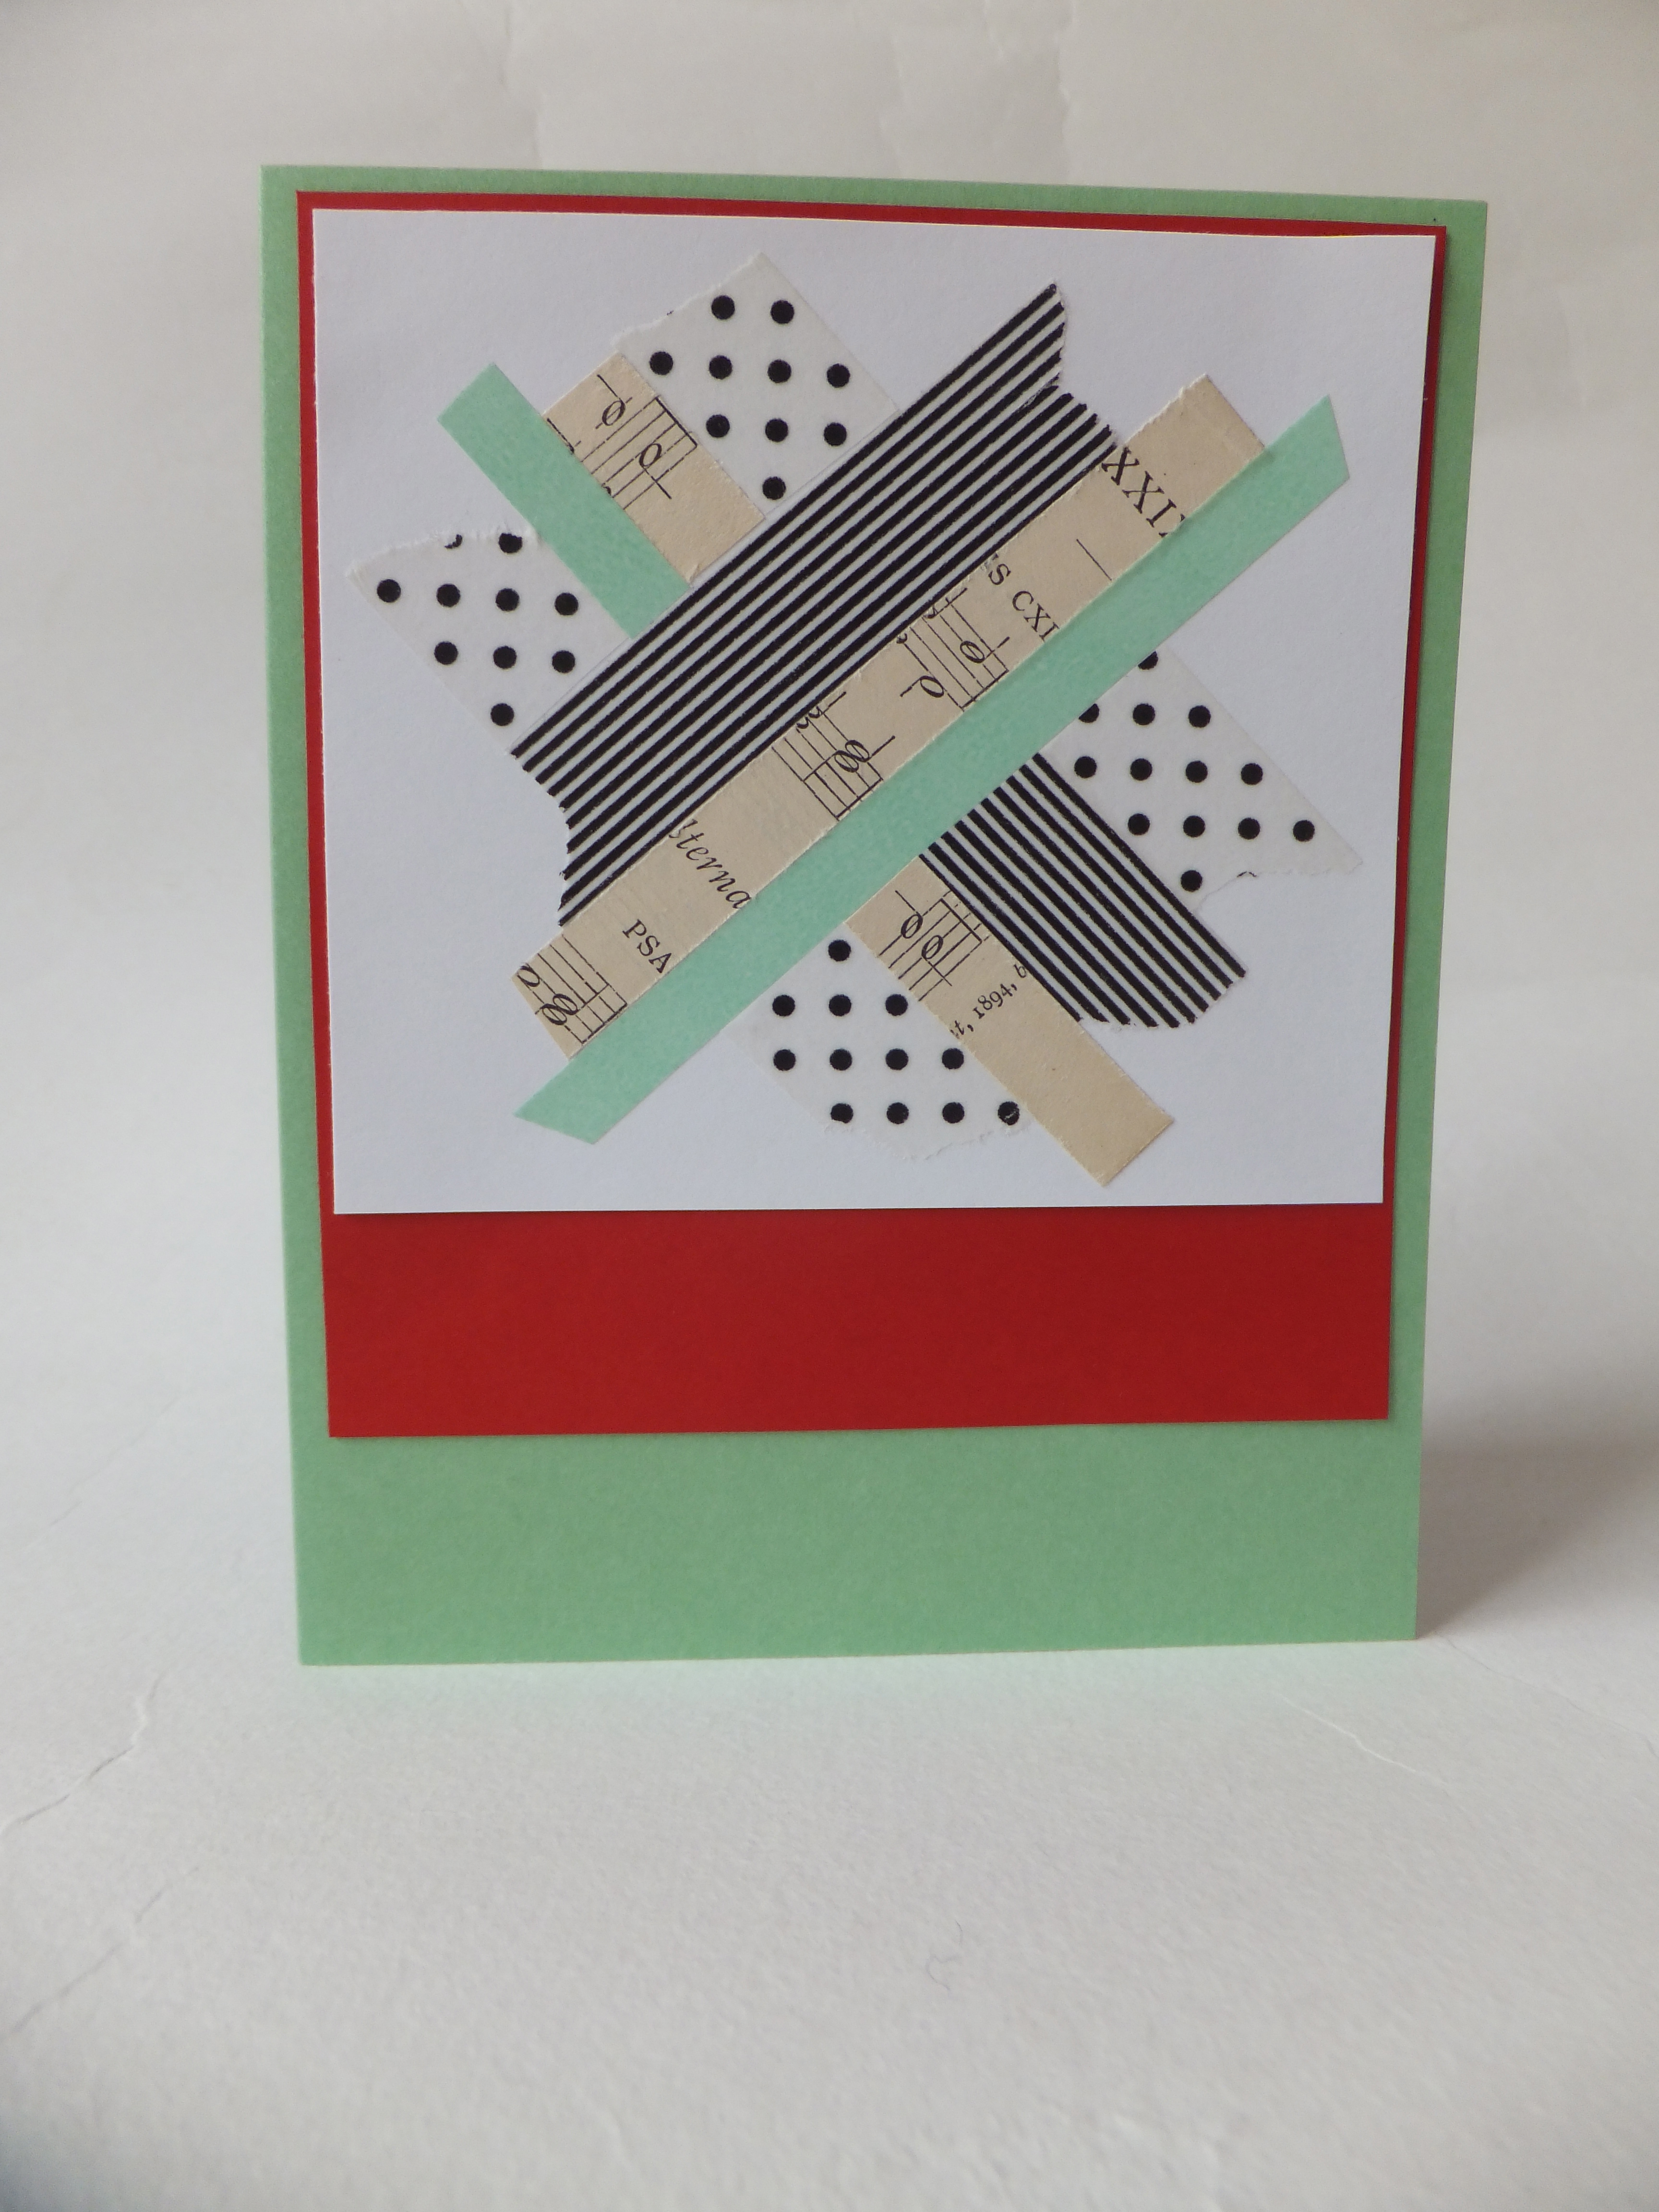
Is it too early to be thinking of Christmas? Why, yes it is…but in the magazine world, they commission Christmas projects in May, which is when I made this card. I got a little excited with Ranger’s Distress Crackle Paint and made more than enough cards for my article, so I can share this one here! This project uses Picket Fence Distress Crackle Paint to create the background of the card focal, painting white over black cardstock.
(I think you could swap out the Christmas sentiment for birthday and have a fun card with a different theme.)
About Distress Crackle Paint—
Remember those two-part crackle paints from the craft store, from years ago? Distress Crackle Paint is (mercifully) very different. I have a memory of a crackle paint debacle involving a wooden box that I came to despise during the process, so I was a little leery about trying a new crackling technique…but Distress Crackle is super-easy and works beautifully! It’s a single-step process, so you just paint it on and it crackles as it dries. Magic! It even comes with a brush in the bottle.

Supplies:
– Distress Crackle Paint in Picket Fence
– Black, white, red and green cardstock
– Checked ribbon, red brad, white silk flowers
– Sentiment stamp or computer to print out a message (can handwrite, too)
– Clear tape, paper piercer or awl
1) Paint a piece of black cardstock with White Picket Fence. A medium application will give you fine cracks, a thick application will give more defined cracks. I have fine-ish cracks here. Let dry. You can speed up the cracking/drying process with a heat gun but only after the cracks have started forming, which generally happens 5-10 minutes after application. It only takes about 30 minutes to dry completely, depending on your climate.
2) Cut the black cardstock to 4 ½”x4” and mat on white cardstock, leaving about a ½”-wide border on the right side and tearing the border. Mat again on green, then red cardstock.
3) Make a loop of checked ribbon and secure to the front of the card with clear tape. Layer two flowers with a red brad, then insert through the paper layers. (Use an awl, paper piercer or tip of your scissors to make a hole first.)
4) Write, stamp or type your greeting on white cardstock. Mat on red and secure to the card front.
Happy Wednesday!