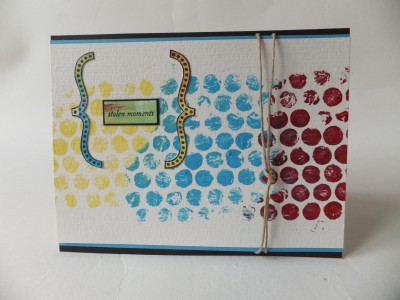
I made this card while experimenting with bubble wrap painting techniques and wanted to share it here. I adore bubble wrap, as it’s an easy way to get color and pattern on your paper.
Supplies:
• Blank card
• Black, blue cardstock
• Acrylic paper
• Yellow, blue, red acrylic paint
• Paintbrush
• Journaling Acrylic Stamps (Hot Off The Press)
• Black inkpad
• Hemp twine, clear tape
• Bubble Wrap
Here’s how:
1) Use the paintbrush to apply yellow, blue and red paint to a piece of bubble wrap, allowing the colors to overlap slightly.
2) Turn over and stamp onto a piece of acrylic paper. Let dry, then trim slightly smaller than your card front and layer on blue cardstock. Tie a knot in a piece of hemp twine and wrap around the piece, securing the ends at the back with clear tape.
3) Paint streaks of red, blue and yellow paint on a piece of acrylic paper, blending the colors slightly. Let dry. Stamp the brackets and “stolen moments”; cut out the brackets. Trim the sentiment and mat on black cardstock. Add to the bubble-wrap portion as shown.
4) Cover the card front with black cardstock and add the focal piece in the center.

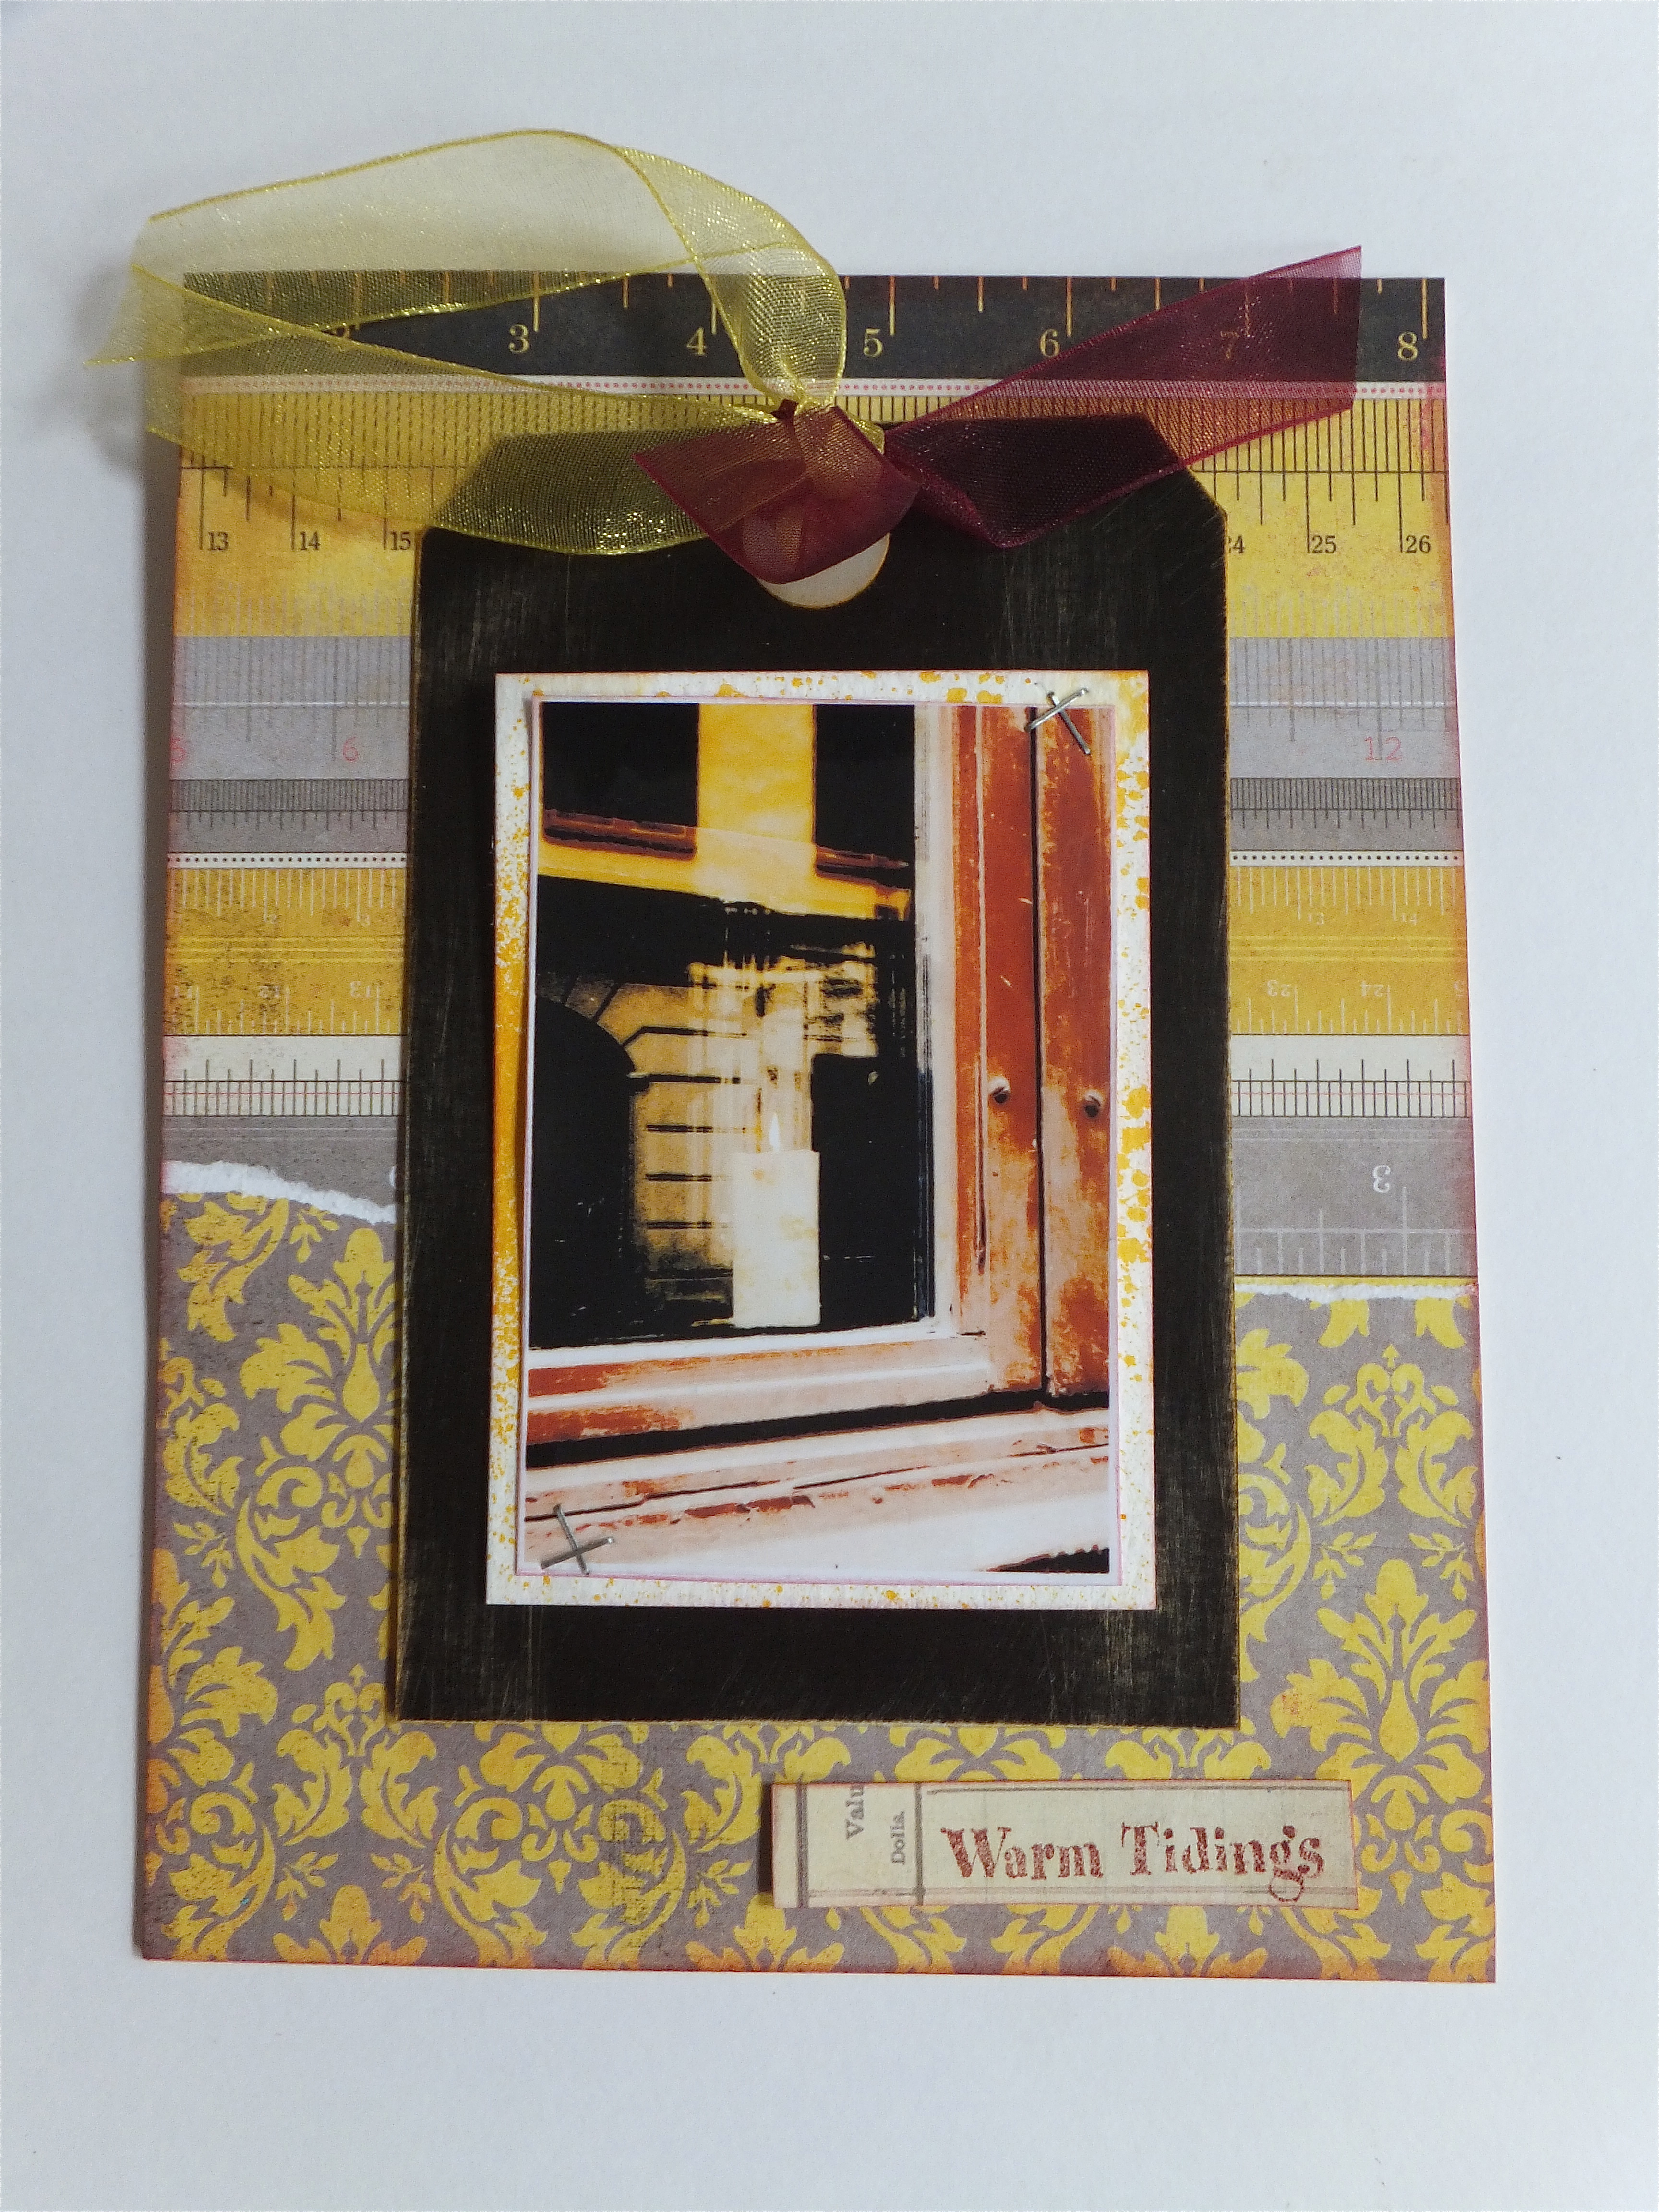
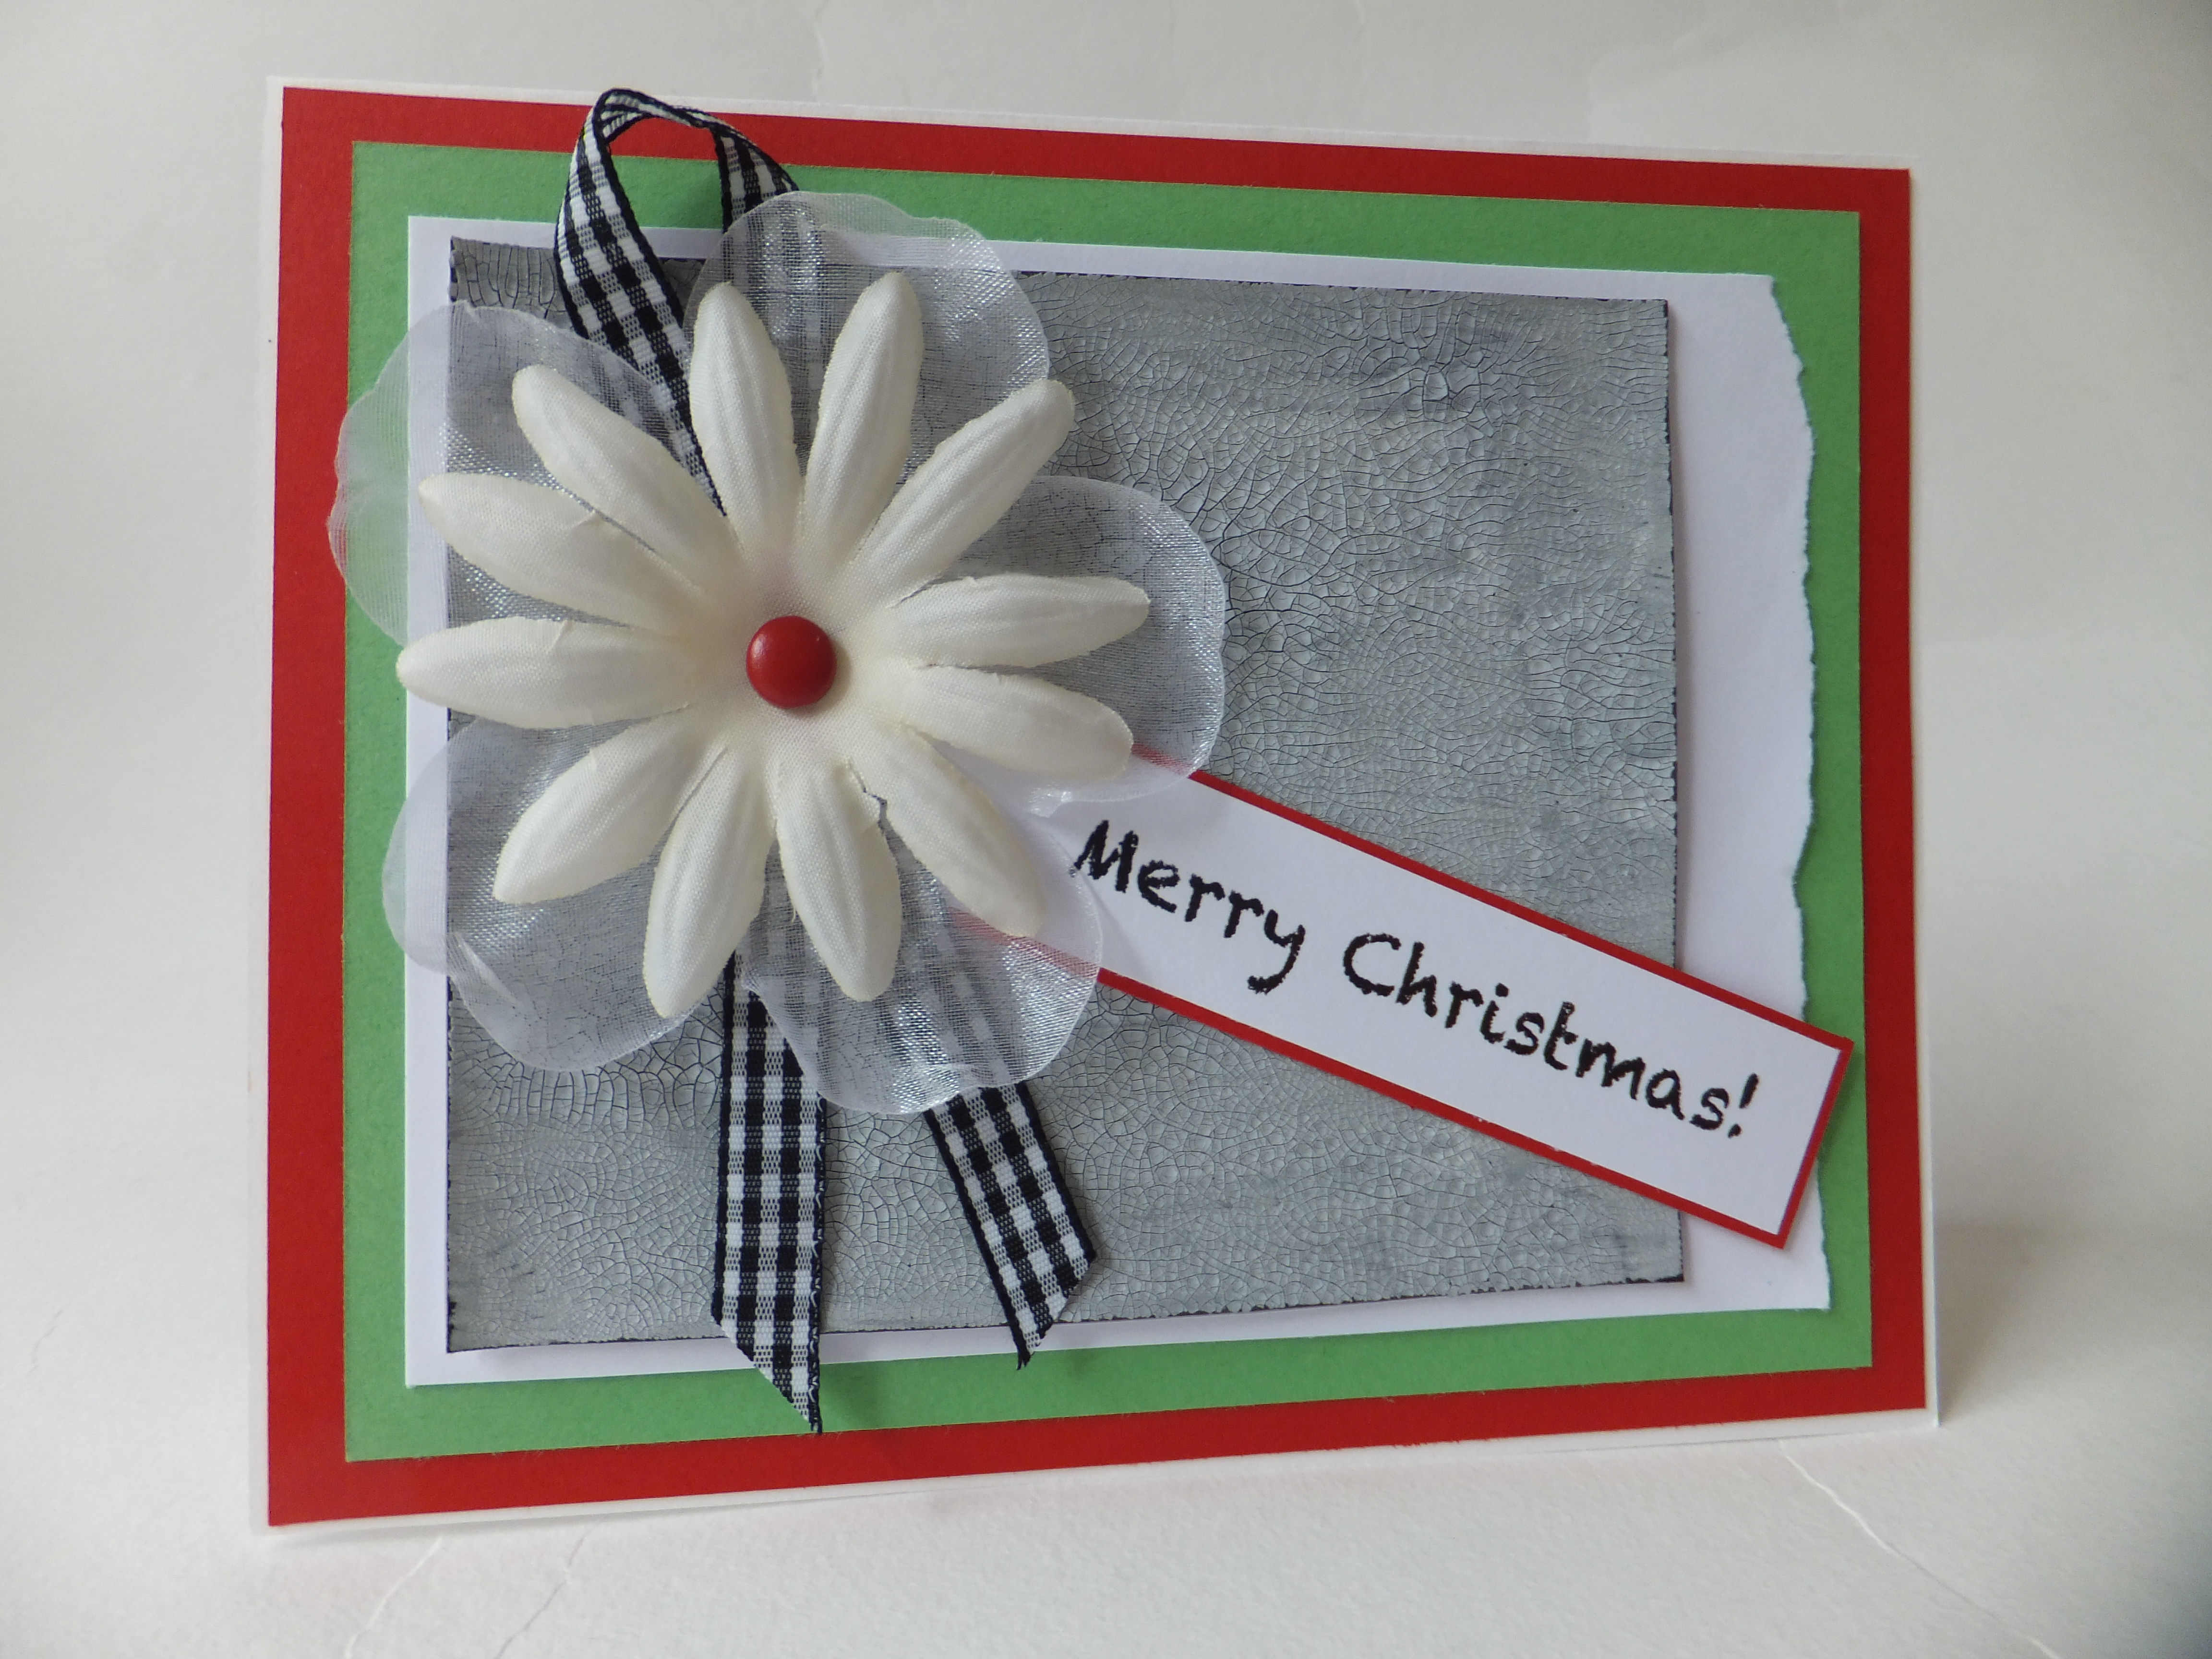
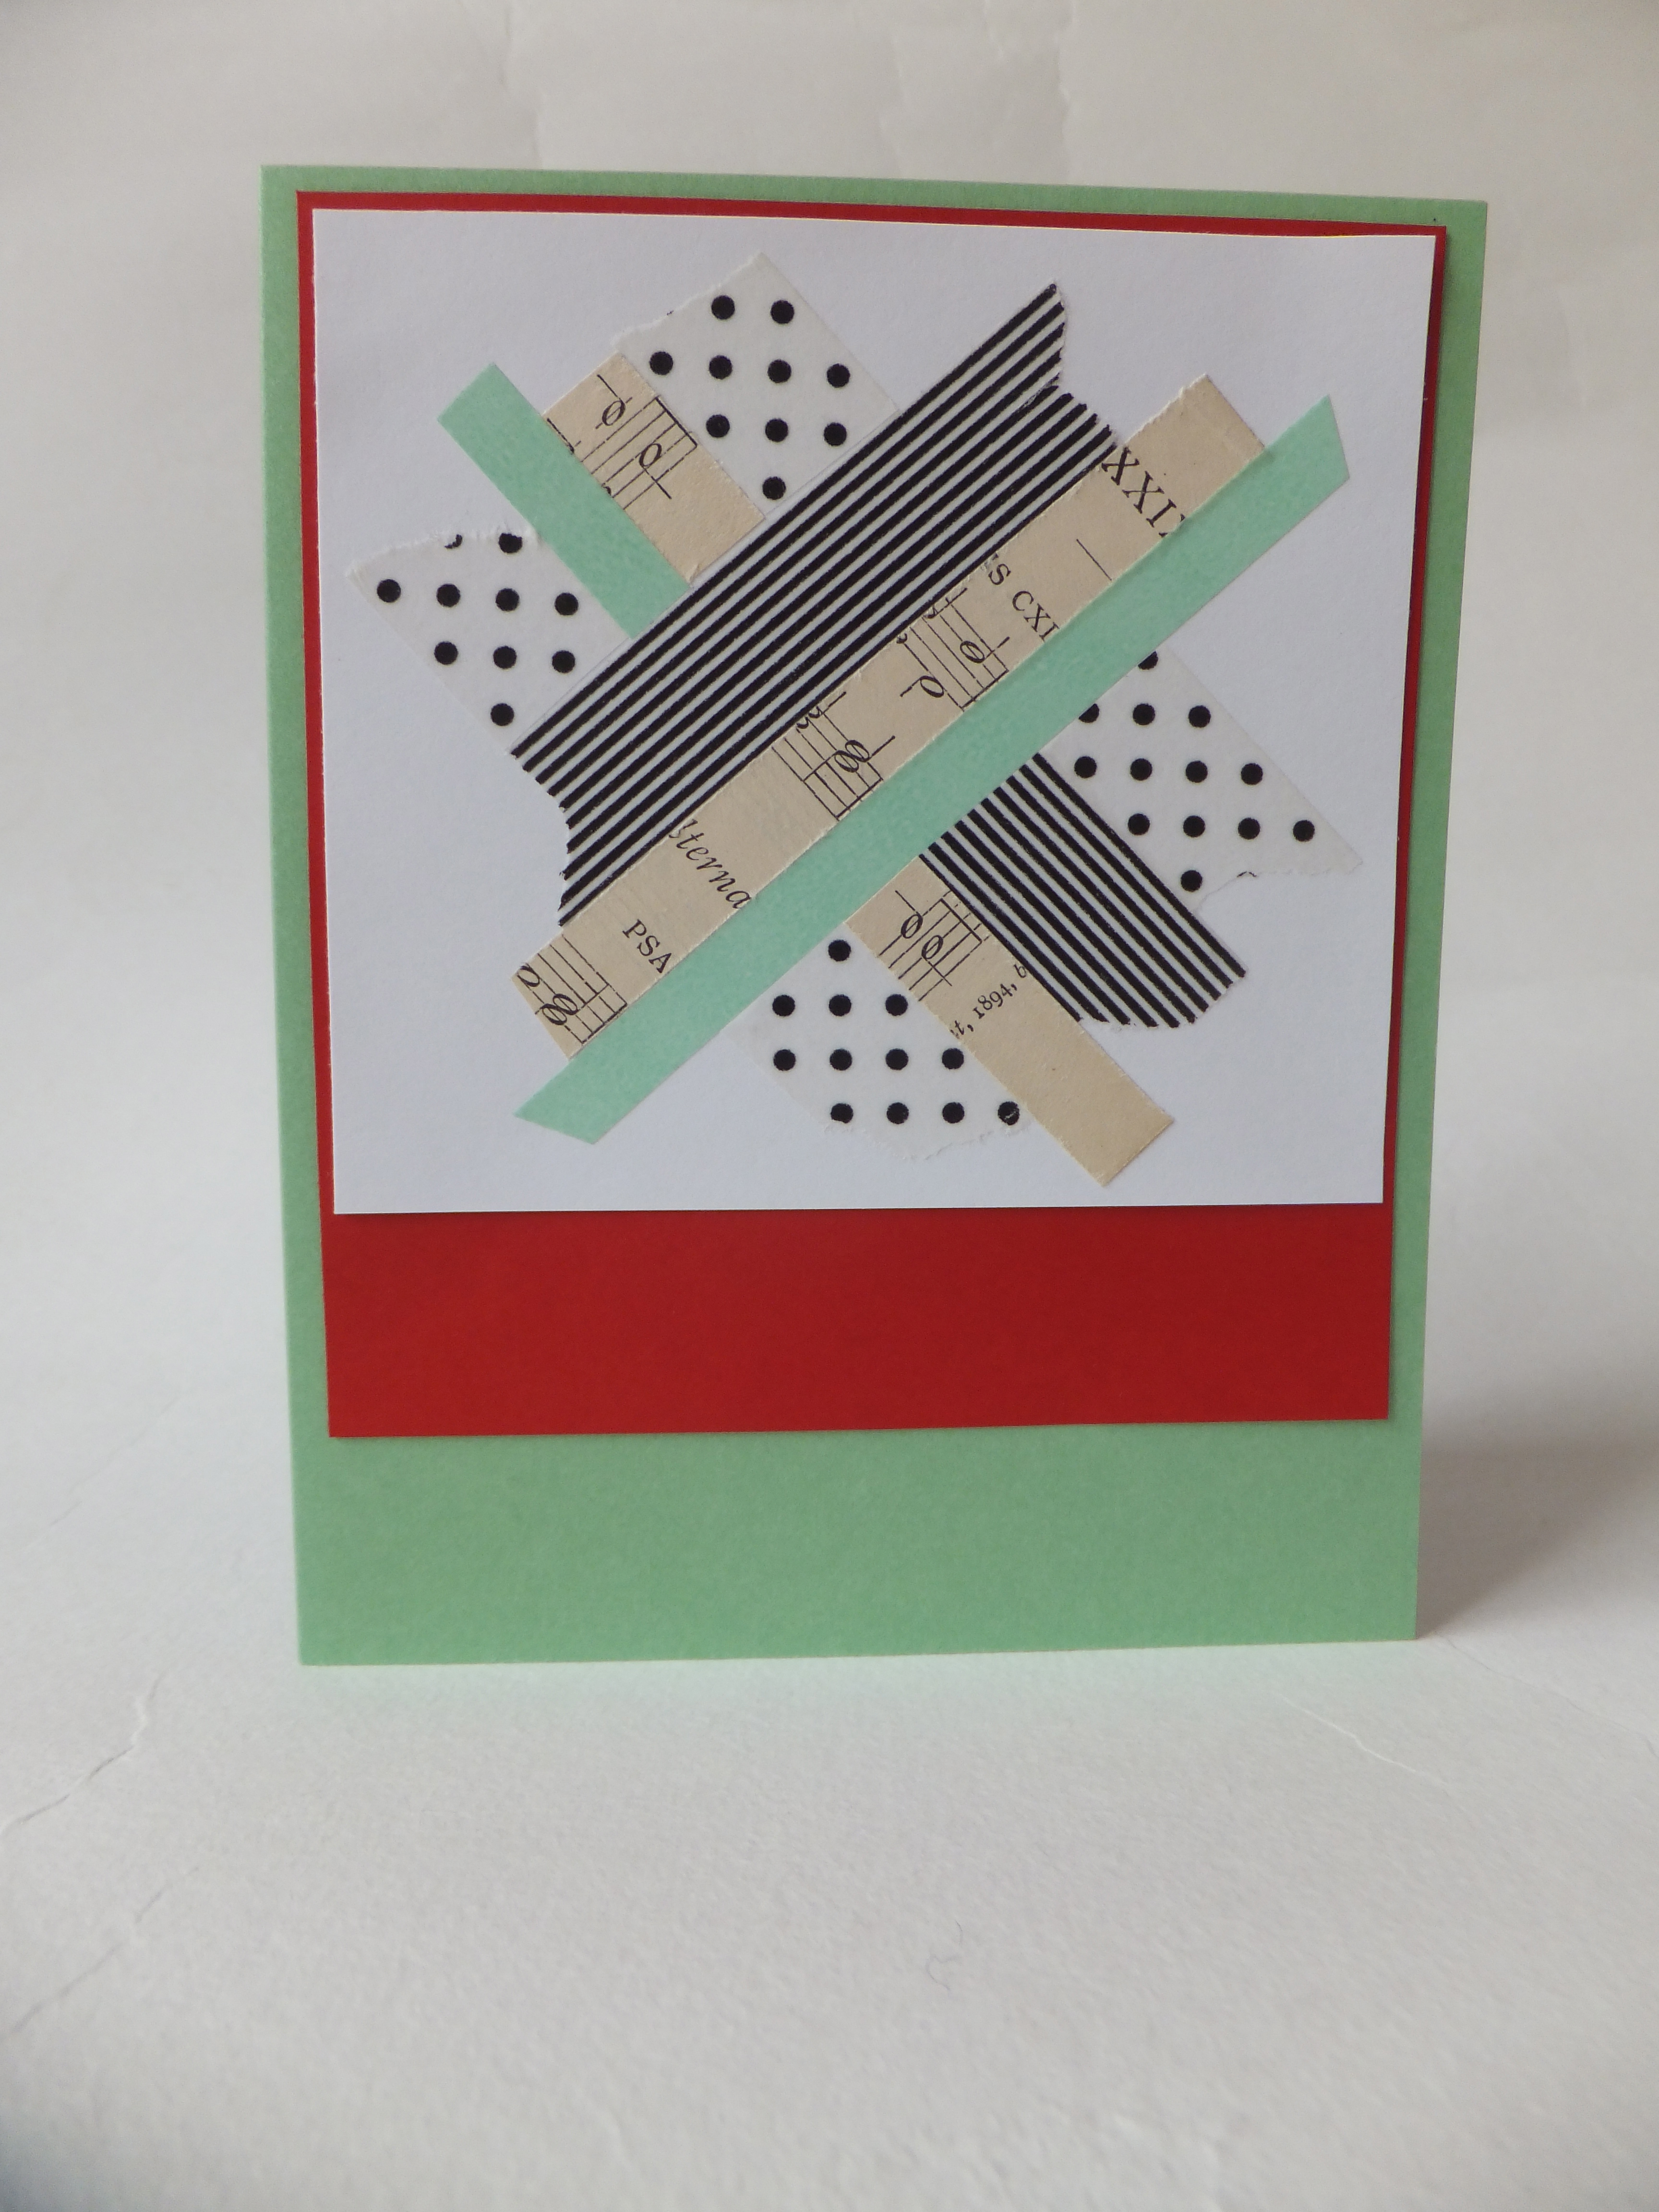
I really like the simplicity of this card….wonderful design.
I like playing with bubblewrap too:) Happy weekend to you.