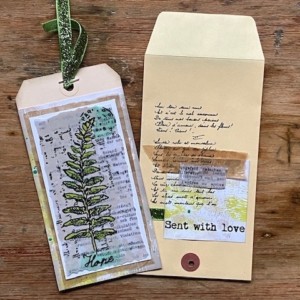
Today’s project is a seashore-themed tag mini book, loaded with lots of gorgeous patterned papers, cut-outs and stamped images—plus, resin-coated paper and two resin embellishments tied on the top. Let’s take a closer look!
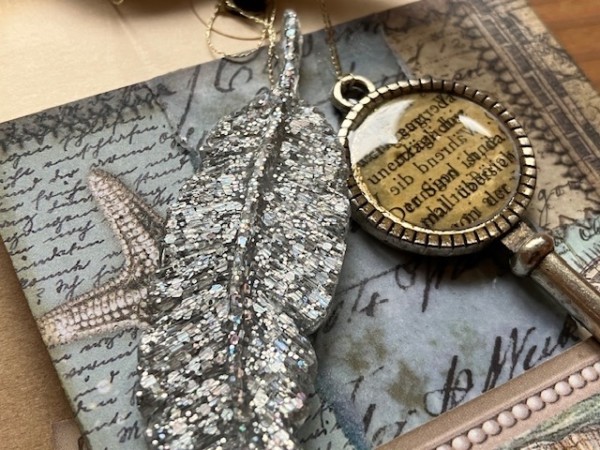
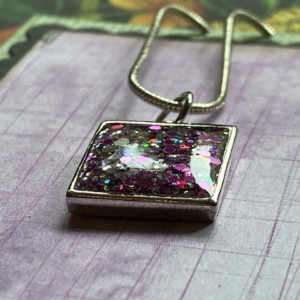
Both the feather and the key are made with two-part resin epoxy. (I’m using resin from ArtResin.) The key is using a sheet of resin-coated paper I made in a Facebook Live a couple of weeks ago, and the feather is resin mixed with Creative Expressions’ Holographic Glitterbitz, then poured into a mould.
Let’s start with the key! Here’s a sheet of resin-coated book paper.
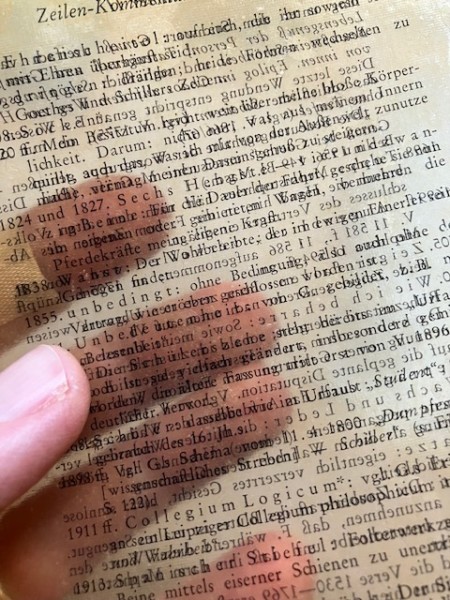
While the resin makes the paper stronger, it also turns it into a transparent sheet. You can still cut it, tear it and circle-punch it.
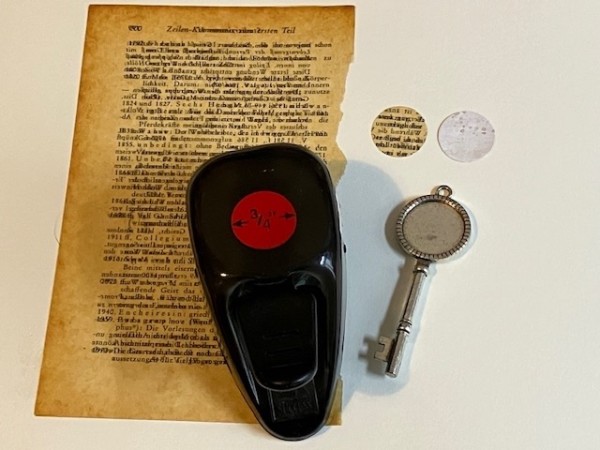
I glued the resin-coated circle to a piece of neutral-colored patterned paper and glued the two into the bezel of the key.
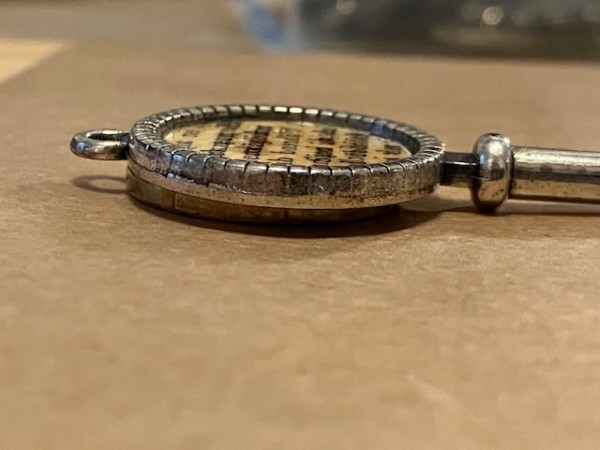
Because the key won’t lay flat due to the circular band at the top, I placed a coin underneath.
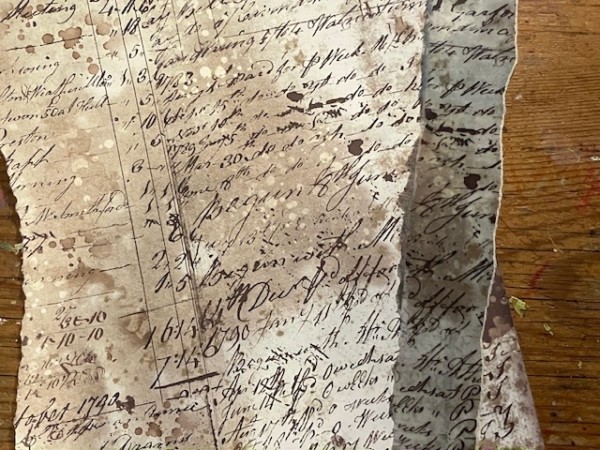
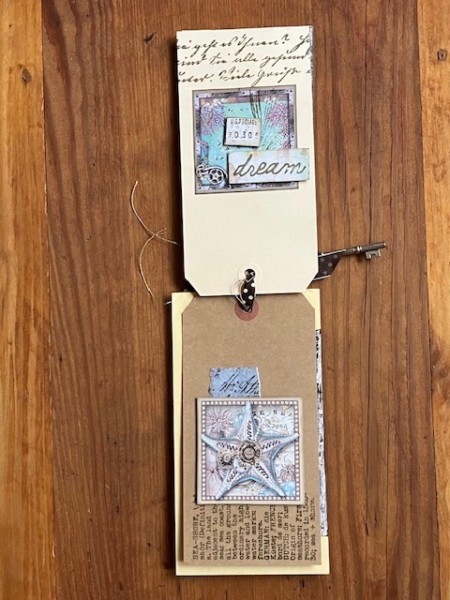
The papers I’m using are from the Stamperia Songs of the Sea collections—the Songs of the Sea Paper Pad, and the Songs of the Sea Backgrounds. This “aged” sheet of script paper gets an authentic altering process when I coated it with resin—look how it turned a kind of blue color!
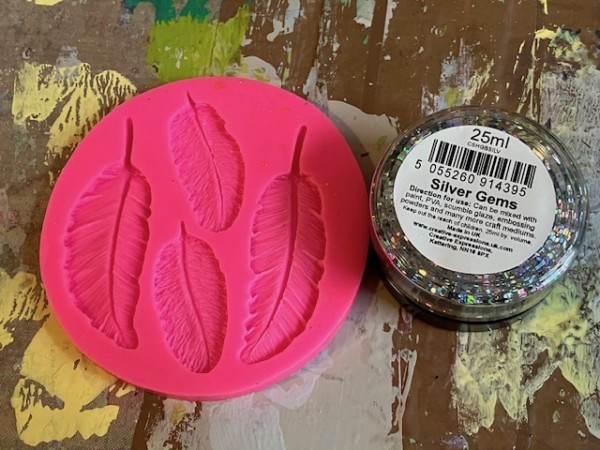
To make the feather, I mixed clear resin with Silver Gems Glitterbitz, then poured it into the mould. Let it set for 24 hours, then pop it out and you have an instant embellishment.
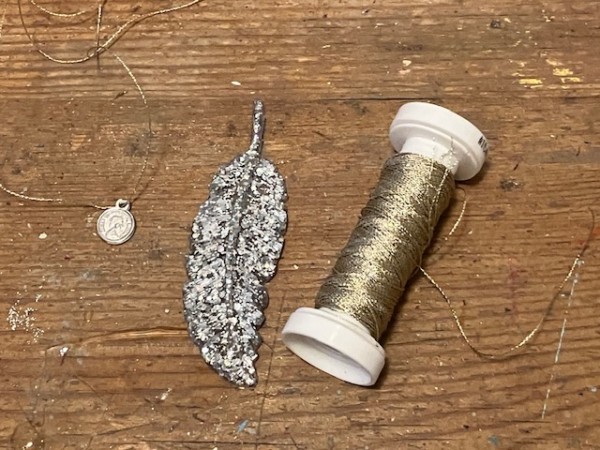
To attach the feather, I glued a small bail to the back and tied it with metallic thread.
And now to put it all together, using two PaperArtsy stamp sets: Eclectica ESN54 and Eclectica ESN 61.

To make the pages for the tag book, I’ve started with plain manila tags and covered them with papers from the two 8″x8″ paper packs. The packs also contain cut-outs like the one you see on the cover here. A torn strip of the resin-coated paper is in the center. Here are the subsequent layouts—
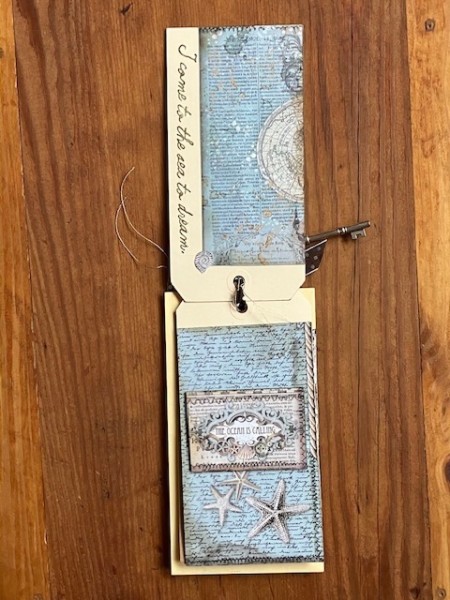
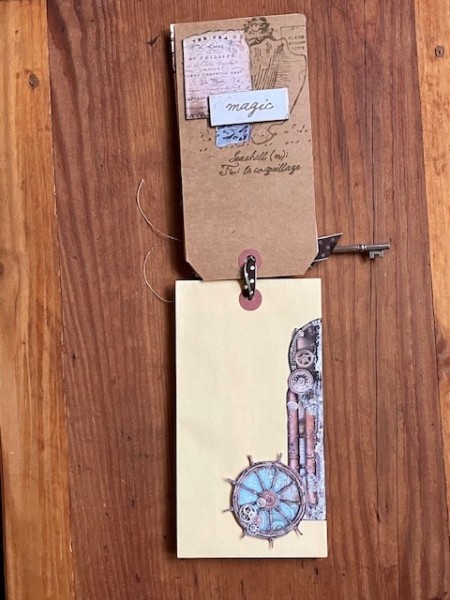
That second page with the wheel cut-out is a tag envelope I found in my stash!
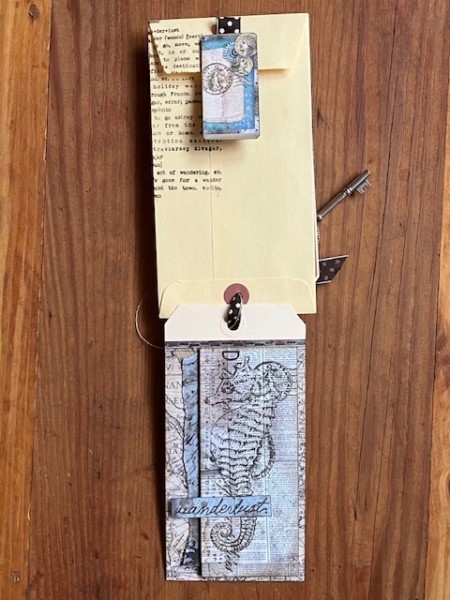
Here’s another look—
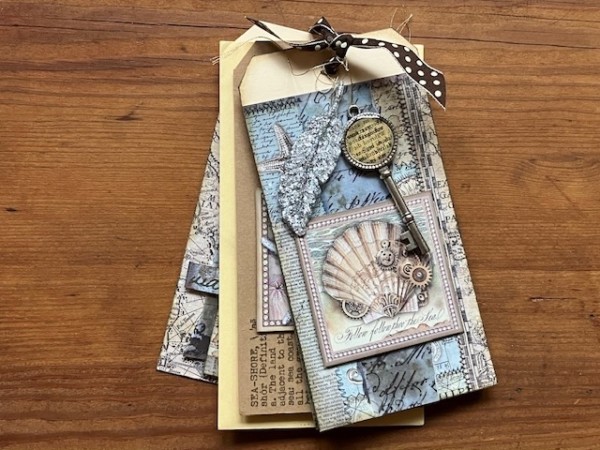
I used some dot ribbon to tie the tags together, and then used the embroidery thread to secure the key and the feather. When you tie the tags together, be sure to leave about a finger’s width between the knot and the tag so the pages can turn easily. Add more or fewer pages, tuck something inside that envelope or add in quotes, photos and other memorabilia—the choice is yours!