
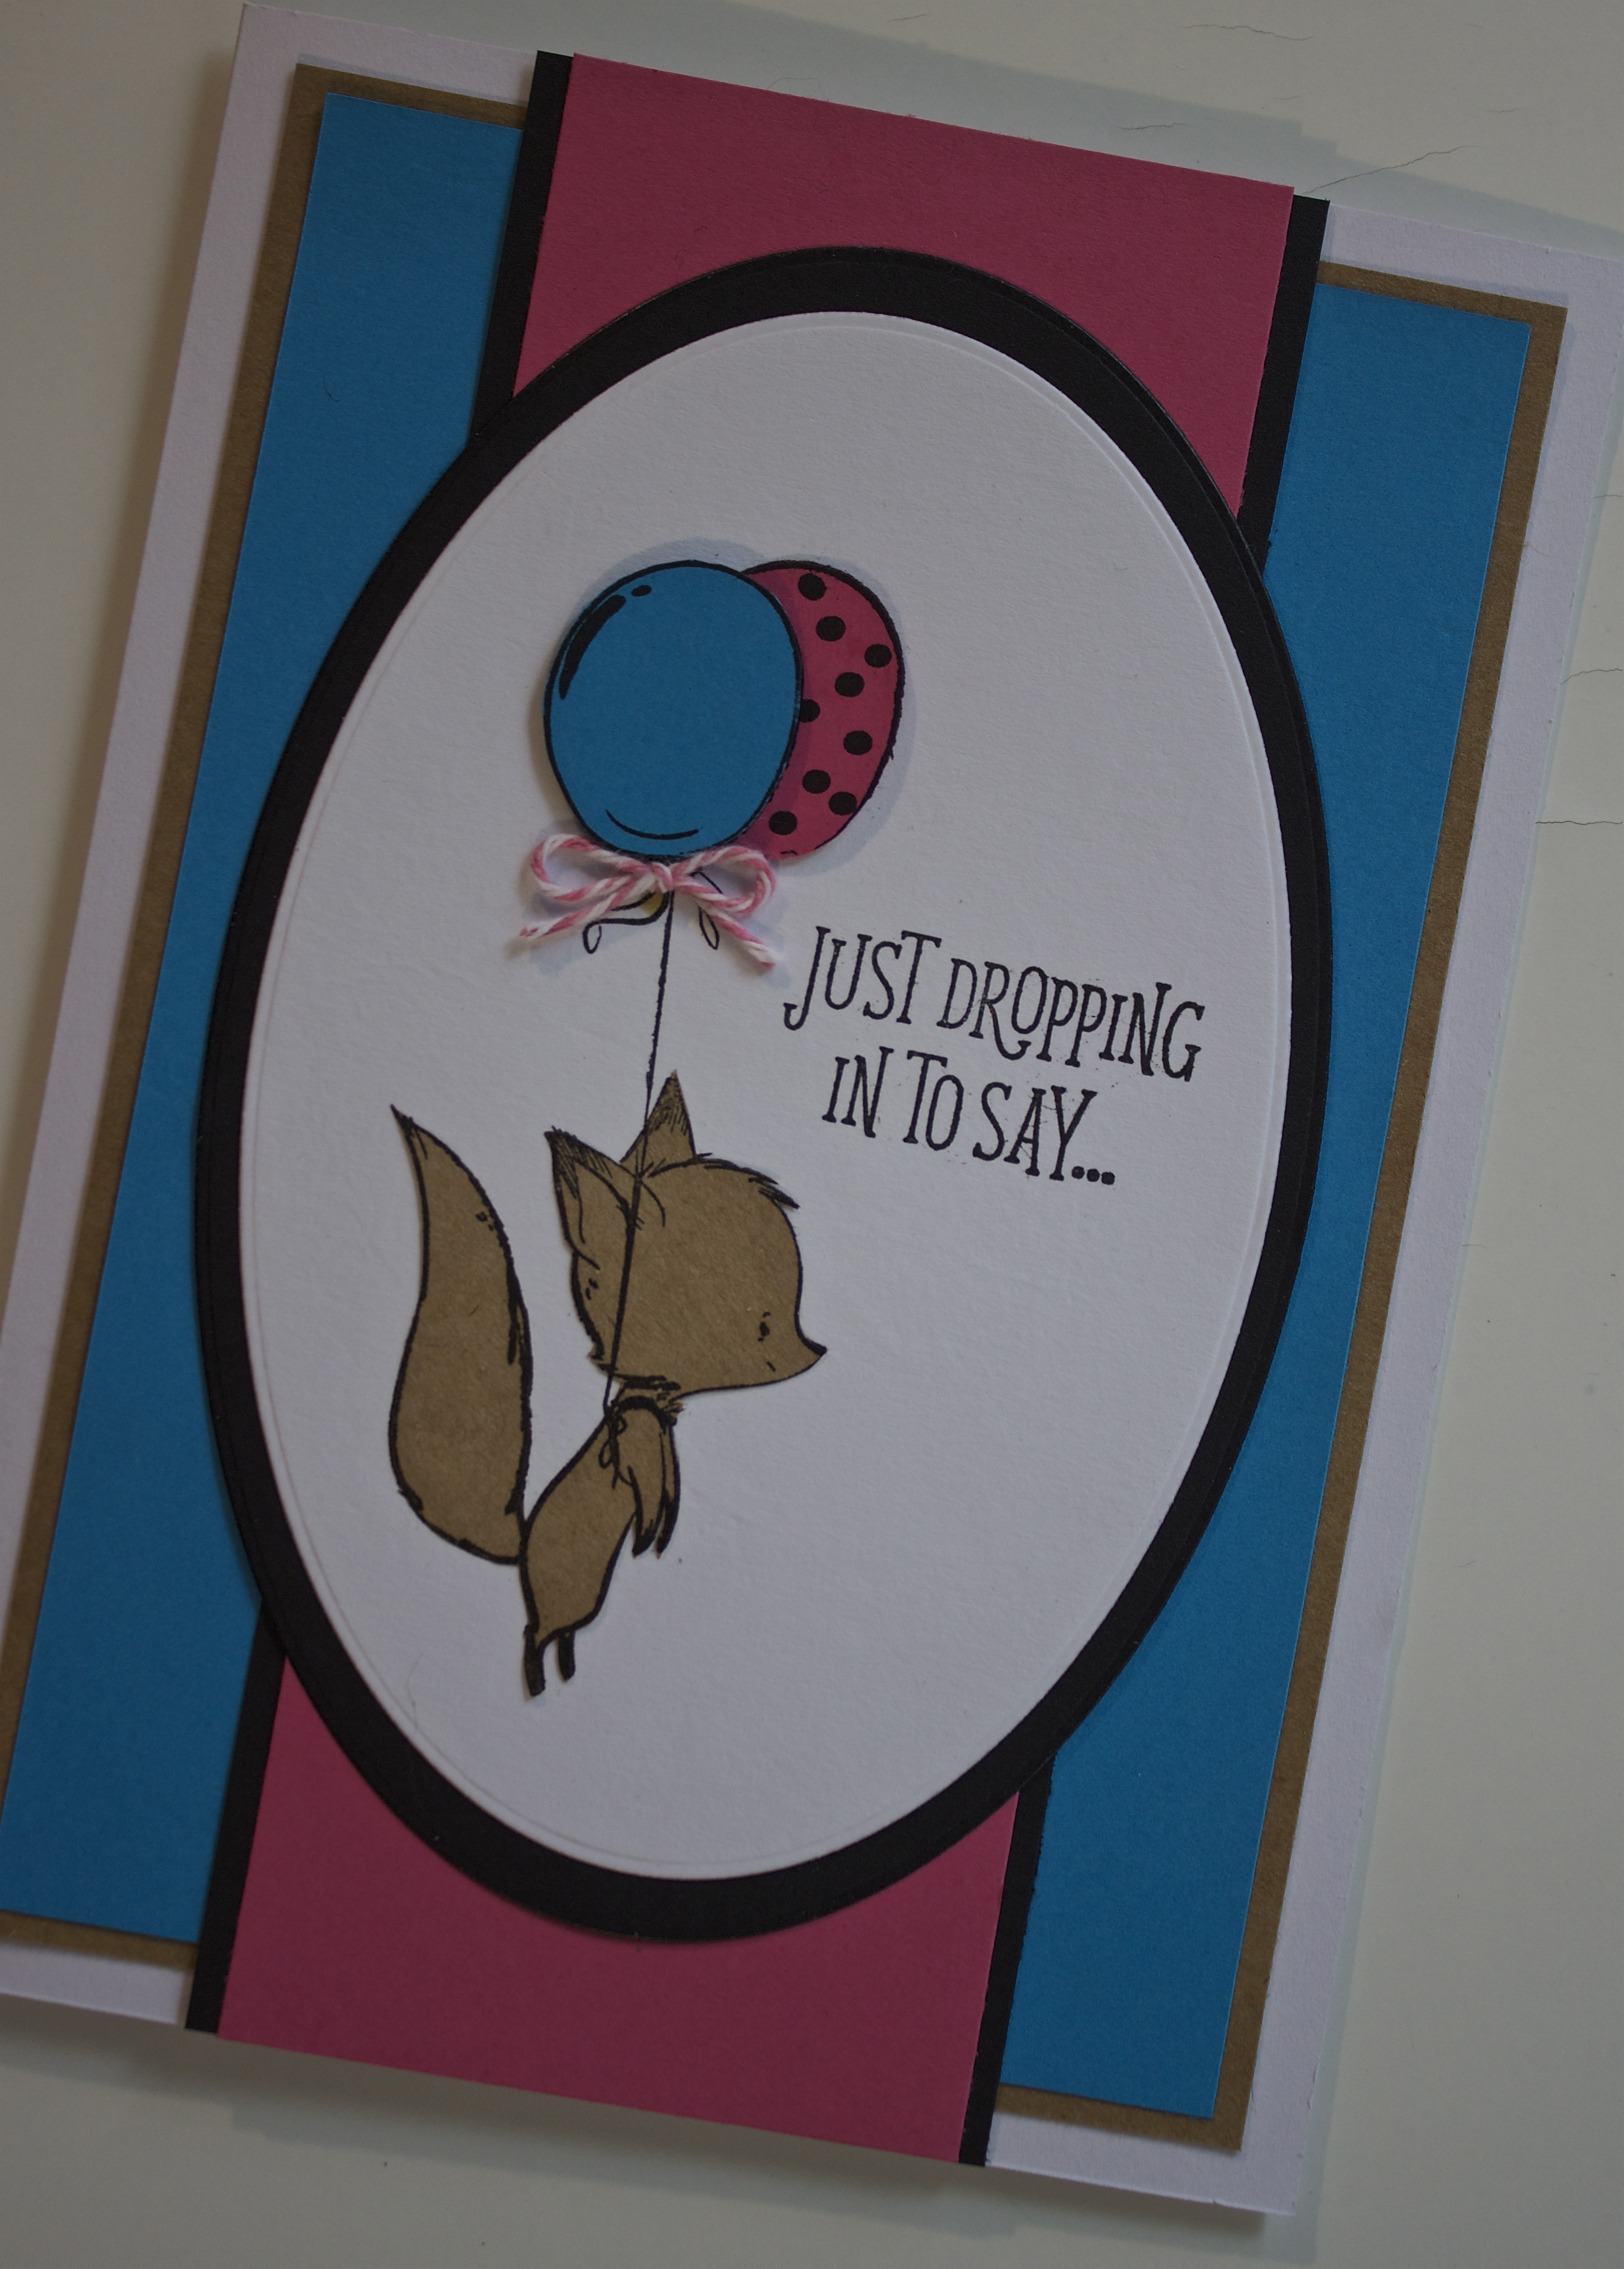
Happy Wednesday! Today I want to share a fun and easy stamped card, featuring My Sentiments Exactly stamps. These are new from Create and Craft, and I’ll be demonstrating with them on Thursday at 12:00 and 4pm UK time. I hope you can tune in!
One technique I want to share is paper piecing a stamped image. Even though I’m not a fan of fussy cutting (I may have mentioned this before???), I like this technique because it allows you to add dimension and personality to a stamped image—plus it’s a great way to get a completely different look to a stamp. It’s easy: Just stamp the image onto white cardstock, then stamp again on other cardstock colors. Cut out the colored images and glue them onto the original. Foam tape is also great for adding dimension. Let’s take a look:
Just Dropping In, what you need—
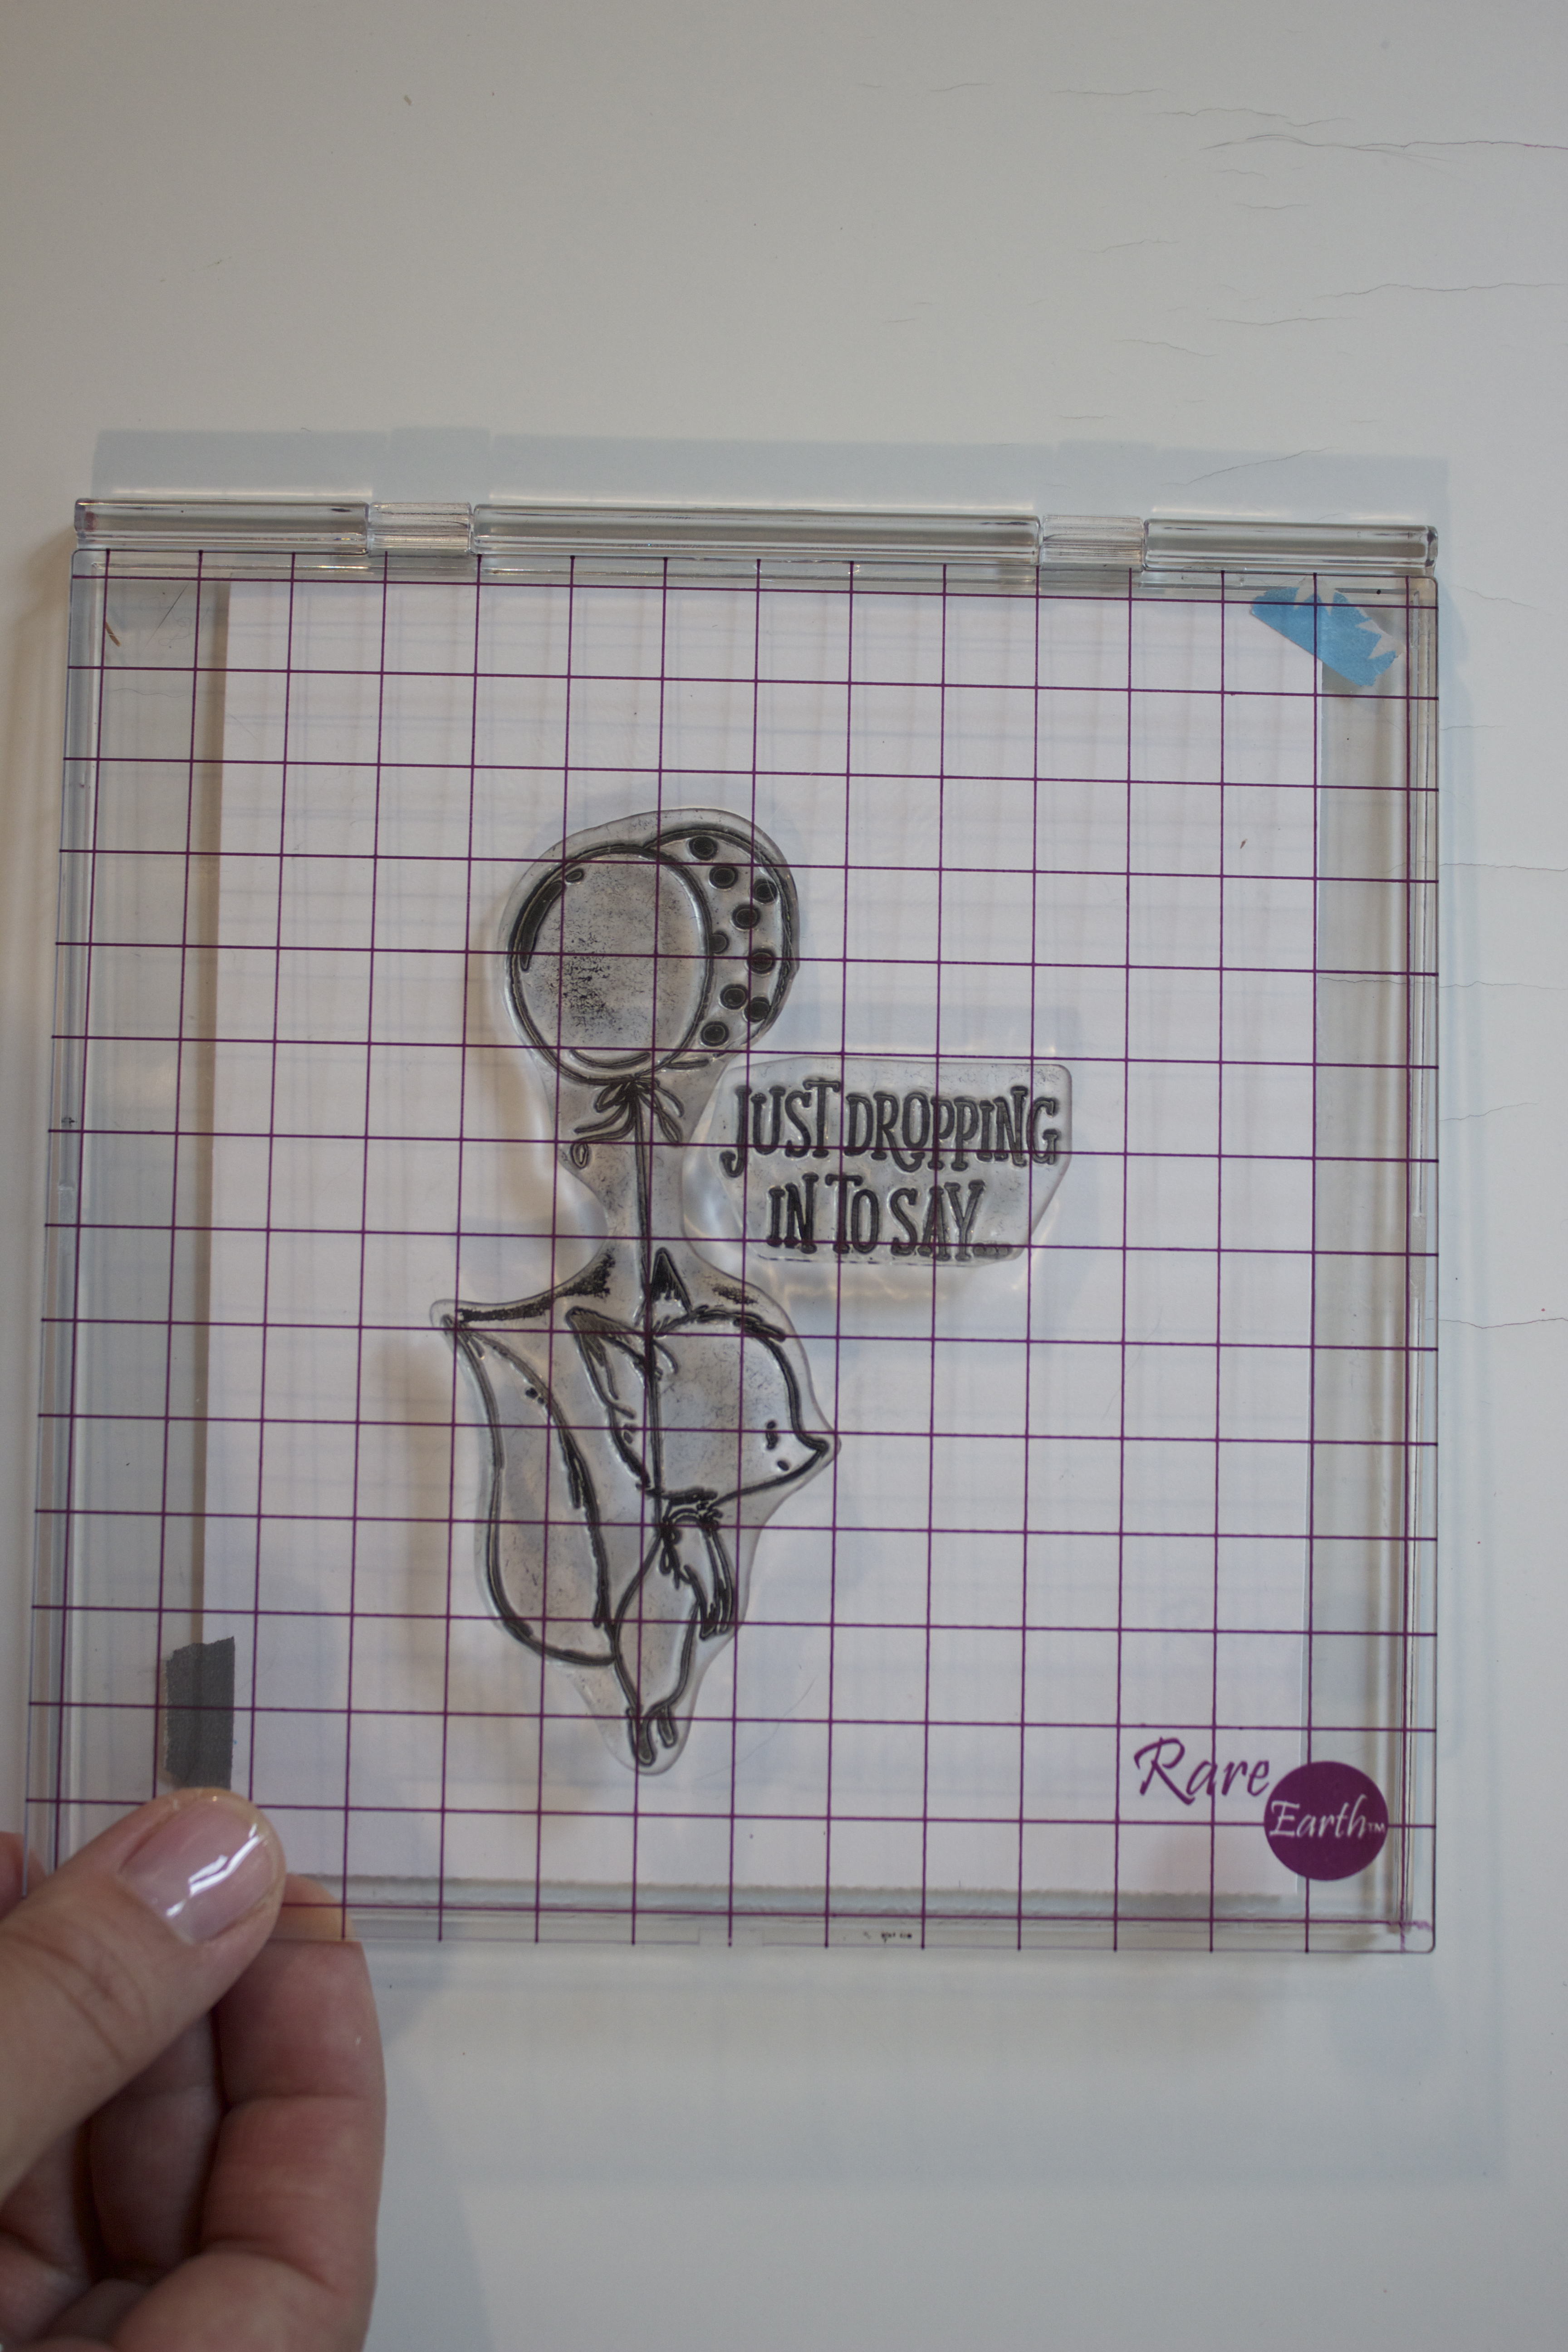
- What The Fox Says stamp set (My Sentiments Exactly)
- Everyday Essentials Ovals die set (Tattered Lace)
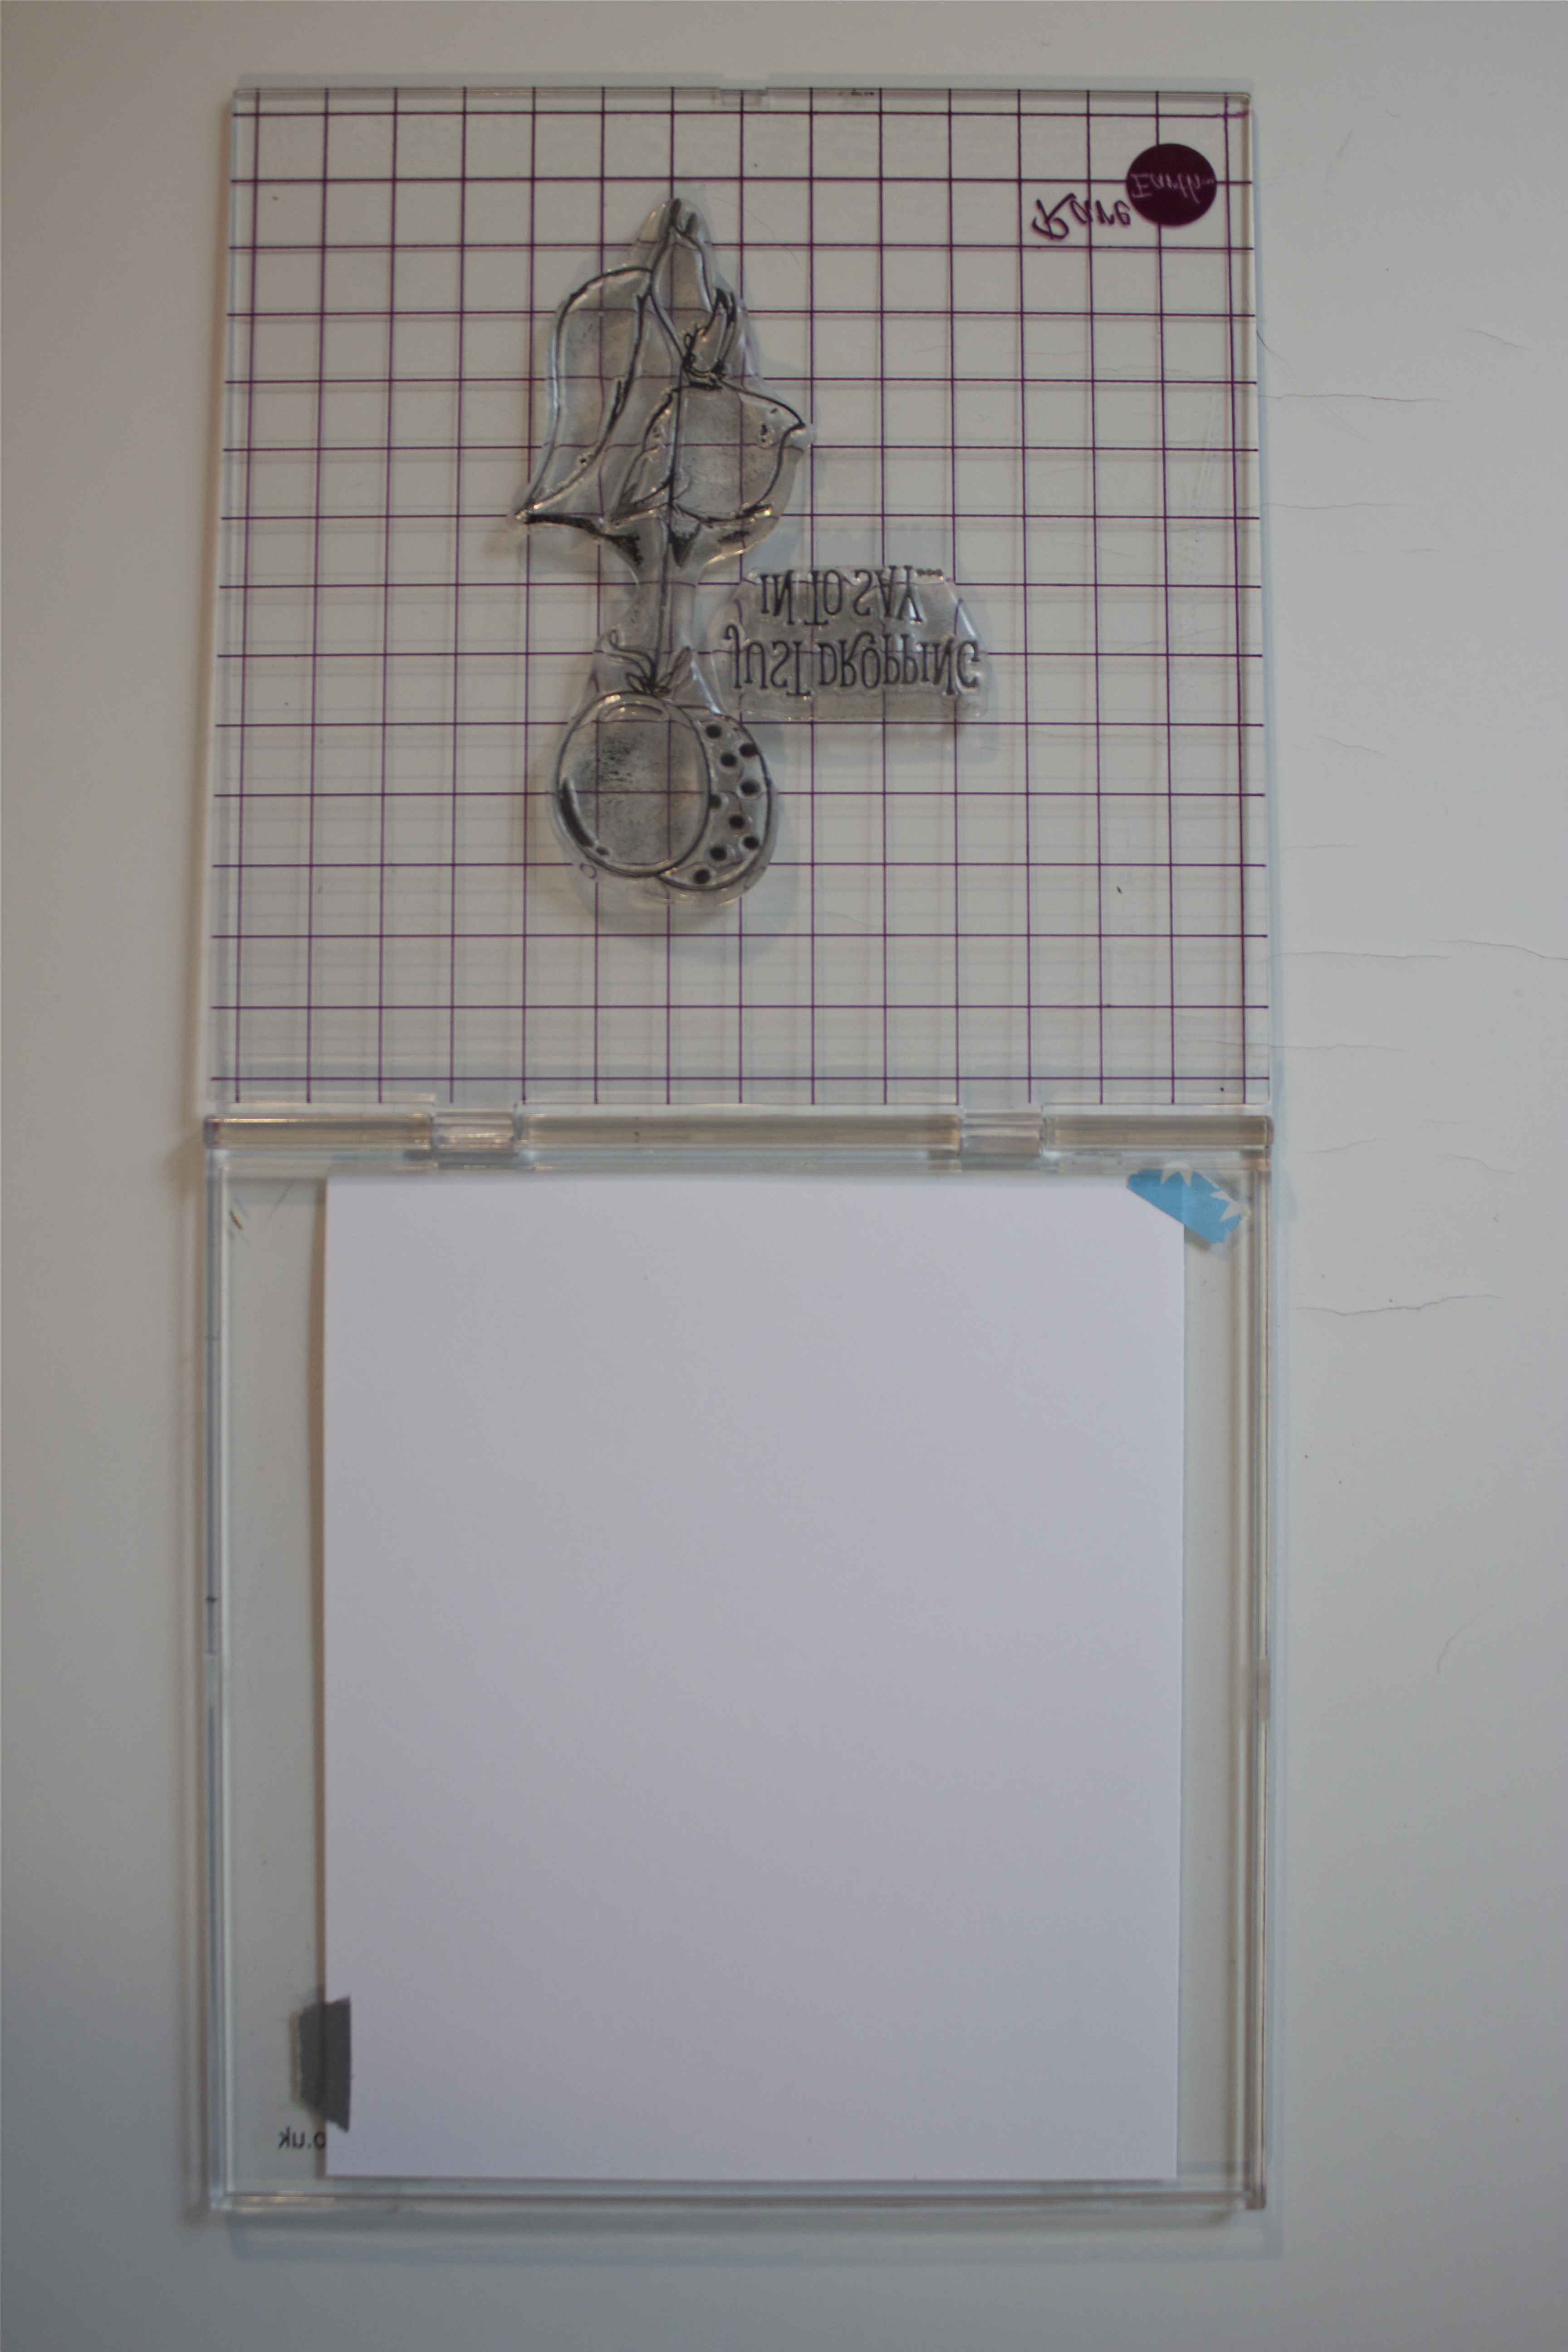
- Load ‘N Fold Stamping Tool (Rare Earth/Tattered Lace)
- Die cutting machine
- Black inkpad
- Cardstock: White, black, pink, teal, kraft
- Pink baker’s twine
- Blank white card
- Foam tape
Just Dropping In, how to make it—
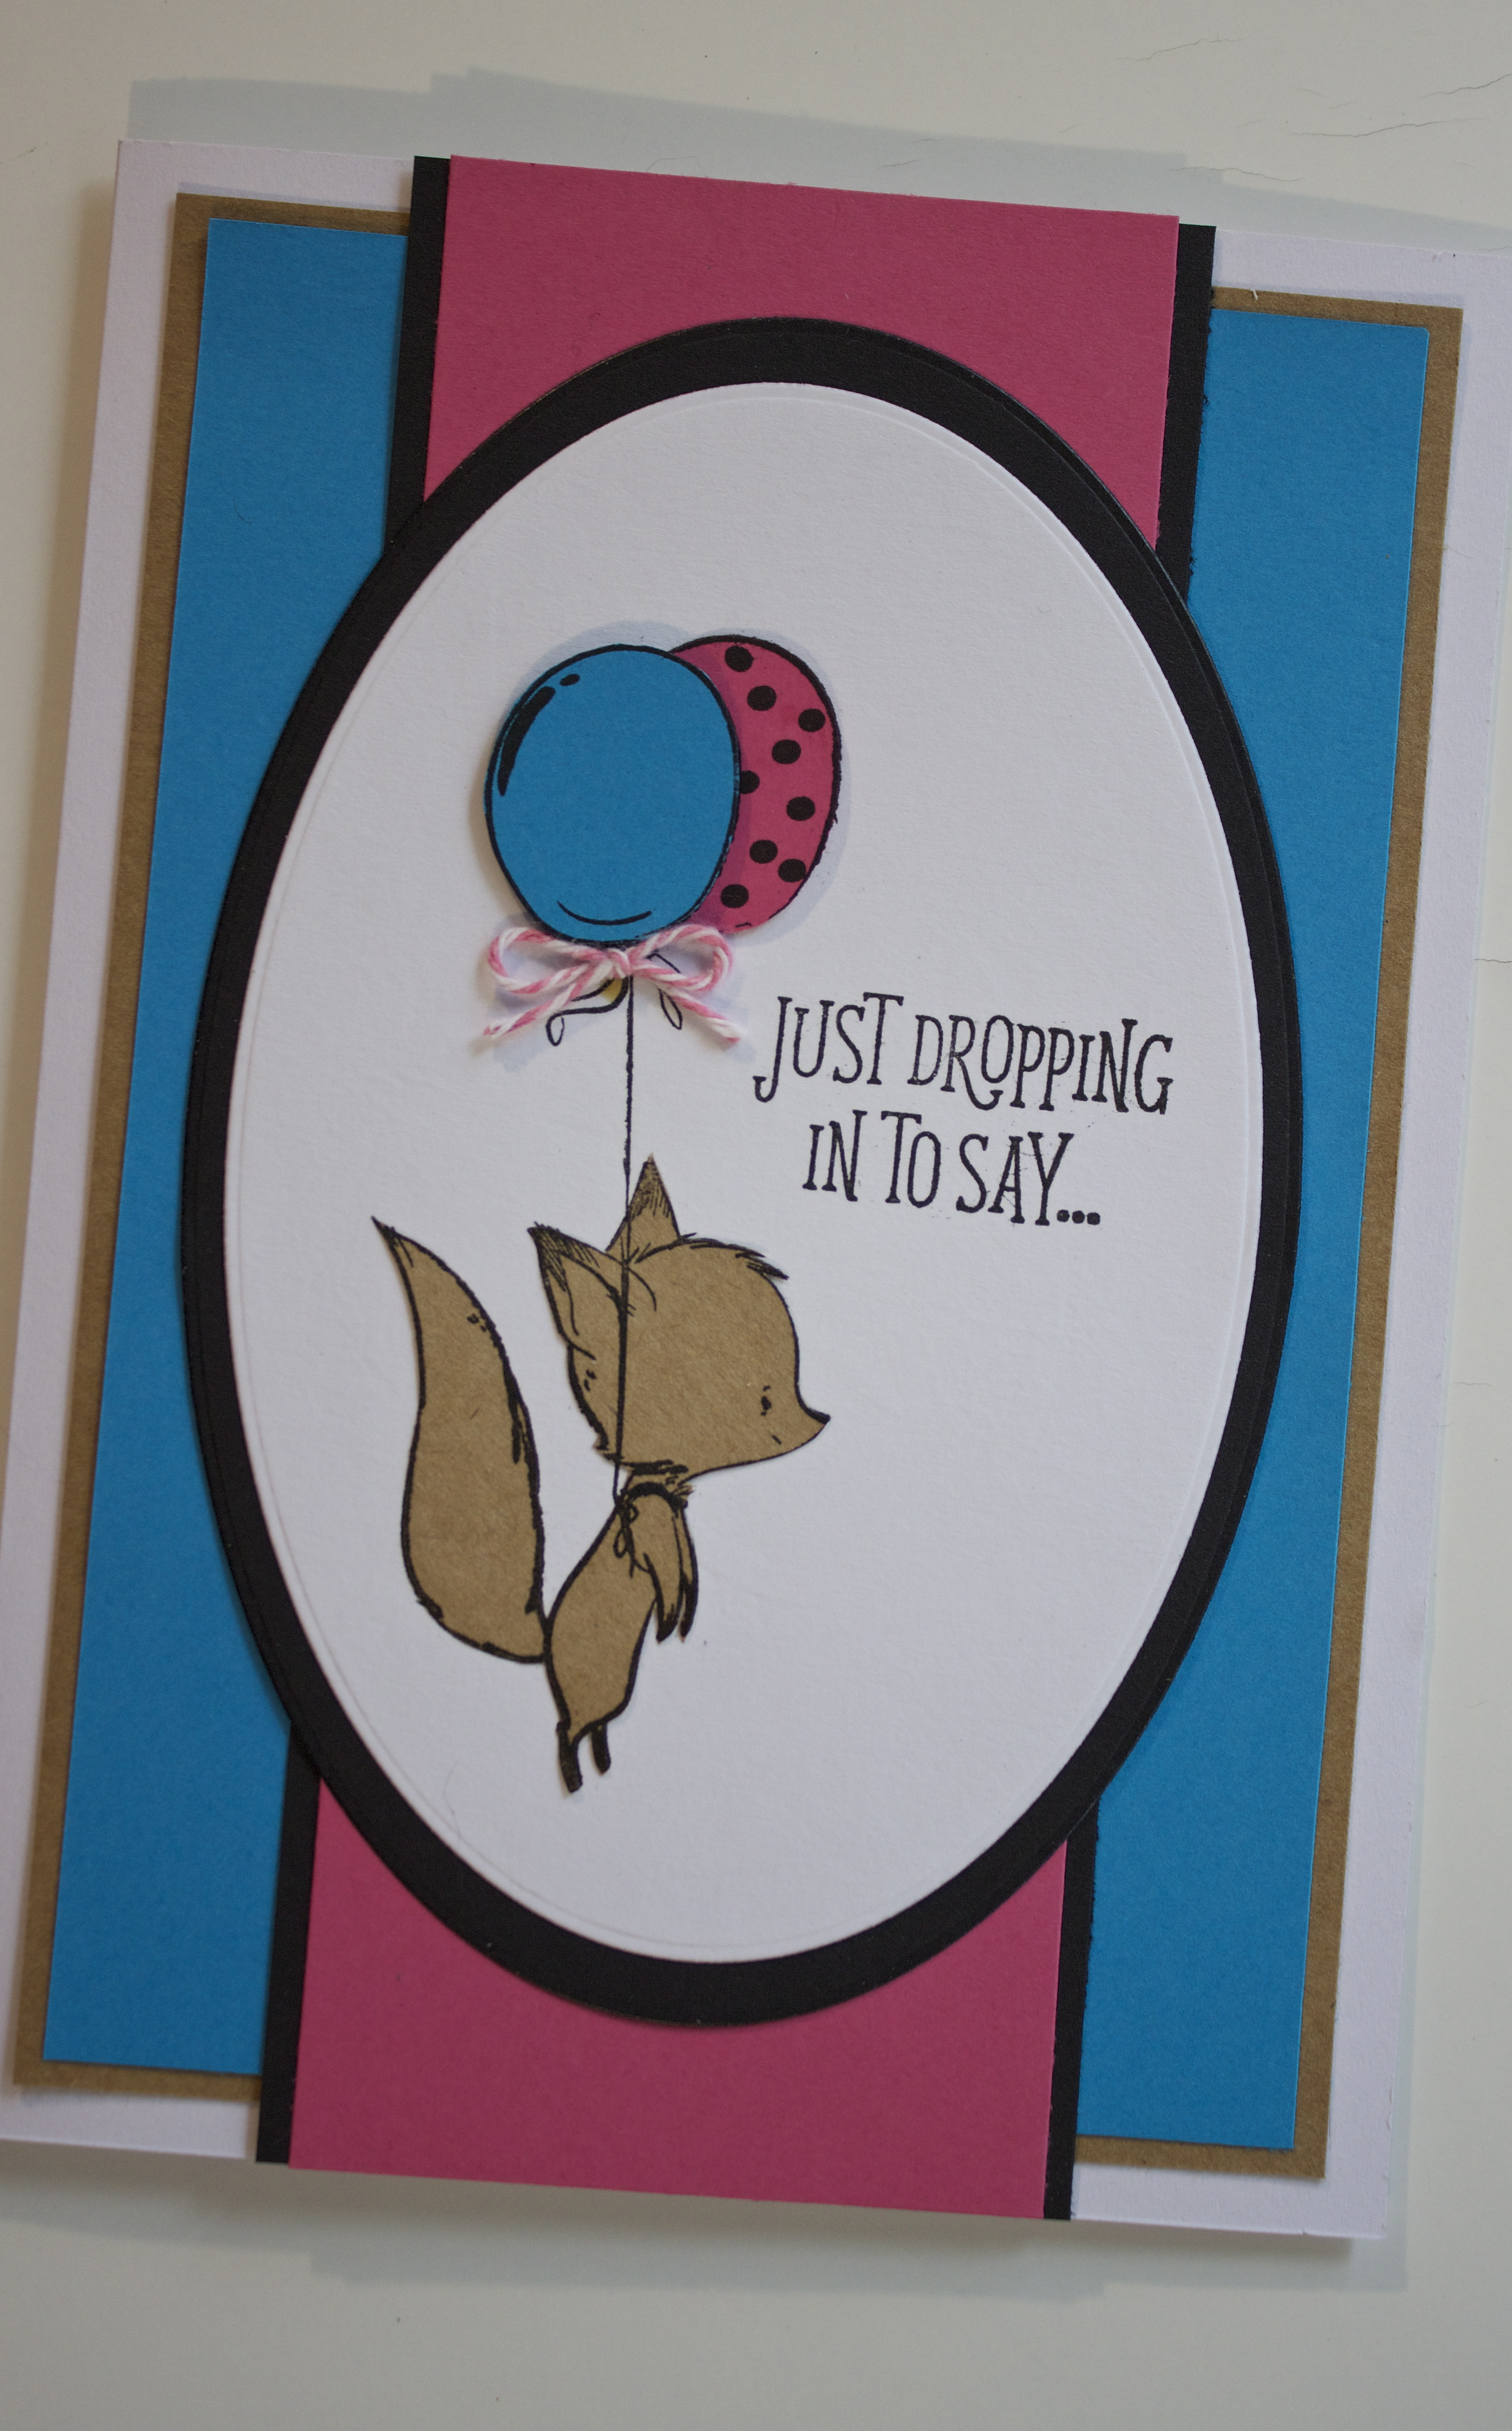
Stamp the fox with balloons and sentiment with black onto white cardstock. Note: I love to use the Load ‘N Fold tool—it guarantees me perfect positioning and my stamping is always crisp because the tool ensures just the right amount of pressure and leverage. See the 1-2-3 below—

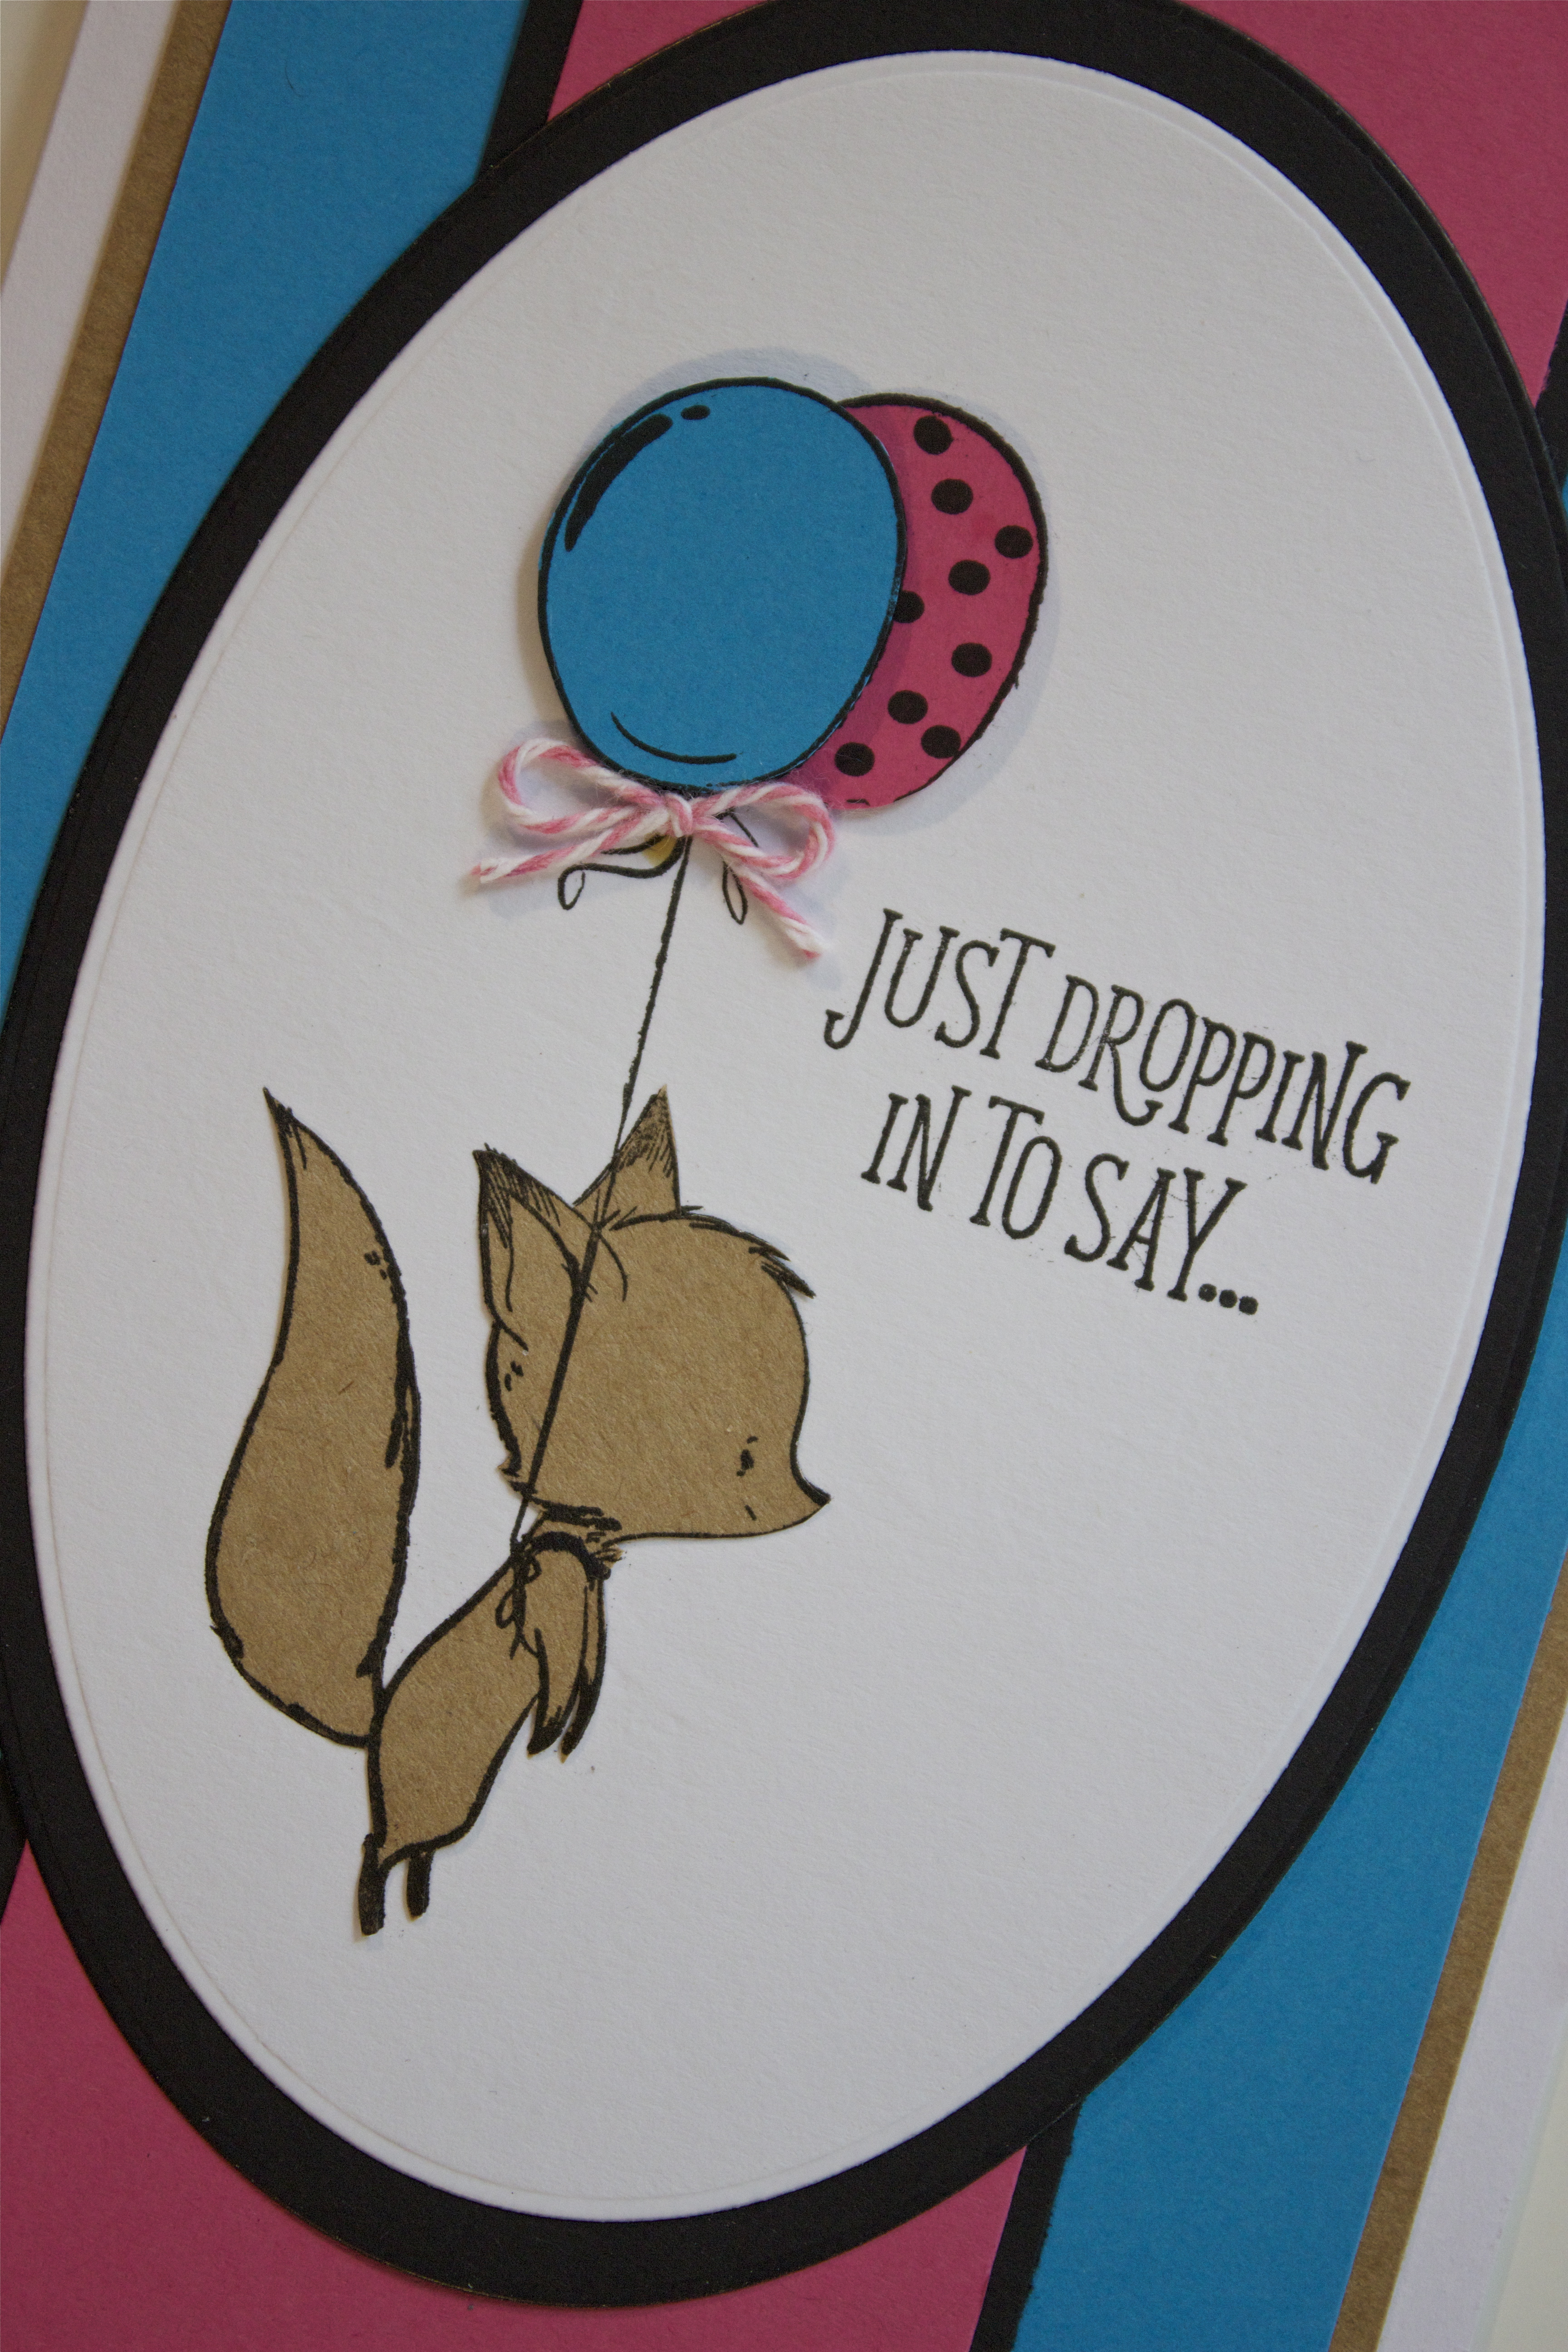
Stamp just the balloons onto both pink and teal cardstock. Cut out the blue balloon and the pink balloon. Glue over the original stamped image, adhering the blue balloon with foam tape.
Stamp the fox onto kraft cardstock. Cut out and glue over the original stamped image.
Die cut the image into an oval shape. Die cut a larger oval from black and glue as a mat.
Cut teal cardstock slightly smaller than the card front and mat on kraft, then glue to the center of the blank card.
Mat a strip of pink cardstock on black and glue to the center of the card front. Add the stamped focal on top.
Tie a bow in pink baker’s twine and glue to the base of the balloons.
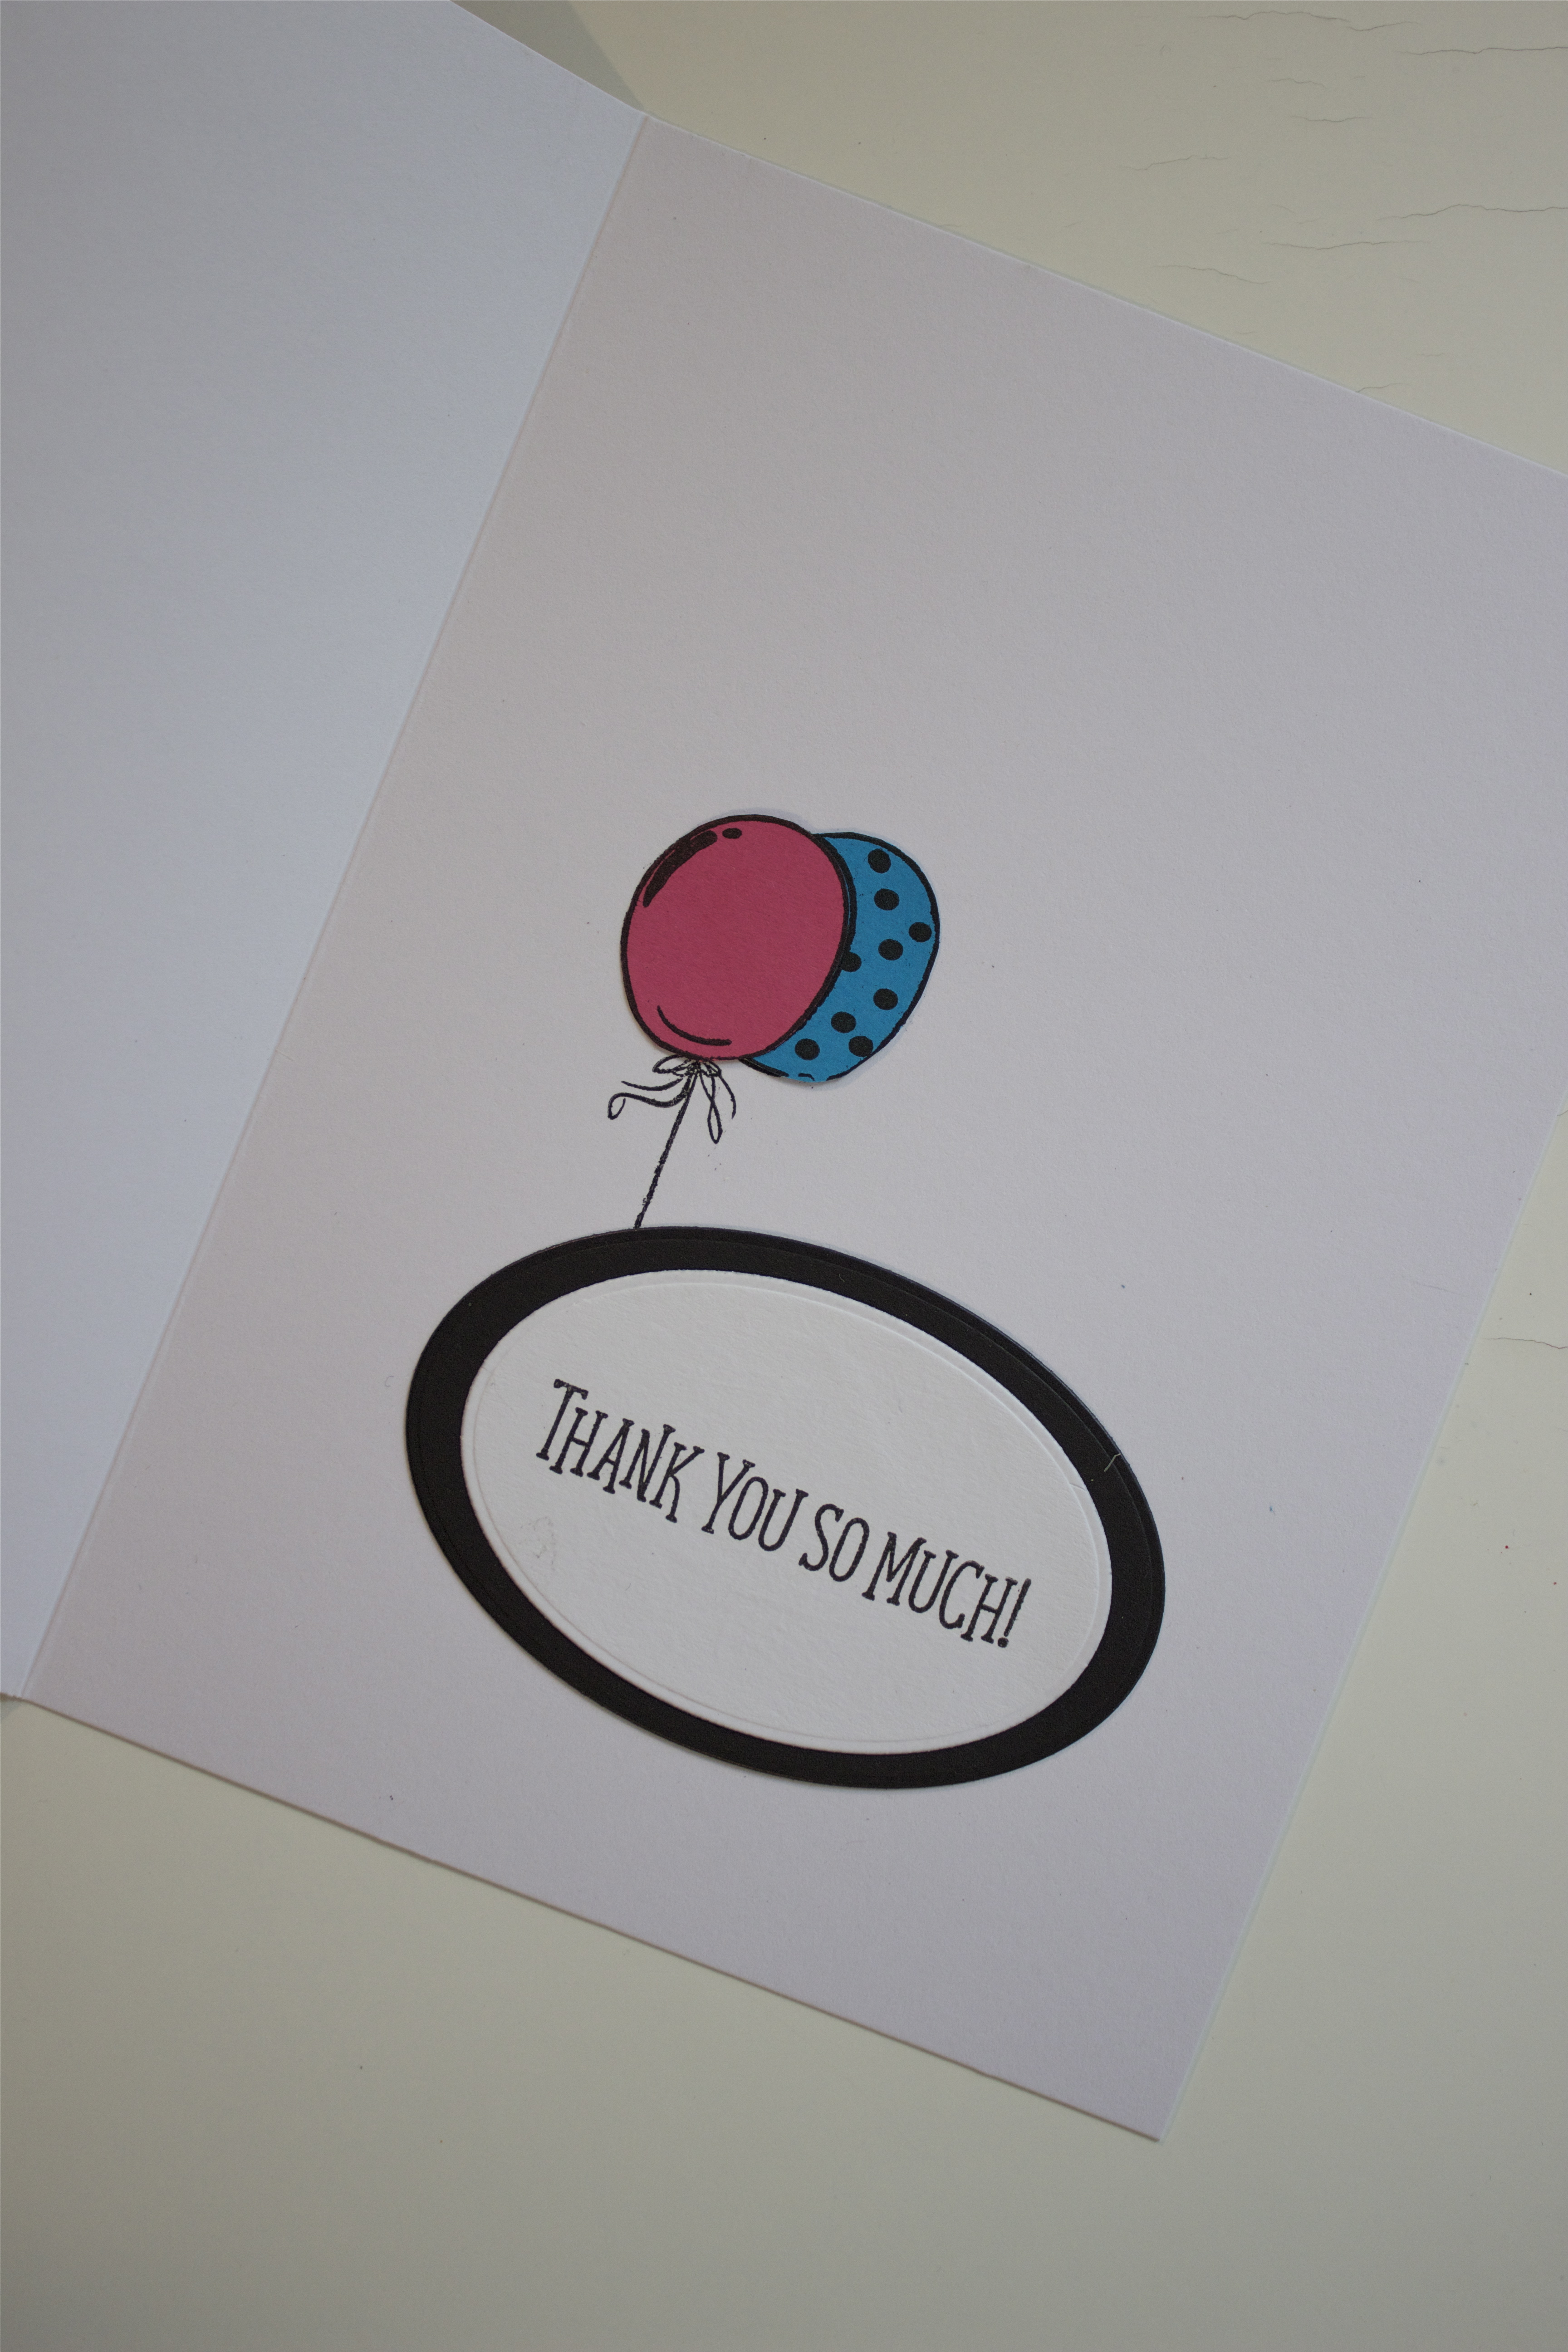
For the card inside: MSE is known for their “innies and outies” stamps…providing you with sentiments for the outside and for the inside of the card.
Ink only the balloons portion of the stamp and stamp inside the card.
Stamp the balloons onto pink and teal cardstock and cut out and layer onto the original image as before. Tip: I didn’t use foam tape for the inside of the card, simply because it can make the front a bit lumpy.
Stamp “thank you so much” onto white cardstock and die cut into an oval. Die cut a larger oval and glue as a mat. Adhere to the inside of the card.
Once again, the card front:
I really do hope you can tune in this Thursday for demos, ideas and more…all on Create and Craft!


