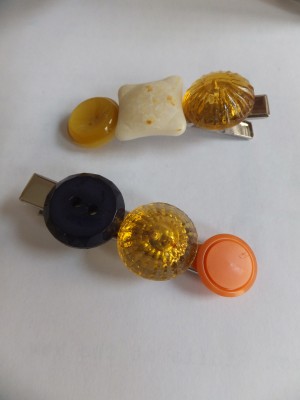
One of my favorite craft projects lately is button clips. I buy my vintage buttons at the market (the Noordermarkt on Monday mornings here in Amsterdam—they seem to have a limitless stash and will give you a good deal if you buy a lot) but you can of course also use new buttons too.
They’re super-simple to make and I wear daily the ones I couldn’t part with. (The rest I reluctantly parted with in order to sell at The New Label Project.)
You’ll need:
• Buttons (vintage or new); the kind without the shank—or, in the case of vintage, with a metal shank you can clip off
• Alligator hair clips
• E-6000
• Scrap cardstock
If your button has a shank (that’s the loop on the back you’d use to sew it on), then you’ll need to clip it off with pliers. This is not a task to take on lightly because some of the shanks are super-hard to get off and you need to be as strong as Popeye to squeeze them off. If it’s plastic and part of the button itself, you might just as well use the button for something else because if you do clip it off, you can often break the button in half or end up with jagged plastic on the button back.
But if the shank is a metal loop, you can use some heavy-duty pliers to clip it off. Please protect your eyes with safety glasses. (I’ve also worn my gigantic sunglasses when doing this, but then things are a bit dark so it’s probably not the best idea.)
So, shank-less buttons are pretty much your best option.
I use the Alligator hair clips from Cousin Corp because they really stay in your hair, unlike bobby pins. Adding buttons makes the pins heavier so if you have fine hair like mine, the weight on bobby pins means they will slide right out. The alligator clips are perfect, though.
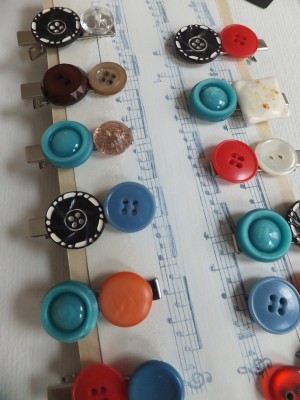
Here’s what you do:
1) Clip the hair clip to a piece of scrap cardstock. Position your buttons on the clip to make sure they’ll fit.
2) Apply a bit of E-6000 glue to the clip, and place the buttons on. It doesn’t take long to dry so check to make sure the buttons don’t slide to one side or the other.
3) Continue to make as many clips as you want! You can make two that match, or if you have an odd combo of buttons, make a pair that coordinates but aren’t exactly the same.
Enjoy—I think these make great gifts, or a nice way to treat yourself with something new and pretty!
Happy Wednesday!


