
Yes, friends—you sure can! And it makes for a great addition to your stash of cardmaking techniques!
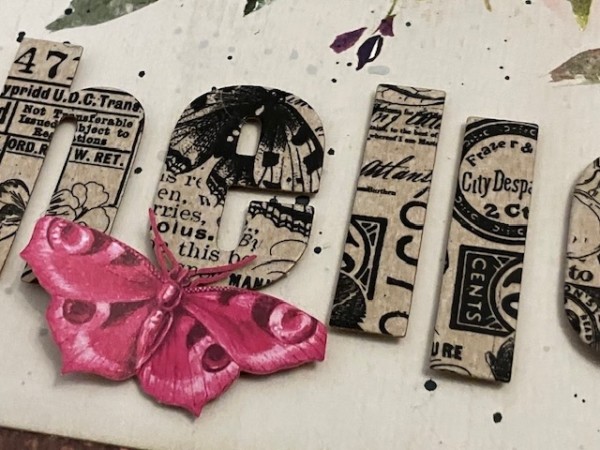
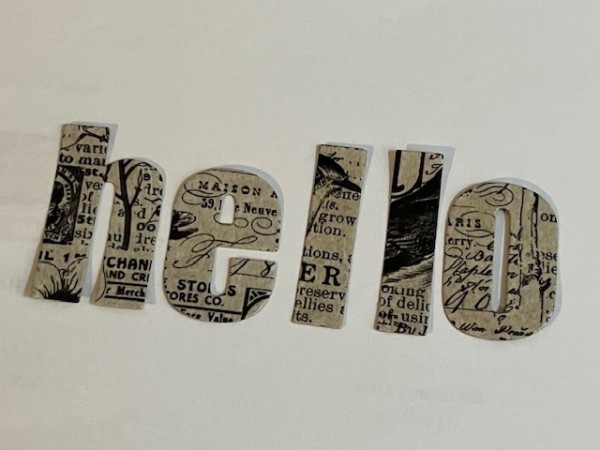
It’s super-simple: You can simply place the washi tape onto solid cardstock to provide some stability to the wispy material (and negate the “stick”), then cut it with scissors, a paper trimmer or your dies. The “hello” greeting above is made this way.
Let’s take a look—
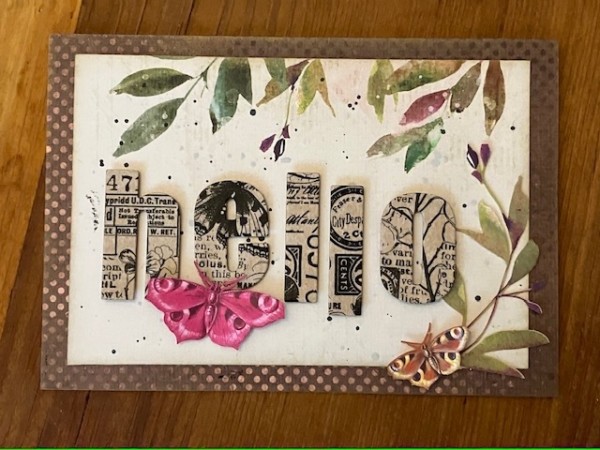
Step 1: Adhere washi tape to cardstock. With this white washi tape, I could either choose a white cardstock to brighten the design of the tape, or tone it down by adhering it to kraft cardstock, which I did here.
Step 2: Then place your dies on top, secure with low-tack tape and send it through your die cutting machine. My washi tape is the Curators Meadow 4″-wide tape from 49 and Market, and the alphabet dies are from the Bold Alphabet Die Set from Altenew.
And there you go!
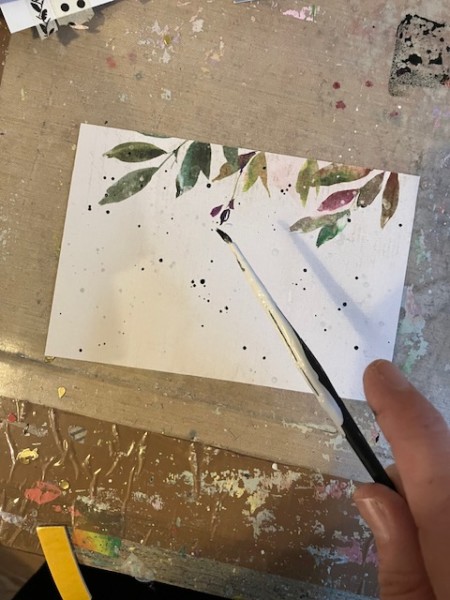
Then I spattered the background paper with some watery black dye-based ink. The patterned paper is also from 49 and Market, from the Spice collection.
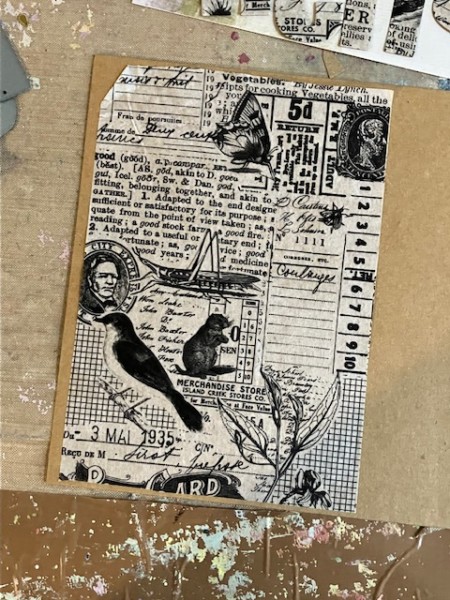
Here’s another card, using narrower washi strips—
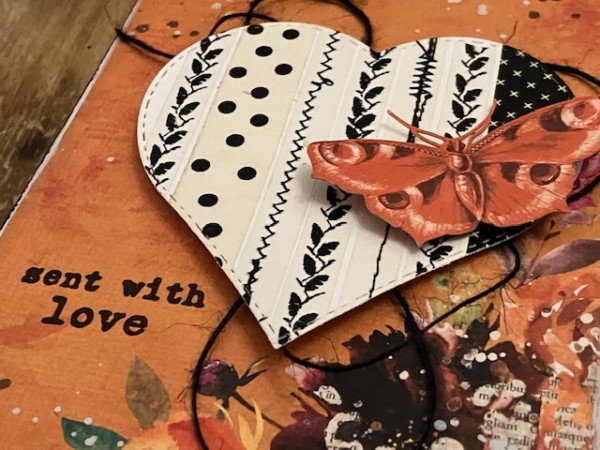
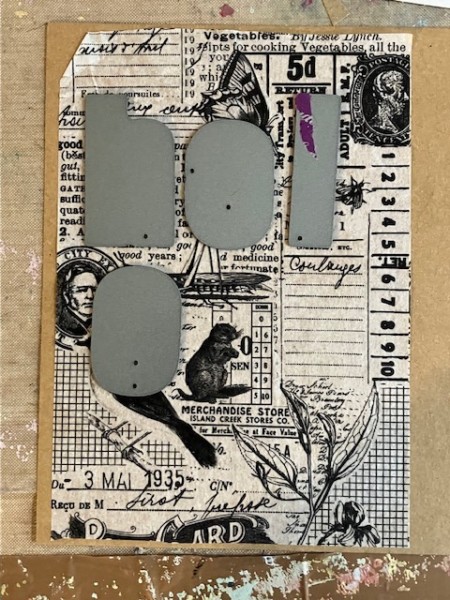
For this card, I simply applied strips of different washi tapes to white cardstock, then die-cut into a heart shape.
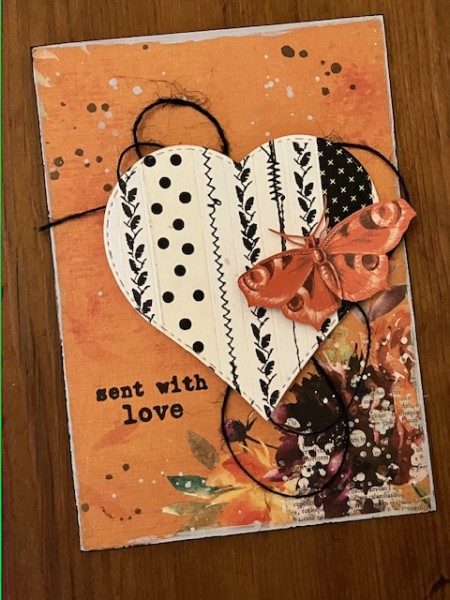
The process is the same as before. Simply adhere the strips of washi tape to your cardstock, then position the die on top and secure it down before you run it through your die-cutting machine.

In this case, the washi tapes are from a variety of manufacturers and the heart die is from Universcrap, a French company.
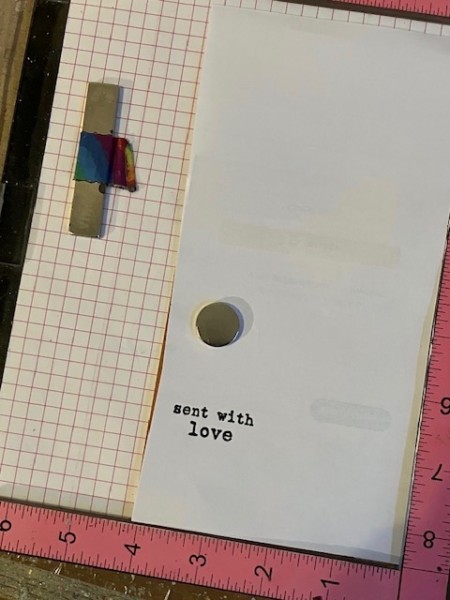
The “sent with love” stamp is from PaperArtsy, from my Eclectica ESN 23 set. Because PaperArtsy stamps are rubber rather than clear, I like to do a test placement run with the MISTI and some scrap paper to make sure the words are straight.
I also spattered the 49 and Market Spice paper with watery Concrete paint; I edged the card with paint and inked the edges with black ink. When it was all dry, I added the heart with foam tape and backed it with a swirl of black jute twine for some softness. Then I have a butterfly laser cut image from the Laser Cut Wildflowers set.
I hope you enjoyed this easy tutorial… and maybe it’s inspired you to pull out some of your washi tapes and dies, and have a go! (Minus the room-painting and craft stash sorting!)


