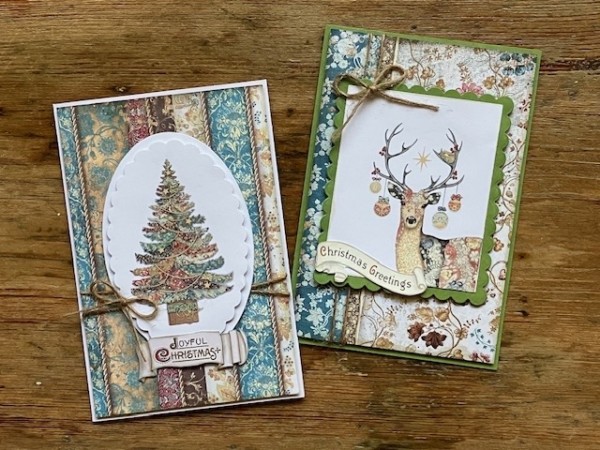
Looking for some fun, easy and festive Christmas card designs? This week I have two designs featuring patterned papers and rub-on focals from the Stamperia Christmas Greetings collection. I love using rub-ons as a card focal—large, detailed images give texture and style with out adding bulk to a card. (Especially nice if you’re mailing your cards.) Have a look!
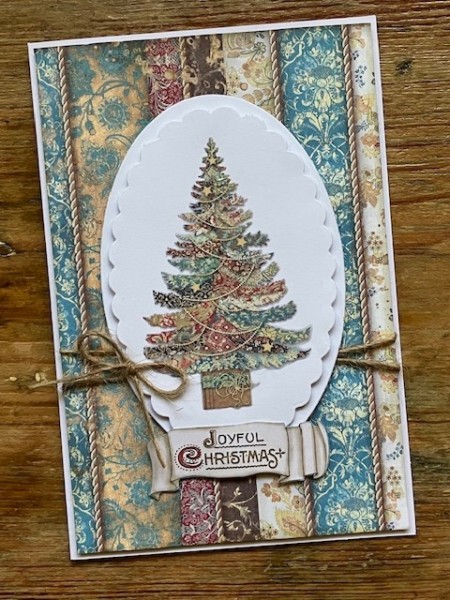
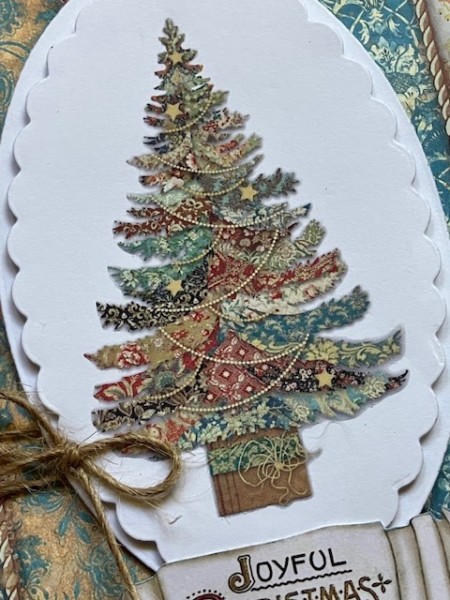
The tree image is the rub-on, from the Angel Rub-On pack. While you can apply rub-ons to lots of different surfaces, I chose a smooth white cardstock for this card. I used an oval-and-scallop cutting die to create a spotlight area for the tree, which helps it to stand out from the patterned paper background.
How to apply a rub-on…it’s easy!
Rub-ons are printed onto a plastic sheet, then placed onto a liner sheet. Use scissors to cut the image away from the other images—keeping the top sheet and liner together. This prevents the rub-on image from coming off on your hands or other surfaces.
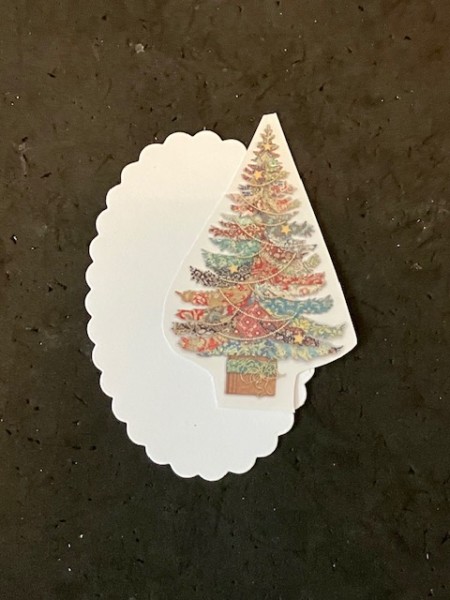
Gently separate the top sheet from the liner and position it on your surface. Smooth with your hand. There’s a bit of stickiness to the sheet which will keep it in place.
You’ll notice I’m working on a mouse pad. I like having a surface under my paper that has a bit of give to it.
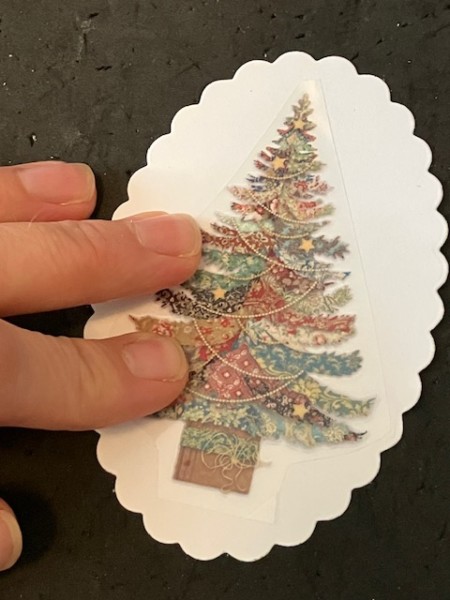
Use a bone folder or rub-on applicator tool to gently but firmly burnish the image.
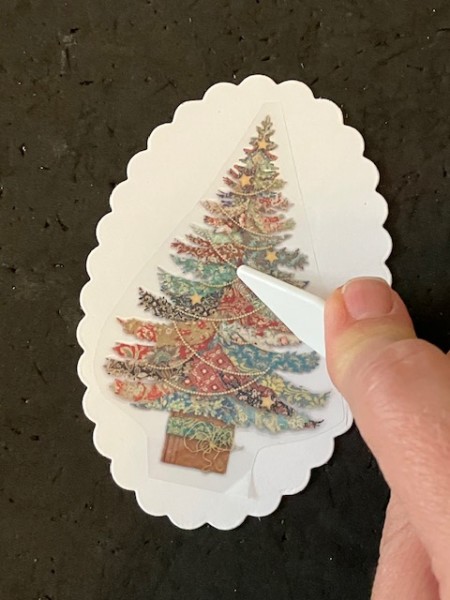
Remove the plastic sheet. Do this slowly—if any areas of the design have not transferred, you can place the sheet back down and continue to burnish until all of the design has transferred.
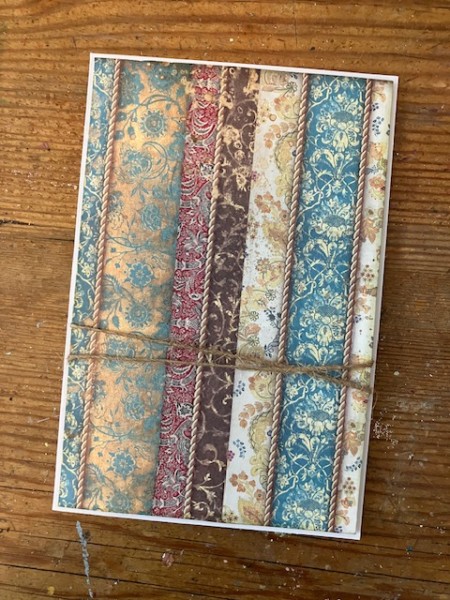
Then, add patterned paper to your card front. I trimmed this beautiful striped design slightly smaller than my card front, then inked the edges with gray ink and wrapped the piece with hemp twine. If your twine is lightweight, you can just glue the paper to the card front. If the twine is thicker, you may need to attach the paper with foam tape to accommodate the ends of the twine.
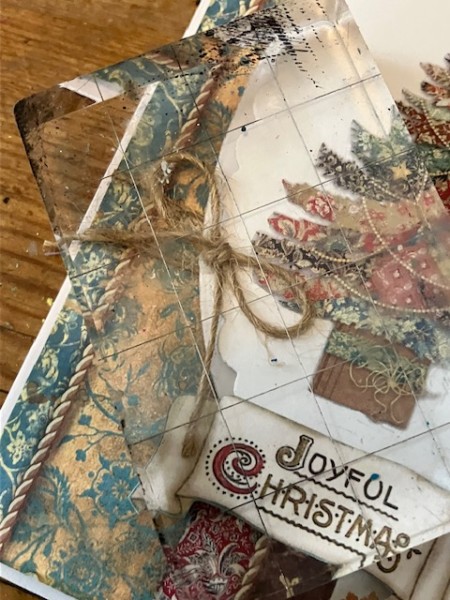
Then, add the rub-on focal to the card front and embellish as you wish! I’m using a cut-out sentiment from the paper pack for my card message. The twine bow is glued on with white glue. One tip: After I place the bow on the card, I place a clear acrylic stamping block on top. This holds the bow down until the glue dries, and I can see through the block to make sure the bow hasn’t slid out of place.
Here’s a closer look—
The other card I made is created with a similar layout and technique. That gorgeous deer is a rub-on from the Deer Rub-ons set, and I’ve just used a square scallop die instead of an oval for this one.
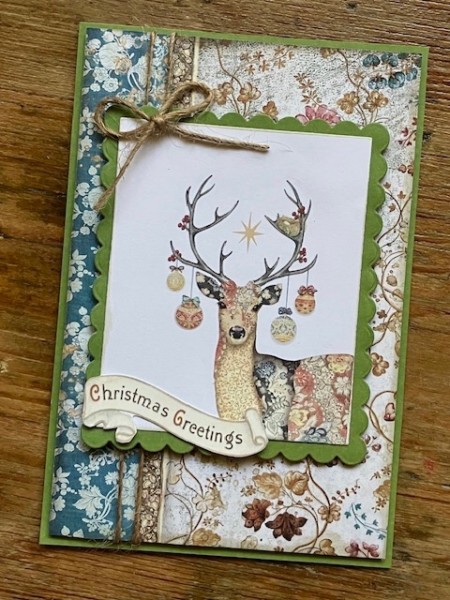
Here’s a closer look—
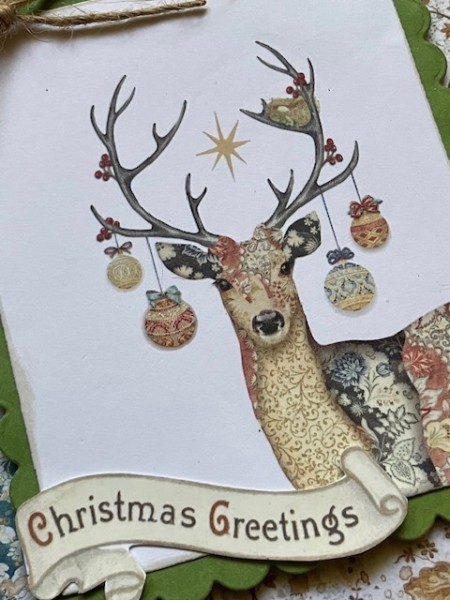
The “Christmas Greetings” sentiment is also a rub-on. I applied it to white cardstock and then trimmed around the edges so I could layer it onto the card focal.
I hope these cards have helped you look ahead to your winter or Christmas cardmaking! Thanks for joining me and see you next week!