Hi friends! Today I want to share a card project I made, complete with video, to demonstrate an easy Gelli Arts monoprinting technique.
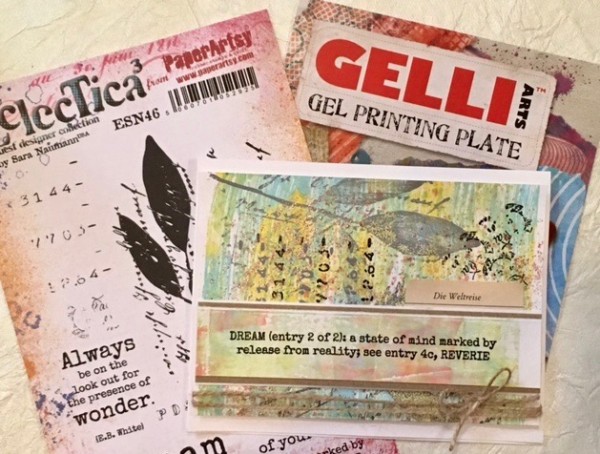
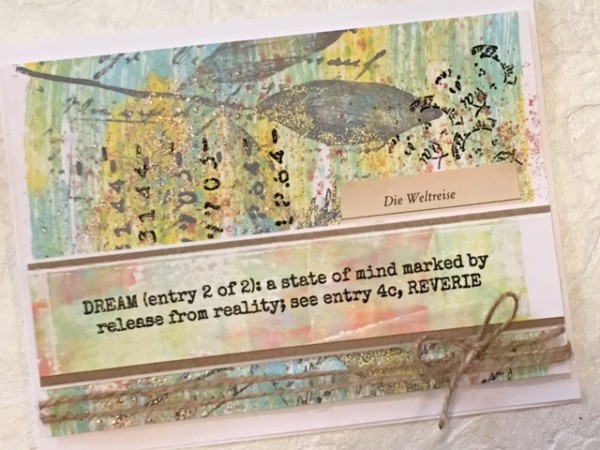
The card features a gel-plate monoprinted background, using the Gelli Arts 6″ Gel Printing Plate plus PaperArtsy Fresco Finish Chalk Acrylic paints.
Here’s the process for the monoprinting, super-quick and easy!
- Brayer Mermaid and Zesty Zing paint on the gel plate.
- Immediately drag the Distress Splatter Brush through the wet paint.
- Splatter with watery Peach Nectar paint.
- Press with cardstock.
The paint will dry very quickly. When it’s ready, use Elephant paint to stamp the leaf collage from ESN46. Sprinkle some parts of the leaves with Sunflower embossing powder, then heat-set. Tip: Be sure to use a metal spoon for this—not plastic, which can introduce static into the jar.
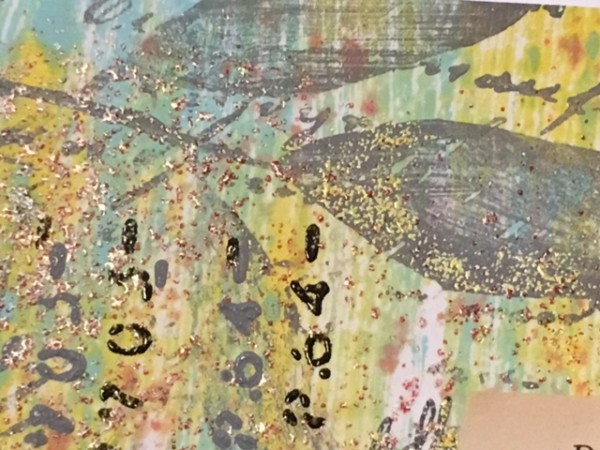
I stamped the numbers stamp with Elephant, then stamped it again with Altenew’s Obsidian inkpad. I also used the postmark and black ink to create a cluster on the top right side.
To get even more texture, I water-embossed Azalea embossing powder on the background, by flicking water onto the cardstock and covering with embossing powder. When you water-emboss, be sure to start heat-setting from the back of the paper, heating until the powder begins to melt, then switch to finish off the front.
The sentiment is stamped with black, then clear-embossed. I added a small piece of book paper and wrapped the panel with twine before adding it to the front of the card.
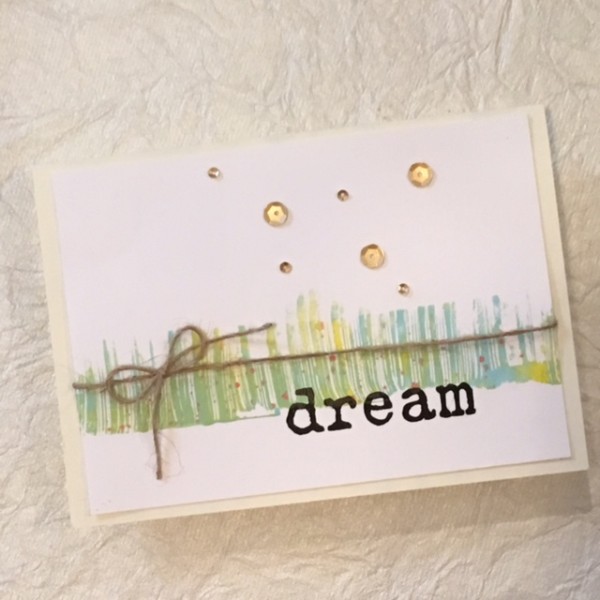
The best part of monoprinting papers? You can create a fun stash of backgrounds. In the video you’ll see me pull a second and third print from my Gelli Arts plate—the third pull resulting in a very cool, narrow border, perfect for a clean-and-simple card:
If you’d like to see the step-by-step monoprinting process, please just pop over to watch the video. Enjoy!

