Yes, it’s been awhile, hasn’t it? Between COVID school shut downs, language lessons and huge new work projects I had to make the decision to blog less—I’m sure many of you have experienced similar overload. I always think it’s better to do less, but do it well… rather than doing a lot of things but doing them in a way that is sloppy or stressful!
Now that things are somewhat more settled in my little corner of the craft world, I’m happy to return to blogging—you’ll also see more Facebook videos from me. And I am soooo very happy you’re here, too. Thanks for coming! 🙂
So today I have a simple, easy watercolor background to share with you. This is from a class I taught for Altenew a few weeks ago, using their Watercolor Essentials set. Of course, you can use this technique with any watercolor set you might have in your stash.
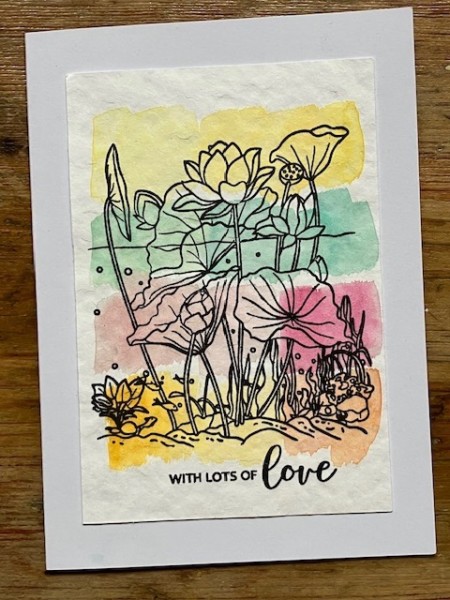
This is the card I made for class, using their Paint-a-Flower Lotus stamp as the focal. I wanted to create a watercolor background that was different from the usual all-over or blended backgrounds, and this simple blocking technique is so easy to do.
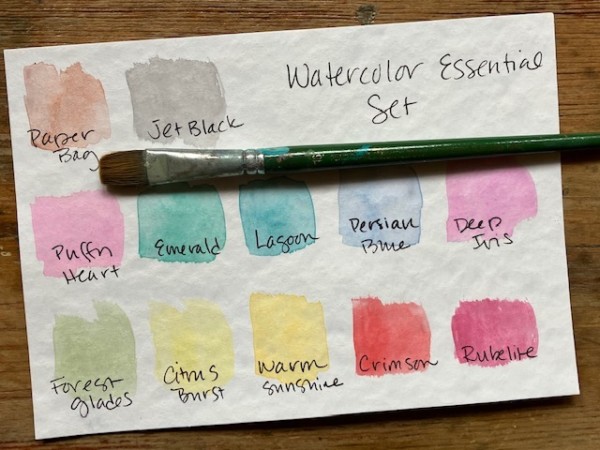
Here’s my inspiration for the background: When I get a new set of paints (or markers), I like to make a simple swatch sheet so I have a reference for the colors and so I have a chance to kind of play with the medium and see how it works or feels.
(This is also a nice activity to do if you’re feeling uninspired, or just want to have some crafting time that’s not making something.)
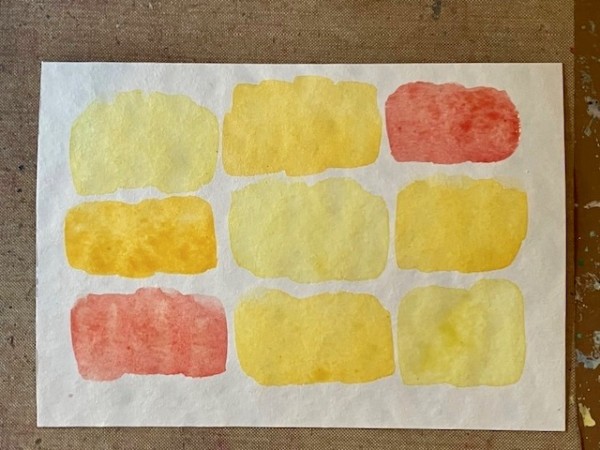
So to do this swatch sheet, I’ve just used a flat brush to create swatches about 1 1/2″ square. Seeing all those blocks of color together made me think it would make a fun background—and that became my card project.
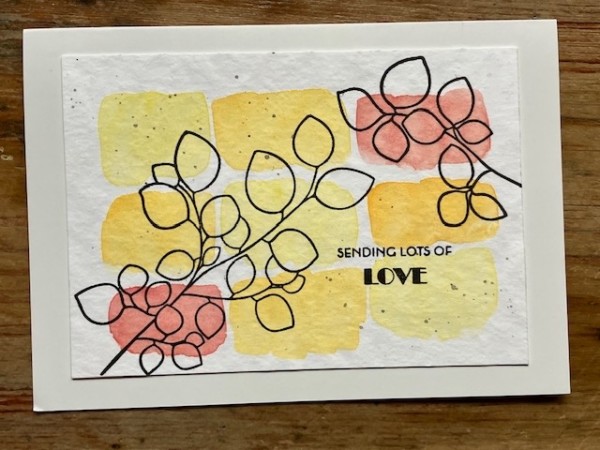
Here’s another card idea:
The process is easy. I’m working on watercolor cardstock here—you need a sturdy cardstock that will accept a watery medium, but if you don’t have watercolor card, opt for another sturdy base. You also want a flat paintbrush. I’m using a #16 but one that’s slightly smaller or larger will work. You just want to be sure it’s a flat brush, not a round one.
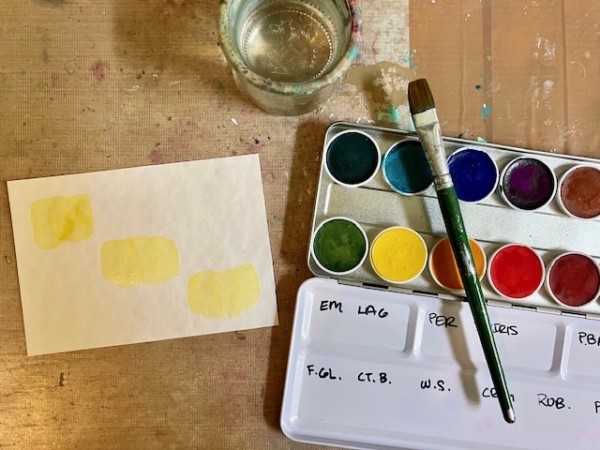
Step one: A little water and the lightest color (I’m using the Citrus Burst yellow). Paint onto your paper as if you’re making a swatch sheet.
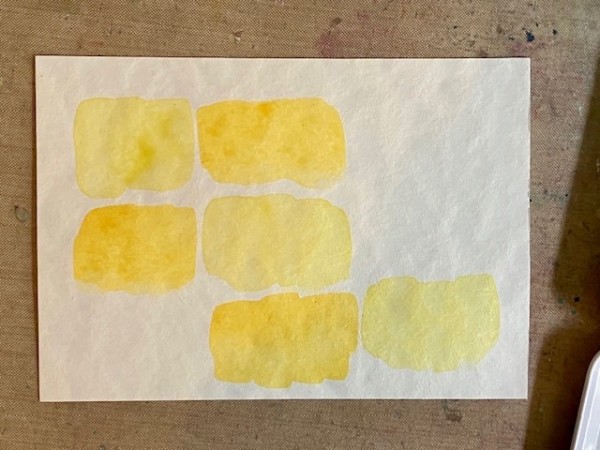
Add more swatches of another color. I’m using Warm Sunshine, which is slightly darker.
And then fill in with another color so there’s balance top and bottom. Let the blocks of color dry—you might want to give them a quick zip-zap with a heat tool.

Then stamp! I’m using the Altenew Leaf Canopy set, just stamping it with permanent black ink—I like the Obsidian Black. I also did a bit of light spattering with the black watercolor. Pop it on the front of a blank card and you’re ready to go!
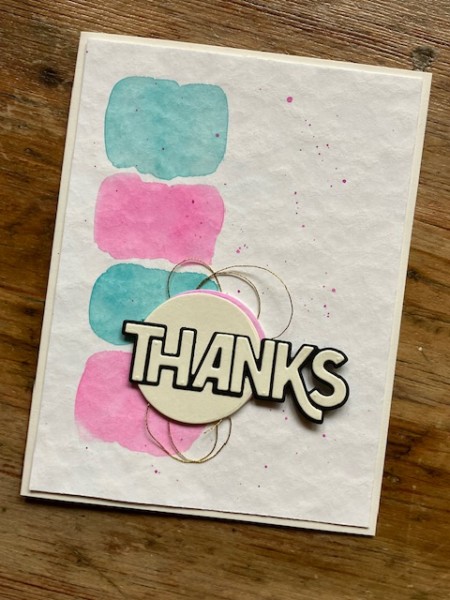
Here’s another option: You can also do a simple border with just two colors.
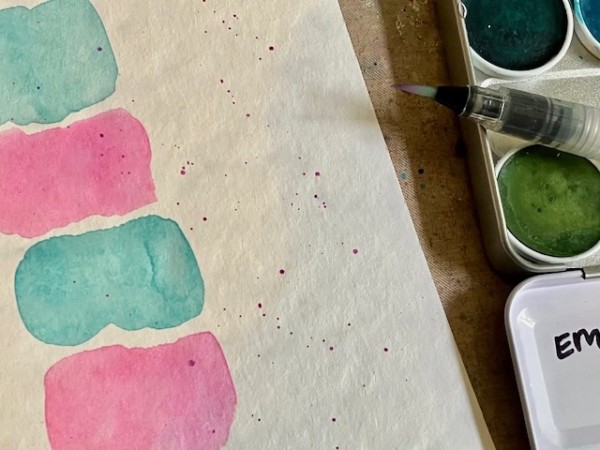
Here you can see the brush I use to spatter with—this is not a flat brush, but a fine-tip waterbrush.

A little close-up, and you can see the splatters, plus the Bold Thanks layered die cut sentiment. I also have a couple of simple circle die-cuts to back the word, with some gold embroidery thread.

Here’s one more look at both cards.
Enjoy—and see you again next week!
Sara