
Hello! Today on Studio SN on You Tube: Eclectica Stamping, Painting and Spraying with PaperArtsy!
This was originally a blog post for the fabulous PaperArtsy blog—for loads more ideas and techniques from different designers, you’ll definitely want to pop by. So today you can see the step-by-step process and the video!
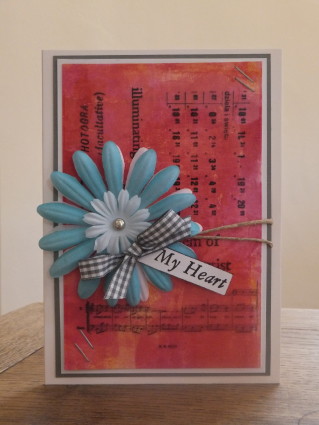
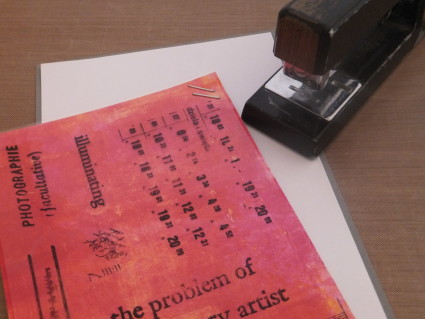
Today I’m playing with Eclectica ESN07 stamps. As many of you know, I love placing lots of small stamps together on one big block to create a background. It’s one of the easiest ways to get an instant start on my project. In this case, I stamped onto acetate, which adds another layer of texture to the card.
Underneath the acetate is a background that combines two of my favorite things: Lin Brown PaperArtsy Fresco Finish paint and Dylusions Lemon Zest Ink Spray. The yellow Dylusions works with just about any paint color, and gives a translucent glow that makes the piece so much warmer and richer.
Both colors are brayered onto white card. Sometimes I think we can forget that you don’t always need a brush for painting, nor are you limited to using spray as only a spray. My brayer is actually my most-used tool for just about any kind of medium application.
The best thing is that this process gives you lots of layers and dimension, but is super quick and easy to do!
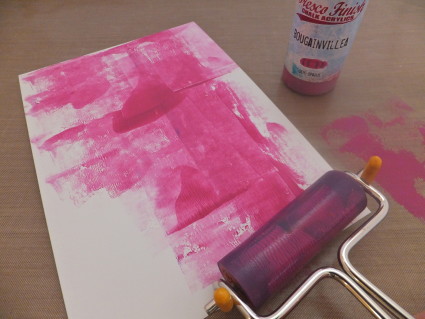
- Squeeze a bit of Fresco Finish Bougainvillea paint onto a craft sheet. Use a brayer to roll the paint onto a piece of white card. Don’t cover the entire surface but leave some areas white. Let dry. Clean your brayer completely.

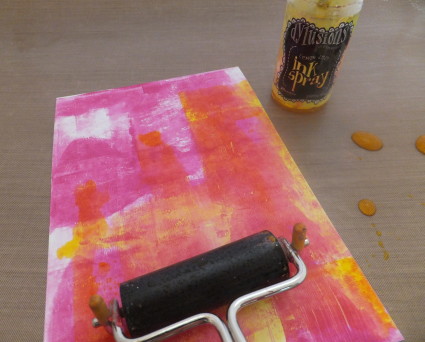
- Unscrew the top of the Dylusions Lemon Zest bottle and pour a little onto your craft sheet. Use the brayer to roll colour onto the painted background.
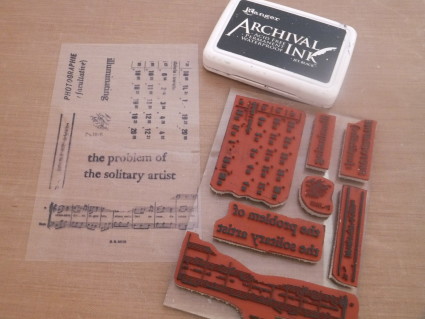
- Arrange the stamps from ESN07 together on one Flexi Block and stamp onto clear acetate. Note: If you’re using regular acetate, choose solvent ink like StazOn or Surfacez. If you’re using heat-resistant acetate (like that from Crafter’s Companion or Hot Off The Press) then you can stamp with Jet Black Archival and heat-set to speed the dry time. Using a heat tool on regular acetate will cause it to warp!
- Layer the acetate piece on the painted background and staple together.
- Mat the piece on white, then grey card and wrap with hemp twine before gluing to the card blank. Add layered silk flowers accented with a bow. Stamp “my heart” on white card, ink the edges and attach with foam tape.
That’s it! To watch the video tutorial, just come on by Studio SN on You Tube to watch the Eclectica Stamping, Painting and Spraying with PaperArtsy video.
I hope you enjoyed the project as much as I did! Thank you to the lovely Leandra and PaperArtsy for inviting me to be part of their blog. When you get a moment (well, you’ll need more than a moment) do be sure to stop by to see all the great designs from lots of fabulous contributors!


