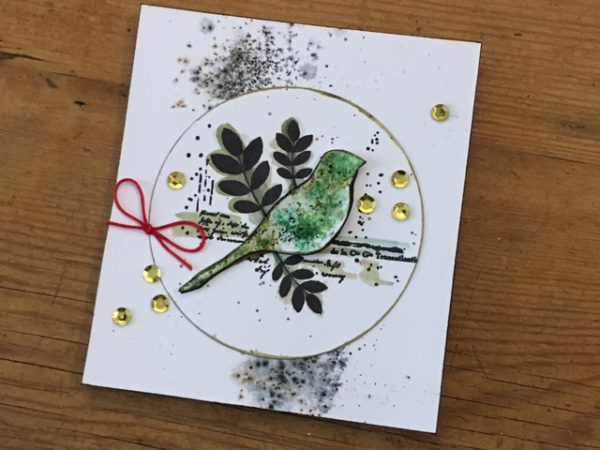
Earlier this week I was at a trade show in Birmingham, England. While I was there, I saw Leandra Franich of PaperArtsy do a really cool Infusions technique. She transferred a tiny bit of Infusions powder onto her stamp, misted it with water, and stamped. The result is gorgeous and gives another way to use these versatile powders. I had to give it a try…so I used it on the large bird image from one of my newest stamp sets.
The result? It’s easy and especially foolproof if you use a stamping platform. Like any misting technique, a lot depends on the amount of water you use and the amount of color medium. Infusions are super-concentrated color, so you can start with literally a few granules and end up with rich color. I love combining lights and darks of a common hue (light and dark green is a favorite) because they mix and blend so well.
One note: For more info on Infusions, you might check Leandra’s video.
Birdie Card, what you need–
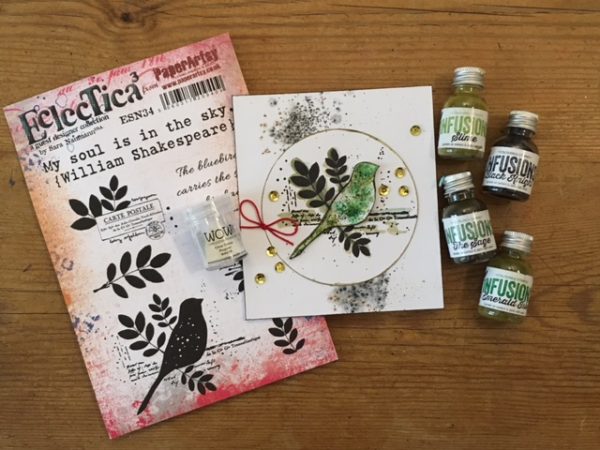
Stamps: Eclectica ESN34 (PaperArtsy); available in the US and the UK
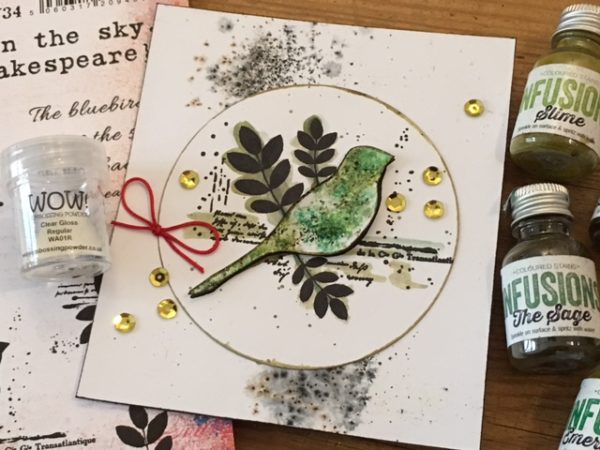
Infusions: Black Knight, Emerald Isle, Slime, The Sage (PaperArtsy)
Clear Gloss Regular Embossing Powder (WOW! Embossing)
Embossing inkpad
Black permanent inkpad: Ranger Jet Black Archival
White cardstock
Large circle cutting die
Water mister
Small paintbrush or waterbrush
Sequins
Red twine
Craft sheet
Heat tool
Birdie Card, how to make it–
Tap Black Knight Infusions diagonally across a square of white cardstock. Mist with water and let the color particles react to the water. Add another spritz of water if desired. Let the piece dry, then mount it onto a card blank. Ink around the edges with black ink.
Stamp the bird with black ink onto a die-cut circle of white cardstock. Deposit a small amount of each of the three green Infusion colors on a craft sheet. Mist water next to each of the Infusions and make three separate washes of color. Use a brush to paint around the stamped elements, using The Sage around the leaves and Slime and Emerald Isle to highlight the text. Spatter with any of the green colors. Tip: It’s perfectly fine to mix the green colors together—I like to start with them as separate colors, then allow them to blend on the cardstock, or for my spattering.
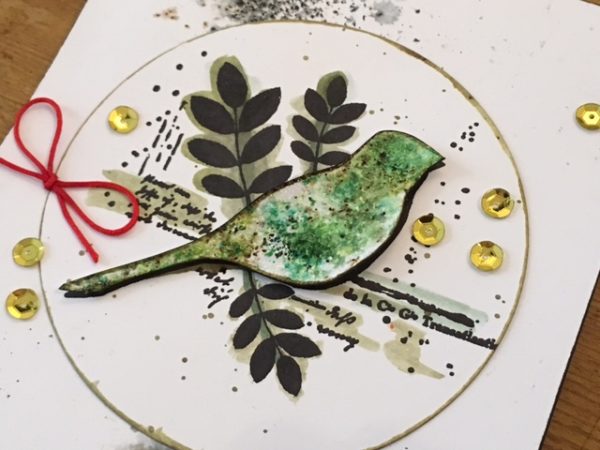
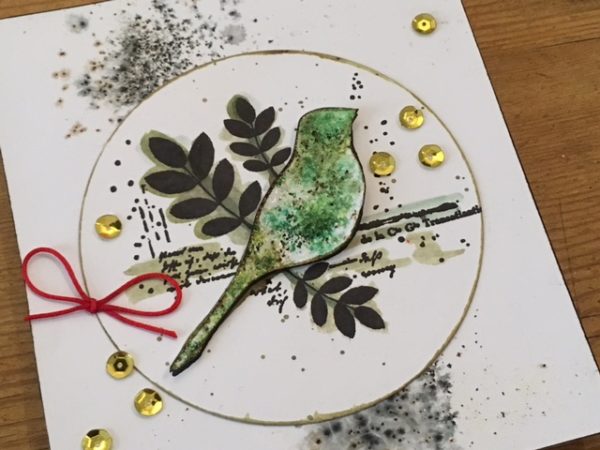
Let the piece dry, then use The Sage to edge the circle. Set aside.
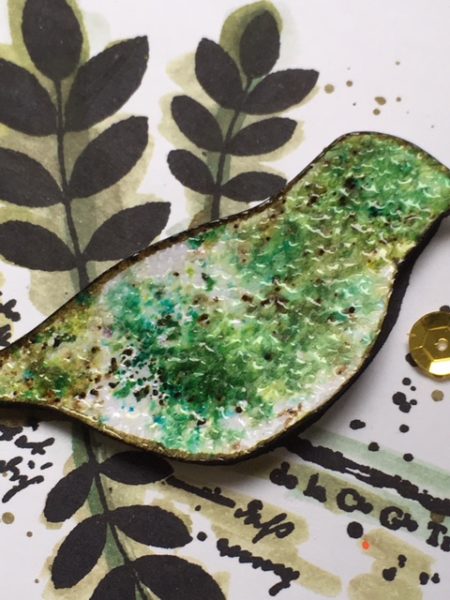
Place the bird on your stamping platform or acrylic block. Deposit a tiny bit of each of the three green Infusions onto your craft sheet. Pick up some of the Infusions with your fingertip and place them on the stamp, positioning the powder onto just the bird body. Mist the stamp lightly and stamp onto white cardstock. (If you use a stamp positioner, you can repeat this process if desired.) Let dry, then cut out the bird. Edge it with watery green Infusions. (I use my finger.) Let dry.
Press an embossing inkpad onto the cut-out, then cover with clear gloss embossing powder and heat set. When the piece has cooled, use foam tape to adhere it on top of the stamped circle.
Glue the circle to the Infusions background and glue to a card base. Add sequins and a red bow.
That’s it! A few simple techniques are a great way to add color and style to a stamped design.