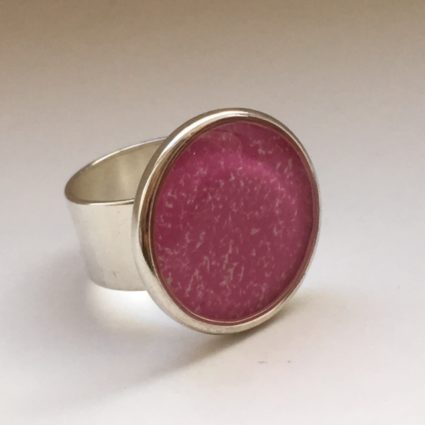
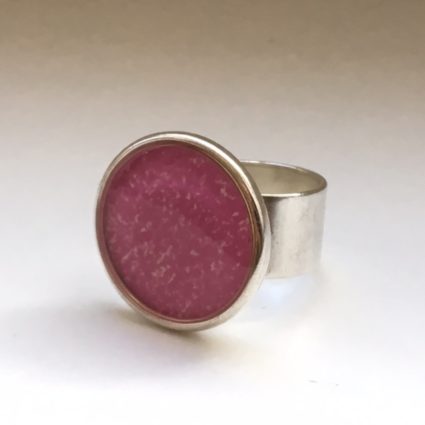
Today on Resin Jewellery Tuesday: Simple Magenta Ring with ICE Resin!
New to Resin Jewellery Tuesday? Each week we to explore a new project using ICE Resin® from Ranger. These projects are based on the resin techniques covered in my latest book from Search Press, How to Make Resin Jewellery.
This ring is one of my favorites—the bright, fresh color (it’s spring, finally!) and statement size make it a great accent piece. Best of all, it’s super simple to make and one you can do in just about any color combination.
In this case, we’re creating a heat-embossed piece of cardstock that will be circle-punched, then placed inside the ring bezel. Heat embossing is a great way to add texture and color to your jewellery pieces. It’s easy to create an abstract background with embossing ink, powder and a simple brayer.
Simple Magenta Ring with ICE Resin, what you need—
- ICE Resin® two-part epoxy (includes cup and stir stick)
- Disposable gloves
- Baby wipes
- Mod Podge or other clear sealer
- White cardstock—medium weight, smooth card
- Magenta embossing powder
- Clear embossing inkpad
- Silver adjustable circle ring—18x2mm (inner dimensions)
- Heat tool
- Brayer
- 3/4” circle punch
- Foam base: I use Styrofoam packaging—the kind you get when you buy a new coffeemaker. Just make a space in it so the ring band will be held firm with the ring bezel laid flat. If you don’t have a foam base, a kitchen sponge works.
Simple Magenta Ring with ICE Resin, how to make it—
1. Roll a brayer across a clear embossing inkpad. Roll it onto white cardstock.
2. Immediately sprinkle the cardstock with embossing powder. Tap off the excess powder and return to the jar.
3. Use the heat tool to melt the embossing powder on the paper. You’ll know it’s melted when it becomes shiny. Then cut or punch before sealing and gluing inside your bezel.
Here I’ve brayered the embossing ink quite heavily, so there’s very little of the white cardstock showing—just enough to provide some contrast but not enough to require sealing before adding resin. If you have a lighter touch, then you will want to seal the cardstock with Mod Podge to prevent discoloration.
4. Insert the ring into a foam base. Mix the resin, pour into the bezel and let it cure.
This is one of those techniques that I like to do in batches. You can use the same technique for lots of different embossing powder colors, from bright and bold to vintage.
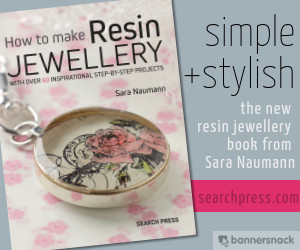
Like this project? Get all the info on creating resin jewelry with my latest book, How to Make Resin Jewellery, from the award-winning UK publisher, Search Press. You’ll find step-by-step instructions on mixing and pouring resin, plus over 50 project ideas with instructions. Check it out at Search Press!