Hello friends, today I want to share an easy partial embossing technique!
See the gold embossing on the focal collage image? It’s only on the leaves, splotches and a portion of the postmark…the rest is the brown/gray ink. It’s easy to do this, but I really recommend having a MISTI because you’ll need to stamp the image once with stamping ink and then again directly on top with embossing ink.
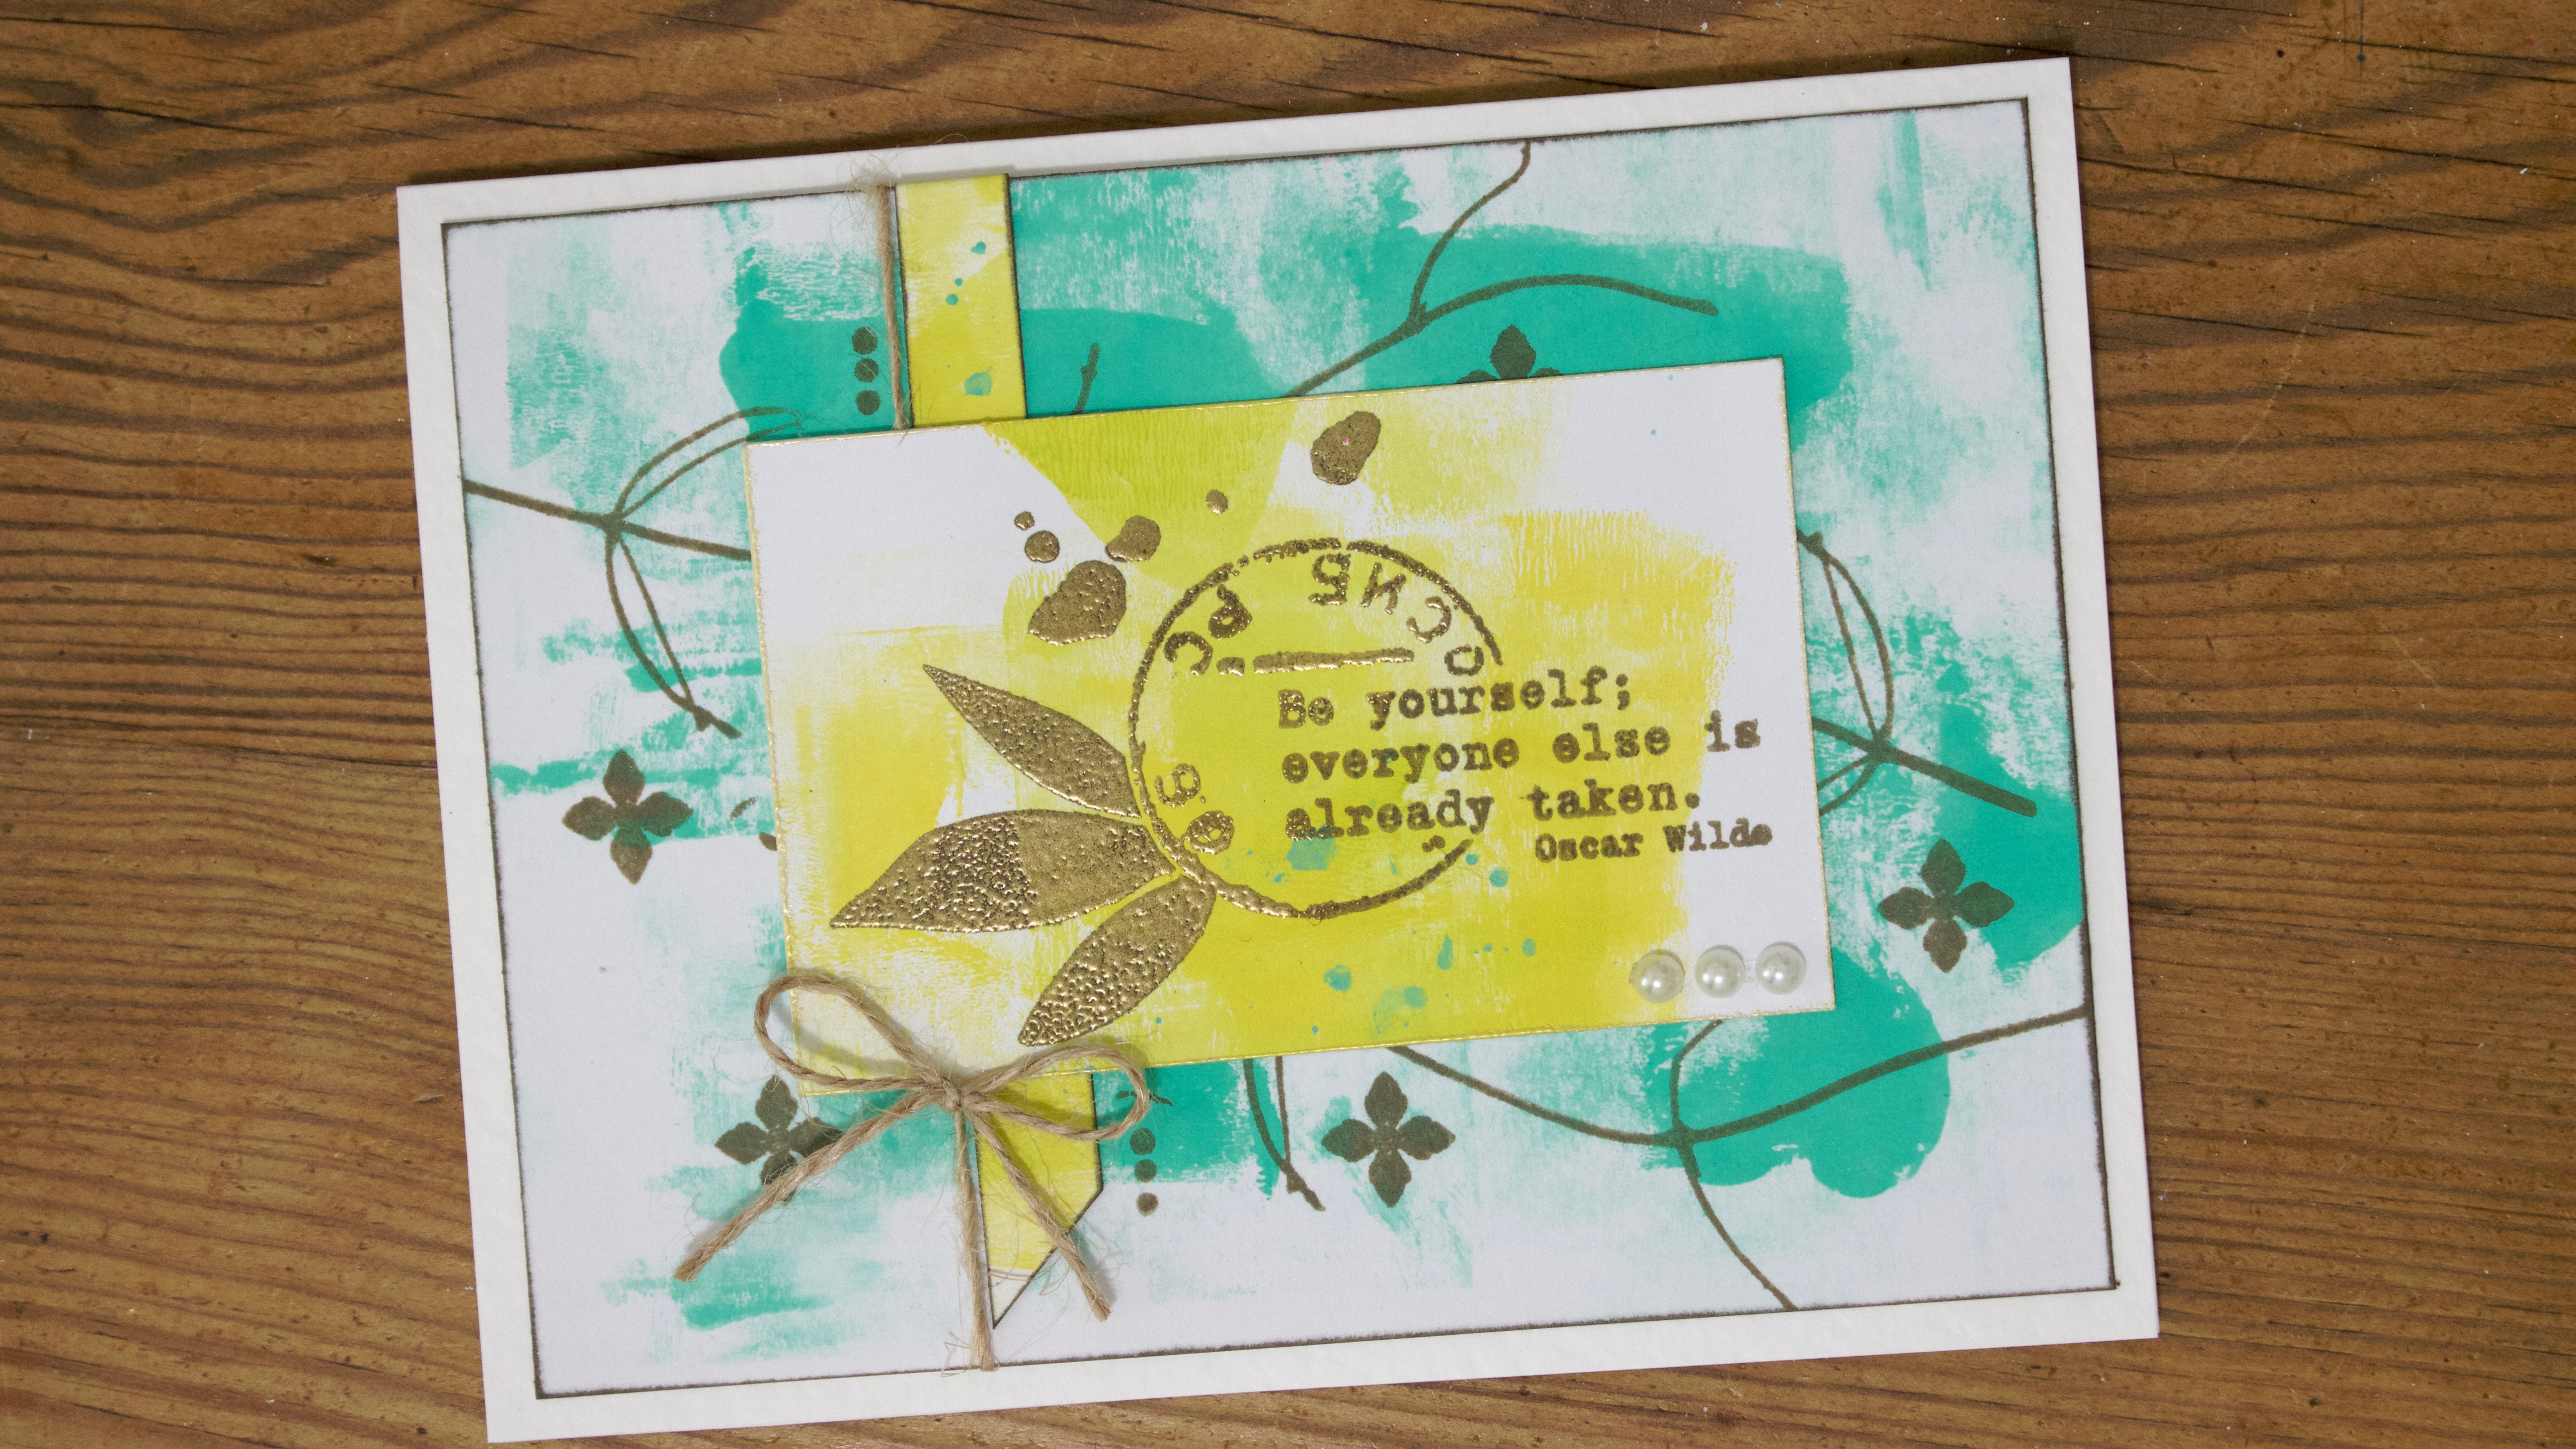
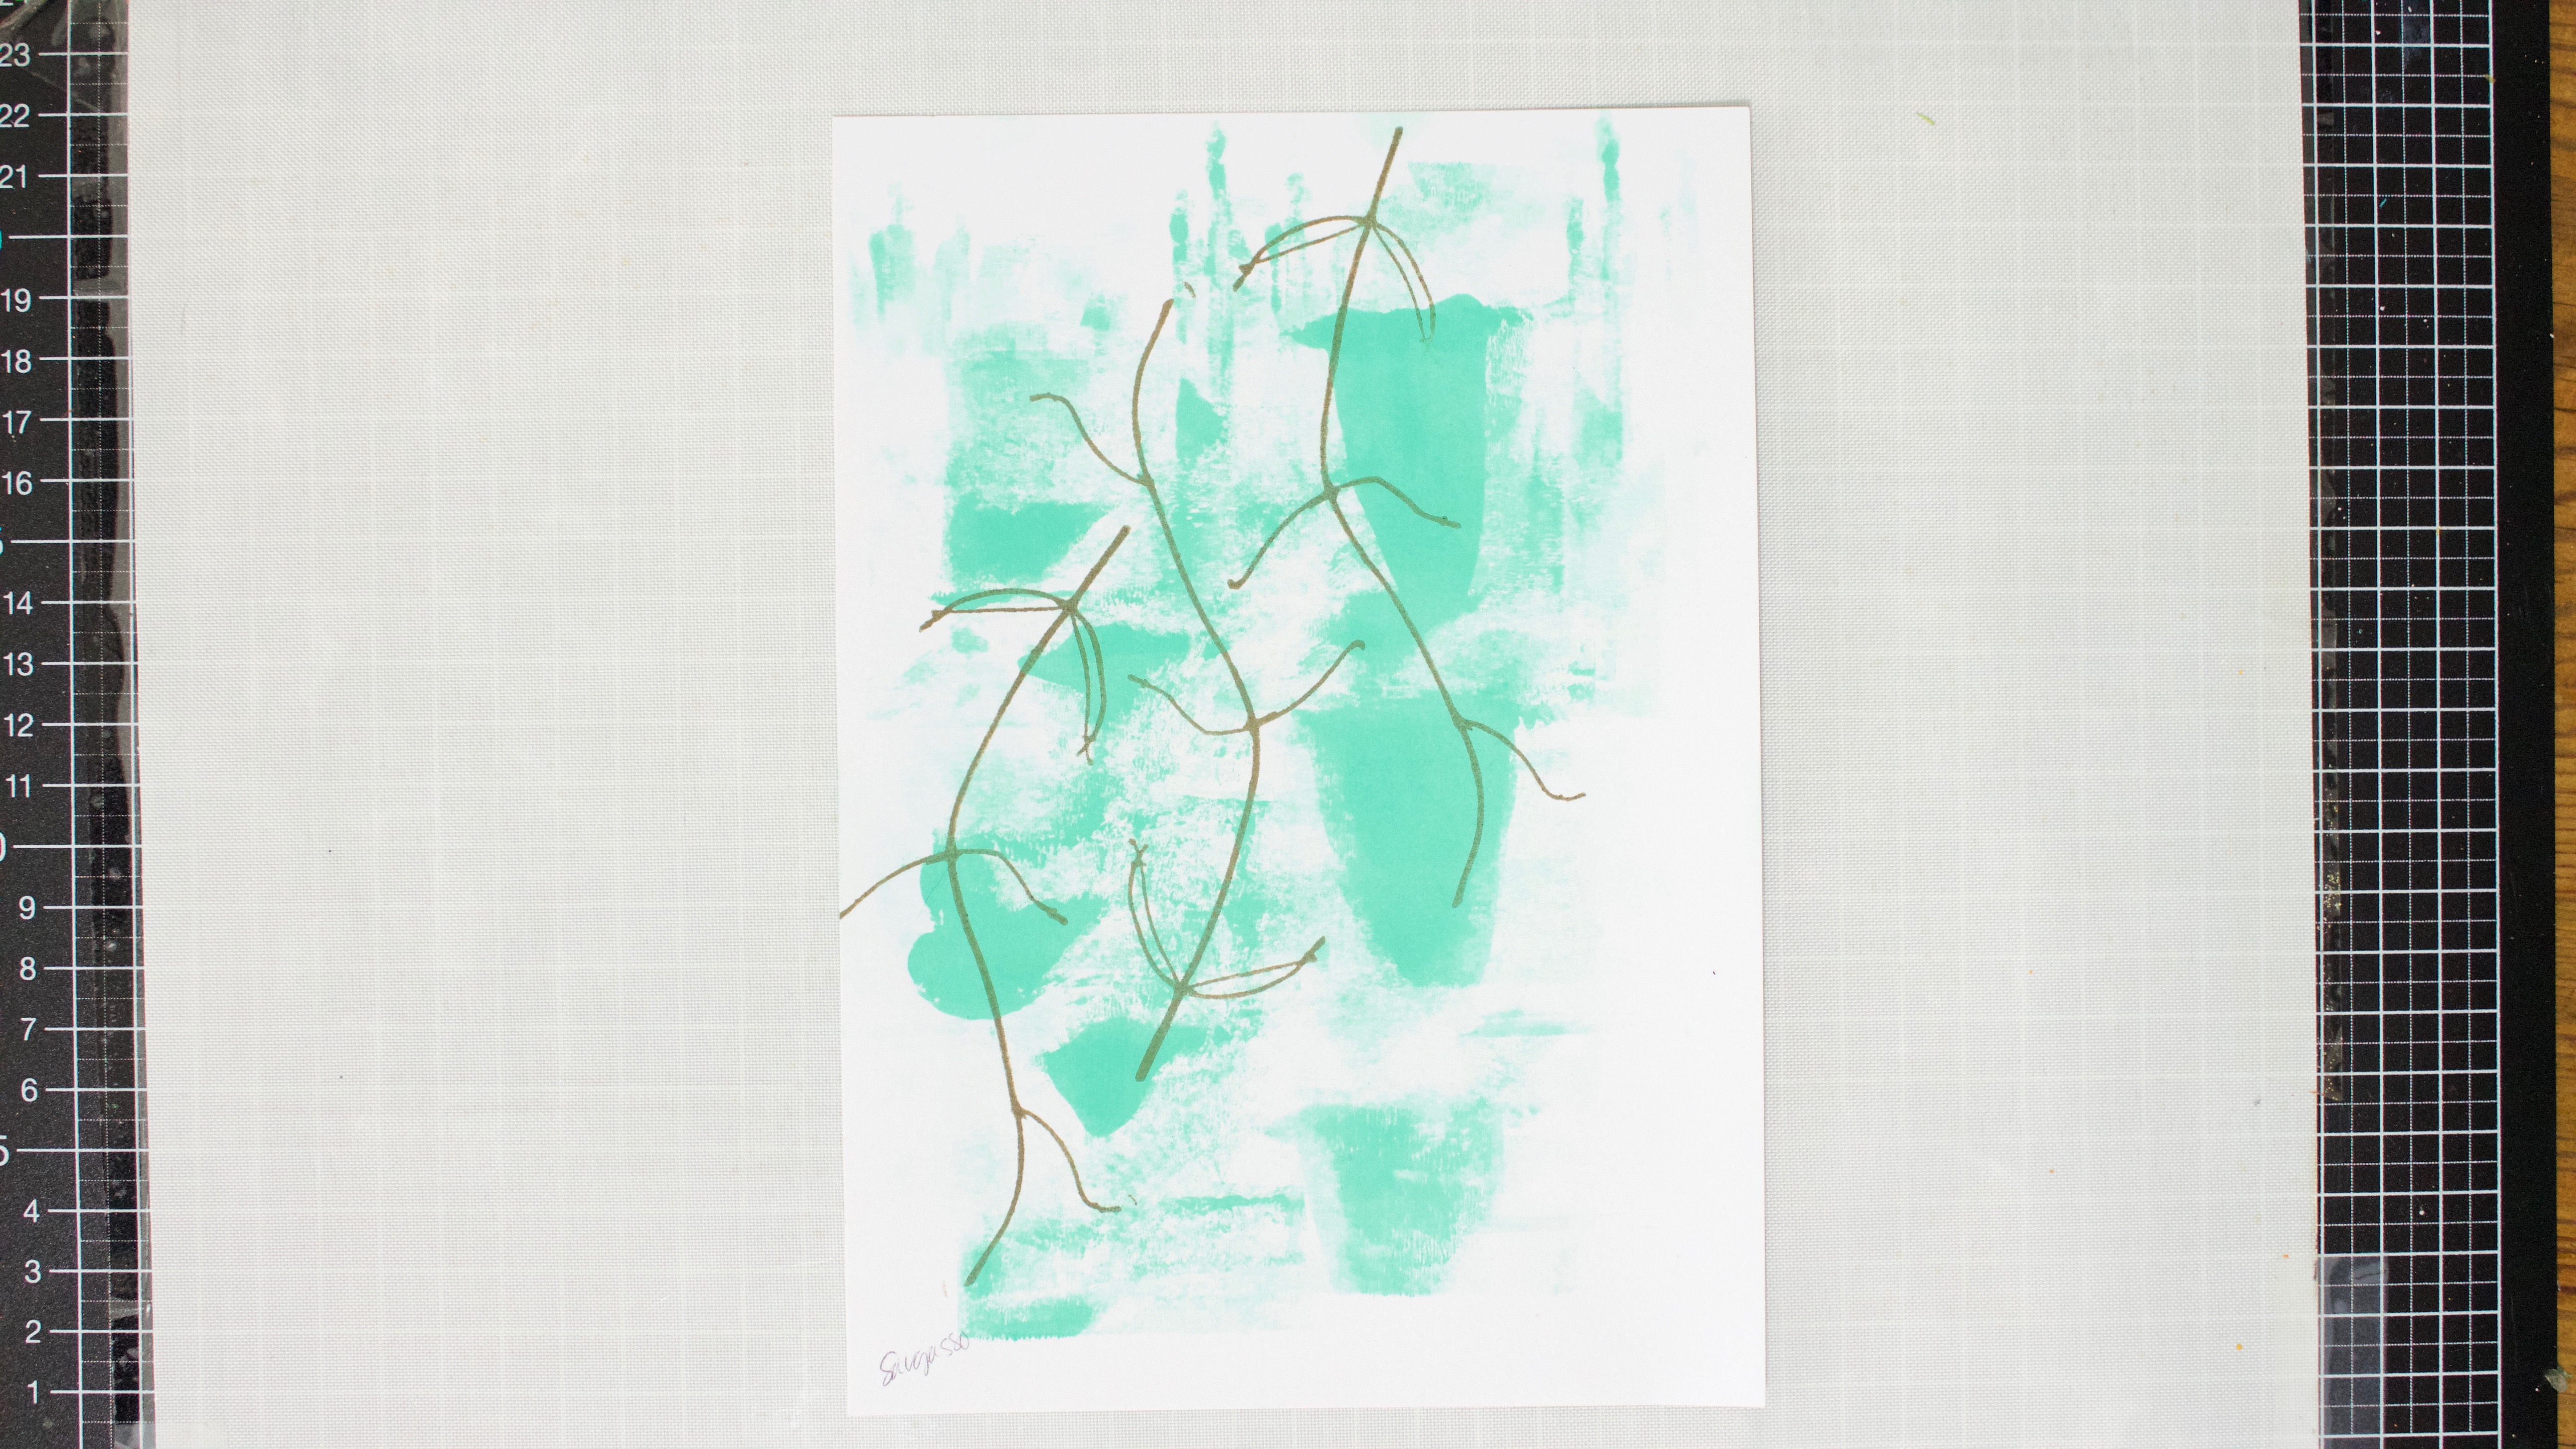
First, to create the background, I brayered white cardstock with Sargasso Fresco Finish paint from PaperArtsy. I used a dark gray/brown ink to stamp the stem from my Eclectica ESN27 stamp set repeatedly on top.
I also brayered a piece of cardstock with Limelight paint, let it dry and spattered it with more Sargasso. Then I stamped the collage element with dark gray/brown ink. Leaving the cardstock and stamp on my MISTI, I cleaned off the stamp with a baby wipe, then re-inked it with embossing ink and re-stamped the image directly on top of the previously stamped image. I used Gold Satin Pearl Regular embossing powder from WOW Embossing.
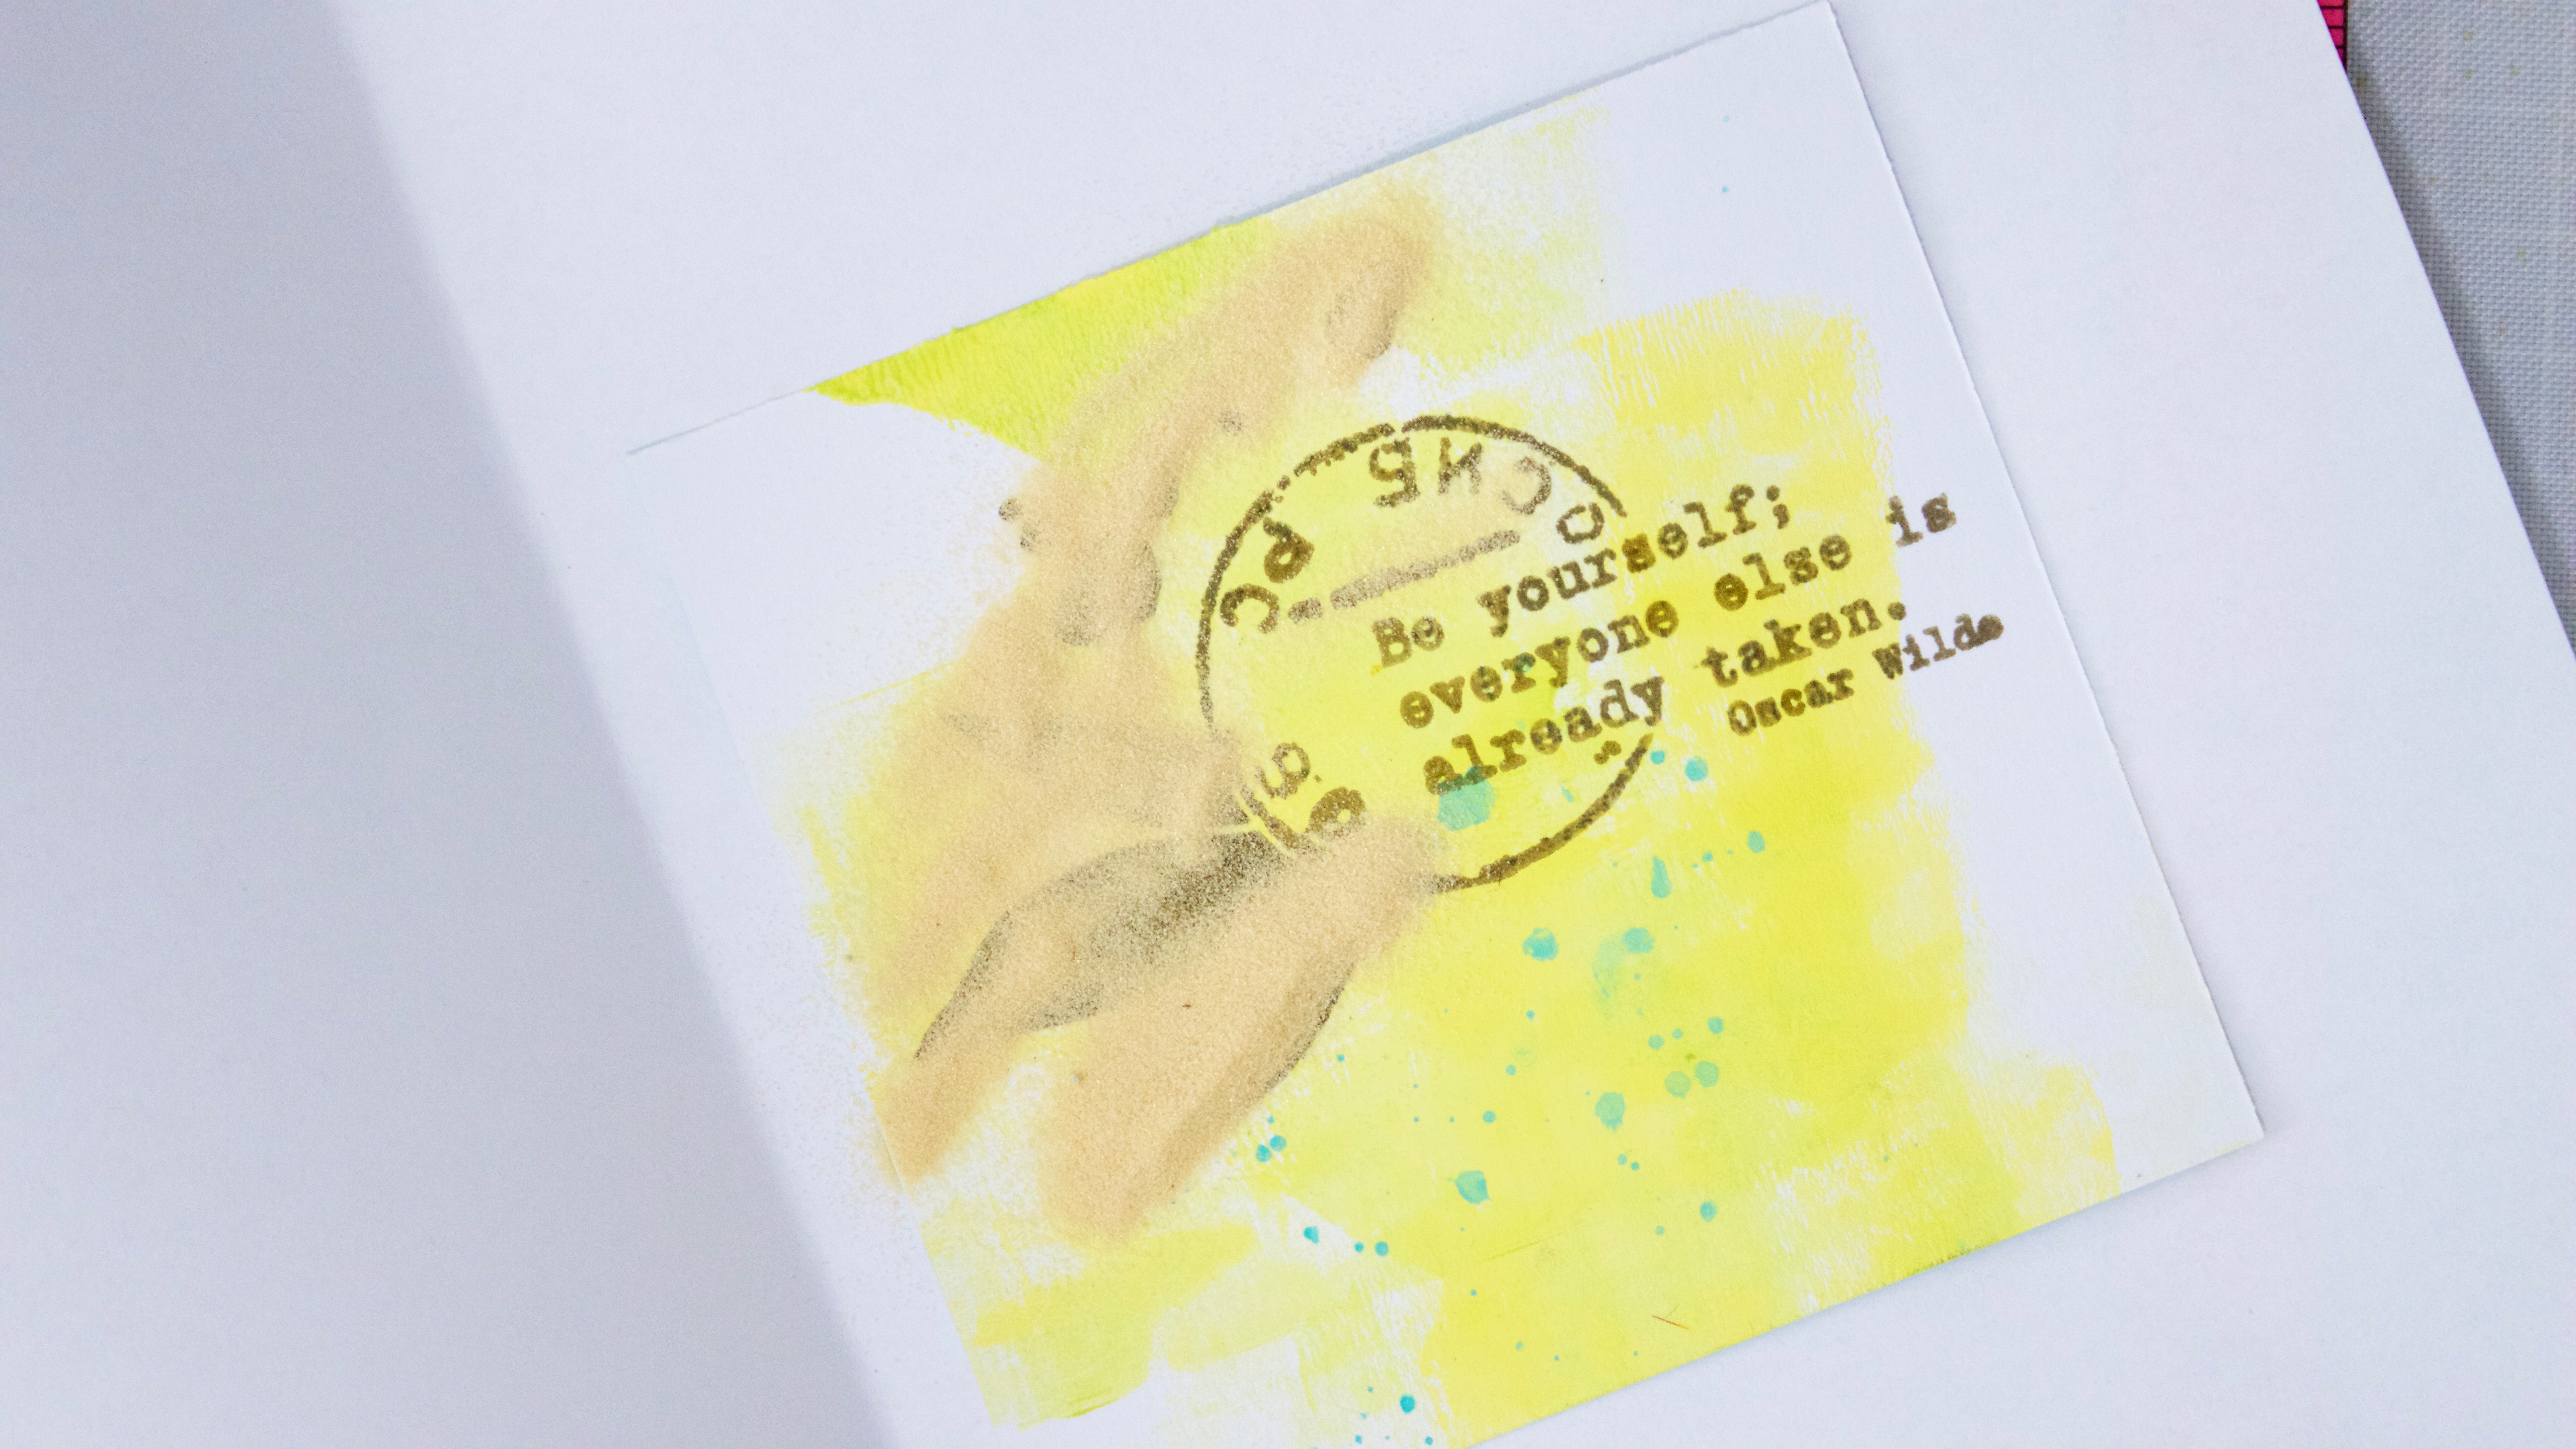
Then I inked the edges of the focal piece and gold-embossed them before putting the card together. Note that I used a scrap trimmed off of my yellow focal to go vertically on my card front, then added a few more stamp accents (little flowers and dot trios) to the background. I inked the edges of the background before adding it to the card base. A bit of twine and some pearls are the finishing touch. (I love the contrast with the shine of the embossing powder. See:
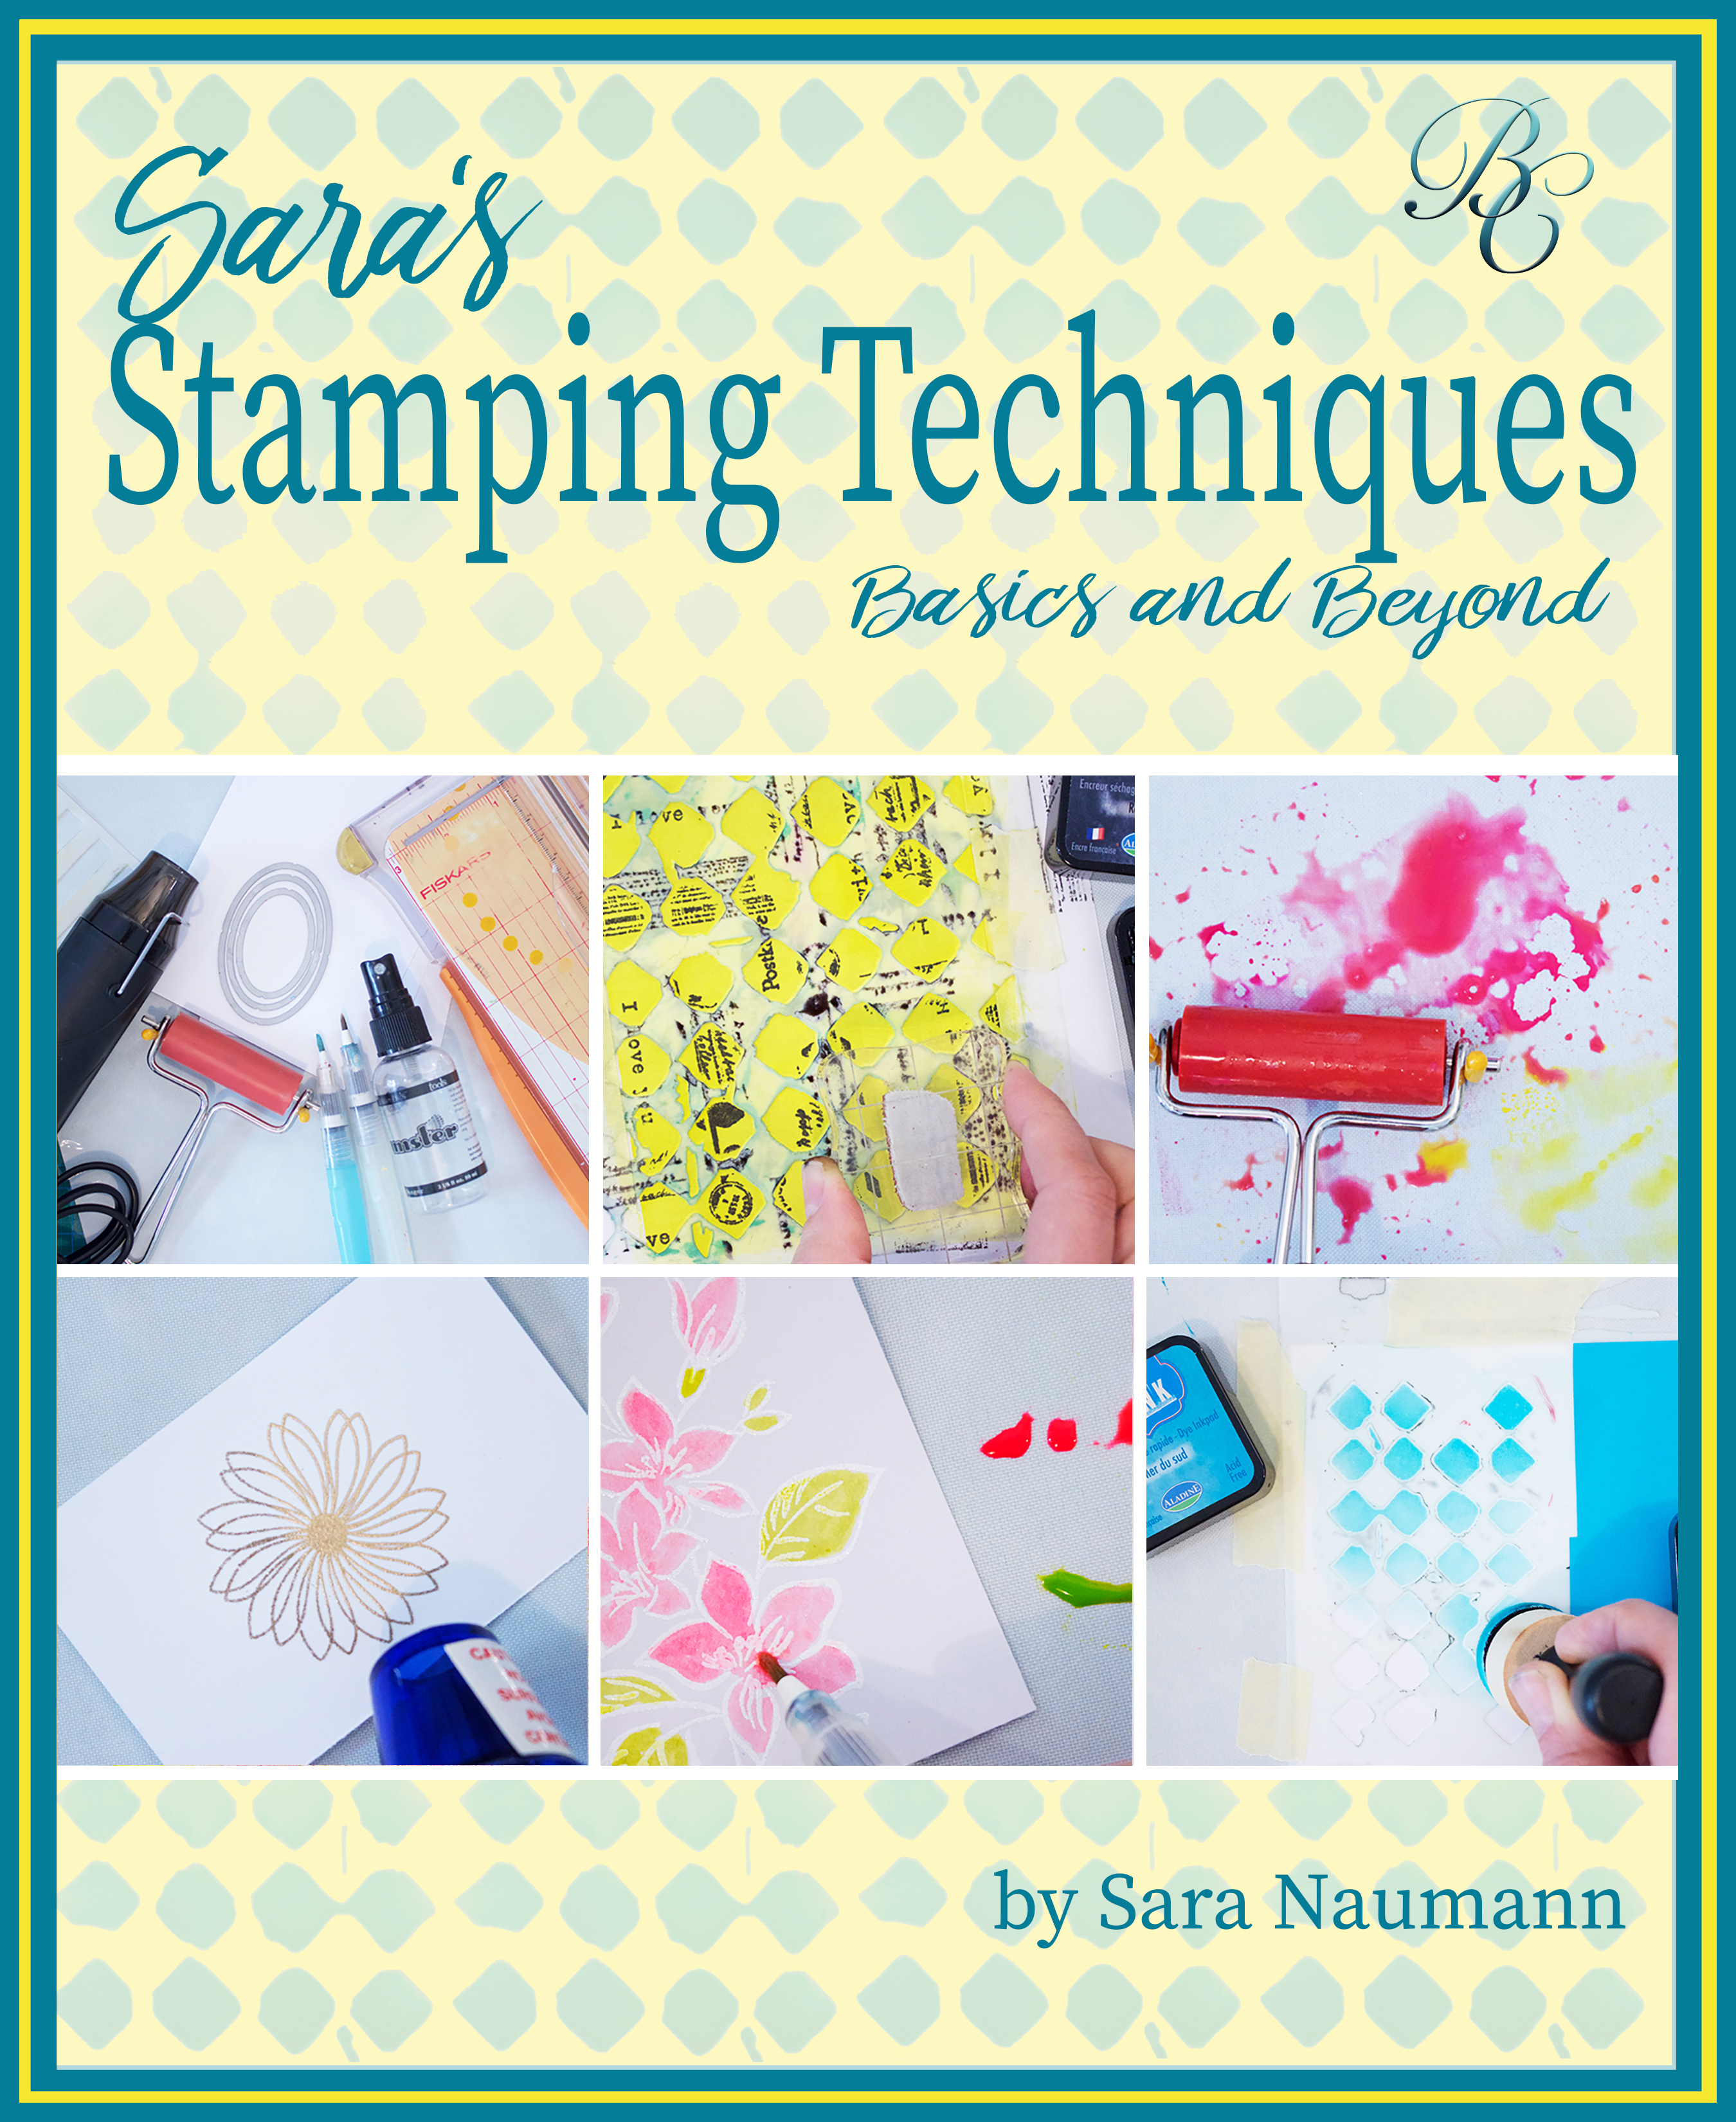
Hope you enjoyed the card project! For more stamping ideas, be sure to check out Sara’s Stamping Techniques, from Bella Crafts—this 7-poage book is available as an e-book, and print on demand.