
A looooong time ago, I bought a sealing wax set at a craft store and promptly sealed just about every envelope on every card or letter I gave someone. While it’s been awhile (we’re talking years) since I’ve sealed a letter with wax, I’ve recently re-discovered the technique—with a few twists!
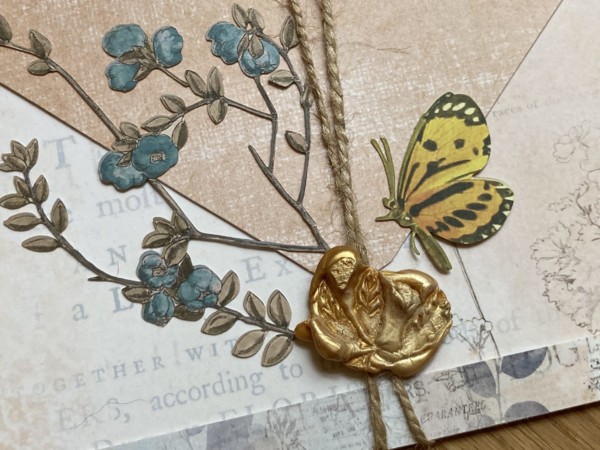
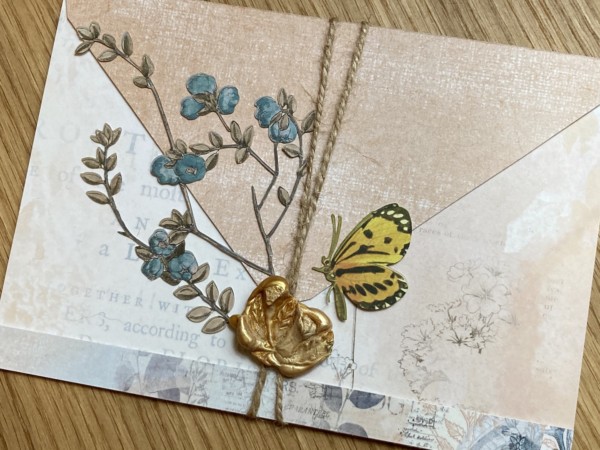
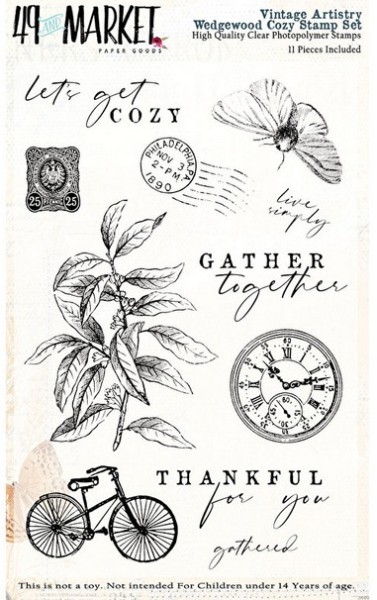
For this project, I used papers from 49 and Market (swoon) to cover an envelope. (If you have an envelope maker, that can work too as the papers are double-sided. ) The papers are from the Wedgewood Collection, which also has laser-cut accents like the floral sprig and butterfly.
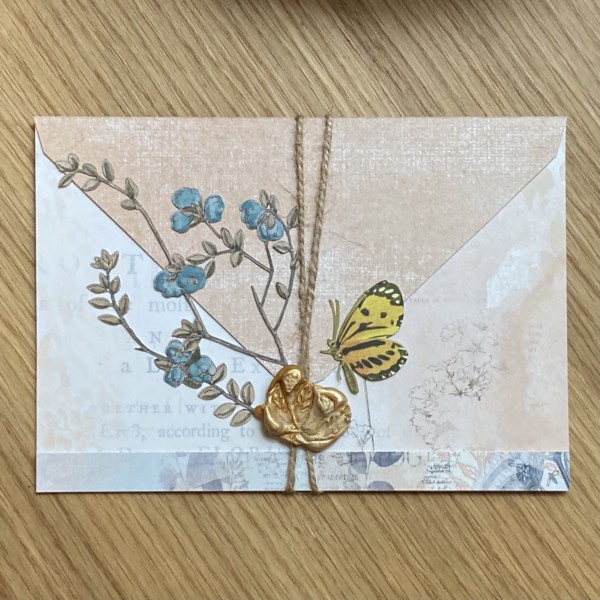
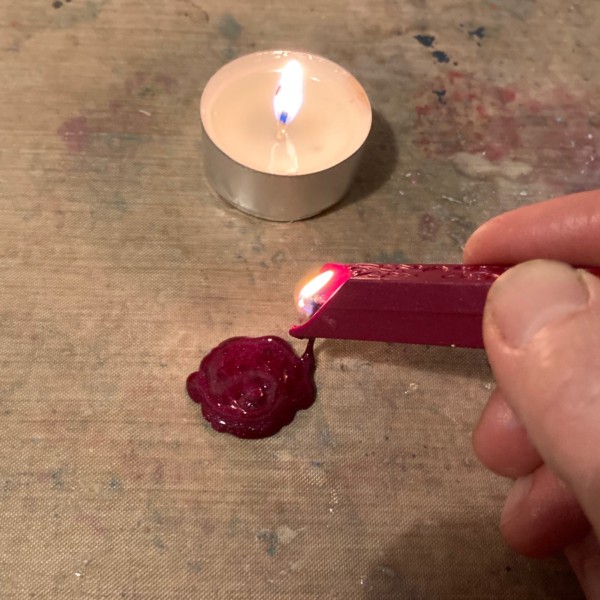
Now, you can melt the sealing wax right onto the paper if you want—but I wasn’t sure of the exact layout I wanted, so I melted my wax and made my seal on my craft mat. When it cooled, I could pop it off the mat and then adhere it to my envelope. This process is especially good if you’re making an embellishment to add to a card front as it allows you the ability to move it around for perfect positioning.
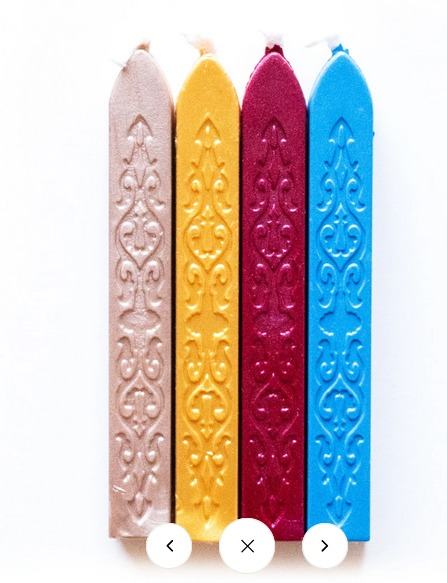
I’m using Altenew’s wax sticks. They also have granules, which can be melted in a metal spoon and might be easier for mixing colors. But the sticks work perfectly for a basic seal and I really enjoyed the process.
You’ll need a candle (I use a tealight), matches and a craft mat. Just light the wick on the wax stick, then hold the stick over your surface at a 45 degree angle. When reading up on this technique, I saw several recommendations to 1) trim the wick before lighting it so it’s not so long; and 2) to rotate the stick as the wax melts so it melts evenly.
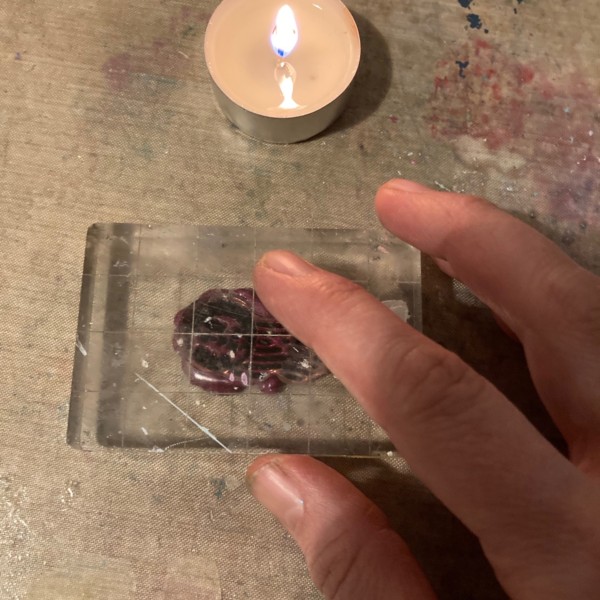
Make a coin-sized puddle, blow out the lit wax stick, and press with your stamp until the wax cools.
Here’s the thing!
You can get sealing wax stamps specially designed to be those perfect round seal shapes… and you can use your regular stamps too, both clear acrylic and rubber. You can use small images, or portions of larger images. Realizing this opened up a whole new world to me. First, it meant I didn’t have to have special stamps for this technique. Second, it meant I didn’t have to do the process perfectly every time. (Or any time!) See, this seal is not perfect:
For this envelope, I used a portion of the large leaf image on the Wedgewood stamp set:
Here’s a quick visual:
Super easy!
And no, you don’t have to treat your stamp before stamping into the wax. Just let it sit in the wax until it cools, then lift up and clean your stamp as you normally would.

It’s a fun technique and I think would look really lovely as a seal on the top of a gift parcel too. I’m writing an article on it for the June issue of Crafts Beautiful magazine, so hopefully you can have a look there too!


