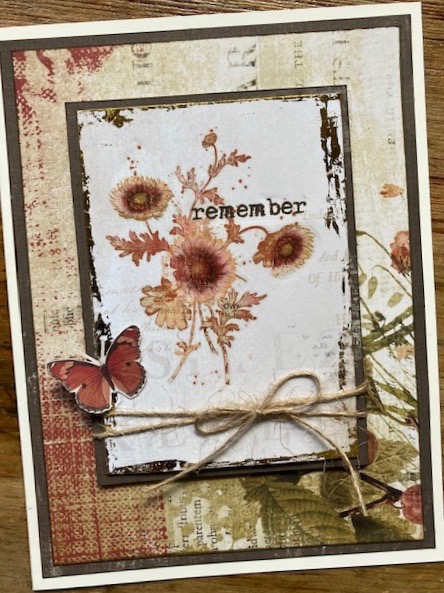
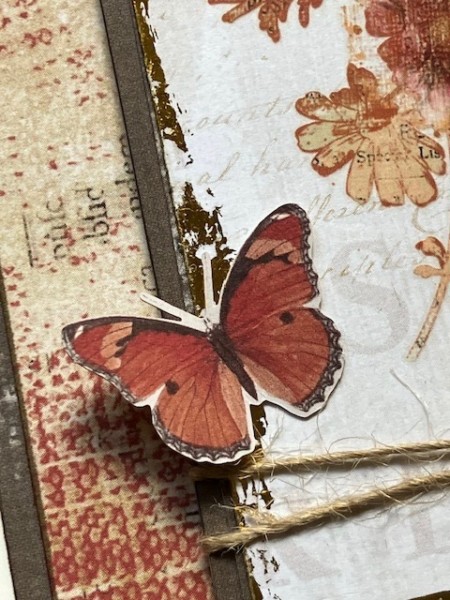
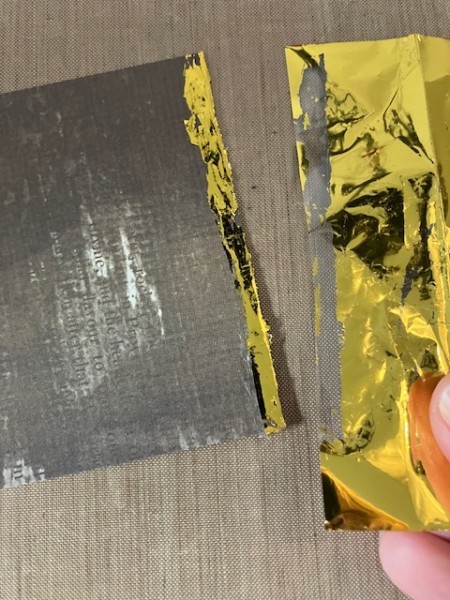
Foiling is a great way to add metallic shine to papers—here, you can see the distressed gold foiling along the edges of my card focal. This is a super-simple technique and all you need is a glue stick!
Here’s a closer look—
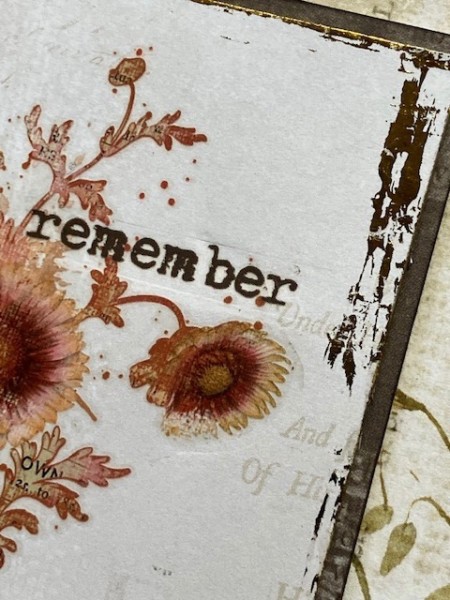
And another close up look—
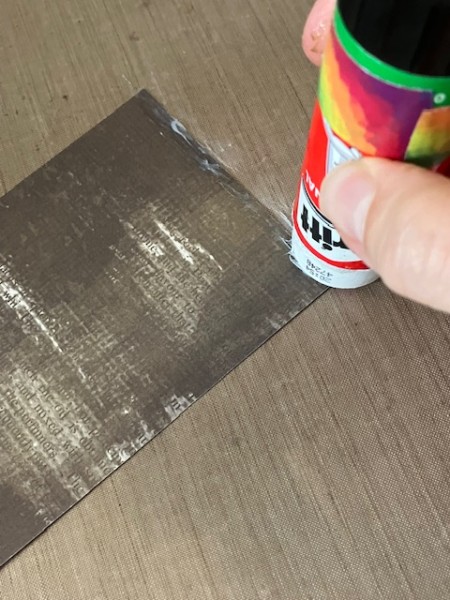
The process I’m going to show you will give you the rough, distressed effect you see on the card above. (For really clean lines, I recommend using a super-sticky tape, like the red line adhesive.)
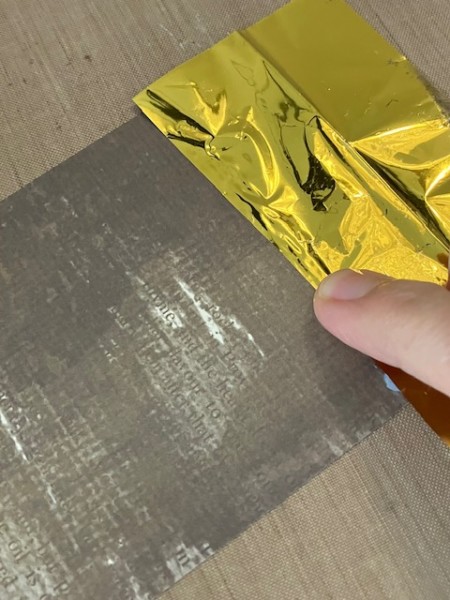
I’m using WOW! Fab Foil in gold for these projects.
Step one: Place your paper on a craft mat or scrap paper. Apply glue stick—any kind—along the edge of the paper.
Step two: Place your foil on top and press with your finger.
Step three: Let the glue dry. This will take maybe 15 minutes or so. Then gently peel off the foil. (If the glue hasn’t dried yet, you can place the foil back.)
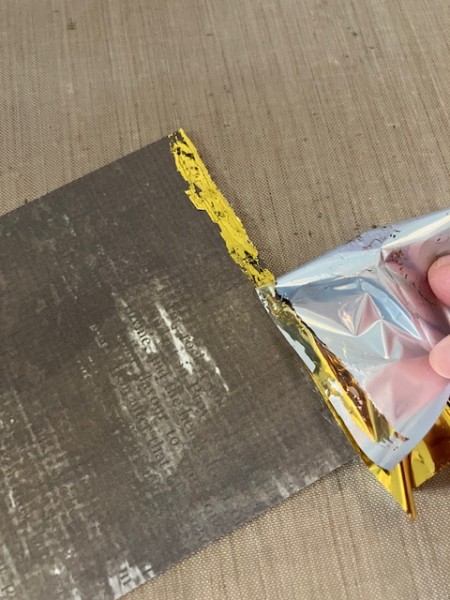
And you’re done! You can still use the rest of the foil sheet, as long as it has some gold on it.
Here’s another card example:
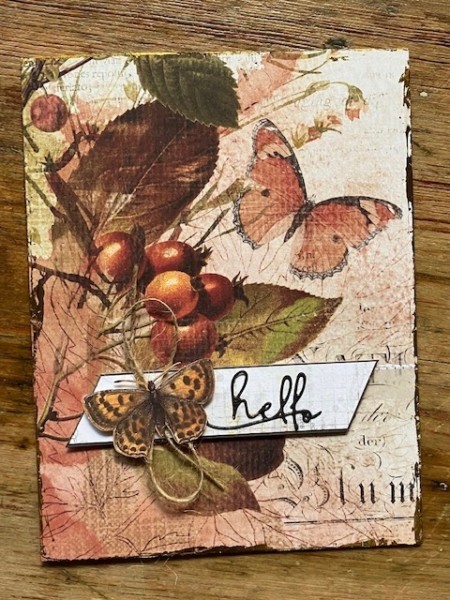
Here, I’ve edged the outside of the card with gold foiling. The rest is very simply decorated, with 49 and Market patterned paper and die-cut butterfly. The “hello” is from Altenew’s Signature Words die set, which I use all the time.
The first card is also using 49 and Market patterned papers, plus a rub-on that you might remember me demo’ing last week!
Enjoy, take care and I’ll see you again next week!