
Want to add a bit of visual emphasis to a stamped image? A simple black fine-line pen is a great tool!
On the card you see below, the background “boomerang” stamp image has a retro-inspired stamped outline. To coordinate, I added some simple penwork to the gift package image that I foam-taped on top. You can see a quick video over on Facebook, or keep reading to see more!

Earlier this week, I hosted a Facebook Live for Altenew’s Facebook page, using the retro Mid-Century Festivities stamp and die set. I share a lot of other project demos, and you can watch the replay here. And, you can keep reading to see the steps on this project!
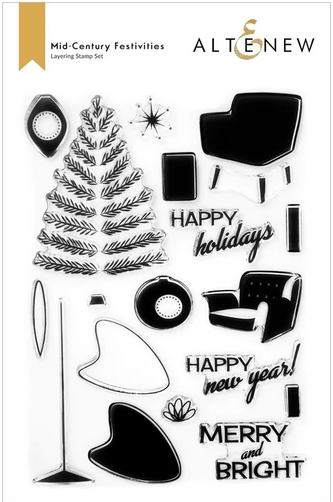
One of the elements in the set is a little gift package—you can see parts of it above. The image is stamped in layered steps, like this:
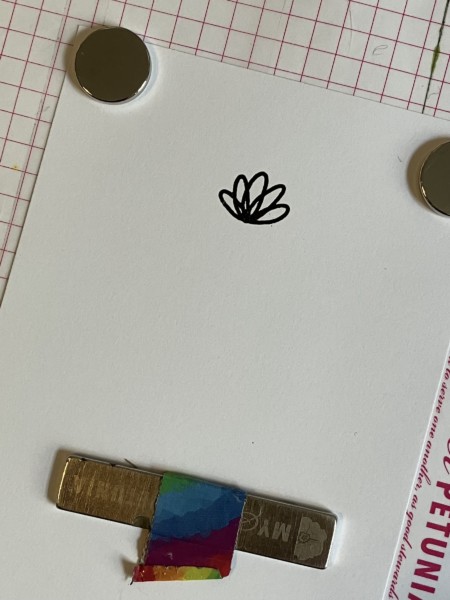
First, I stamp the bow, using Obsidian Black.
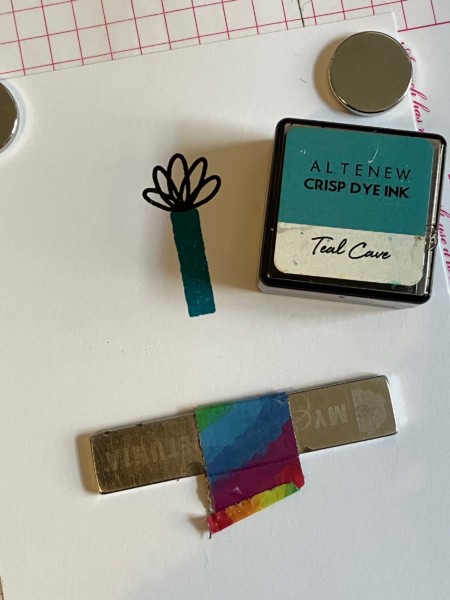
Then, I’ve stamped the long ribbon with Teal Cave. (Tip: My gift package will be vertical, tall and narrow. If you want a short, wide gift package, use the shorter ribbon stamp instead.)
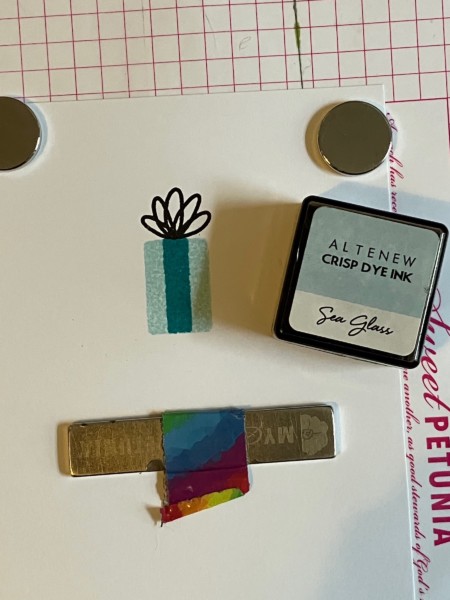
Then, I stamped the rectangle shape with a lighter color—here, Sea Glass.
You can stop here—this is a complete image, which you can either use as is, or die-cut with a coordinating die. Or….
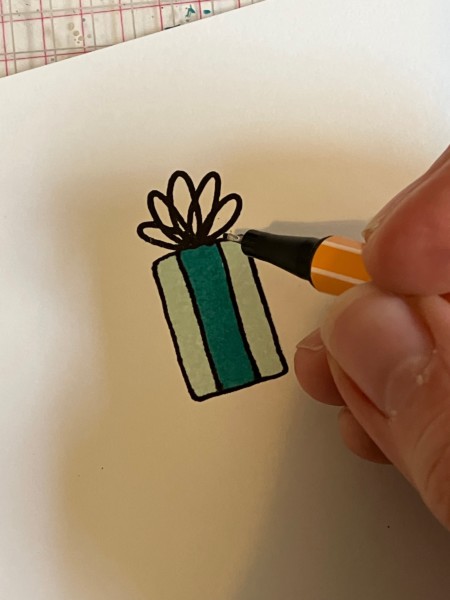
… grab a fine-tip black pen and outline the gift package and the ribbon.
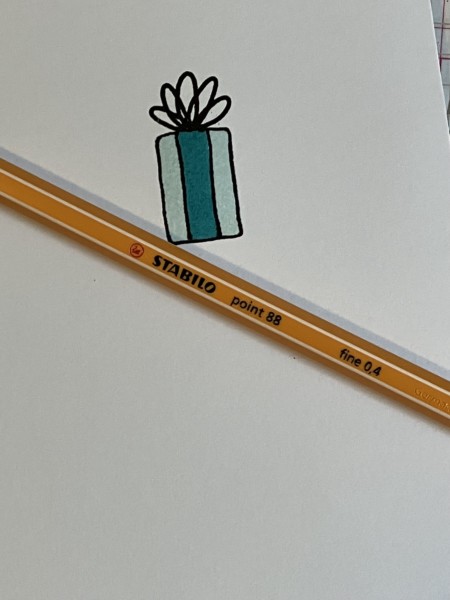
I’m using a Stabilo fine-tip black pen (0.4) which I found—perhaps unexpectedly—at my local grocery store.
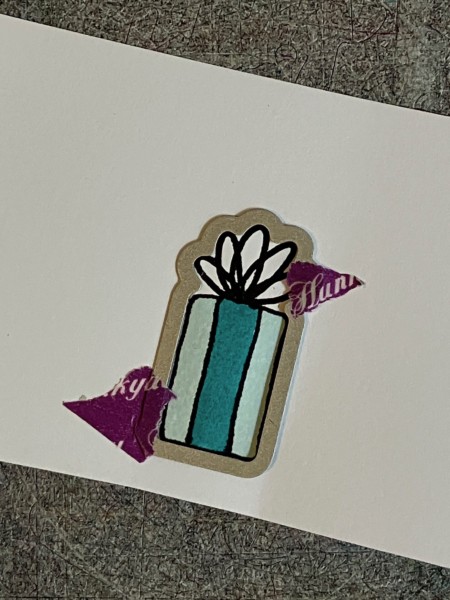
You’ll still have enough white space around the outside edges of the image to die-cut it.
Here’s the card again—

Bear in mind, the Mid-Century Festivities set is designed for Christmas. However, a gift package makes a great image for birthday cards and lots of other occasions, too. (Plus, I love taking a specific stamp set and making it stretch to include other holidays or card-giving occasions!)
Enjoy—and see you next week!


