
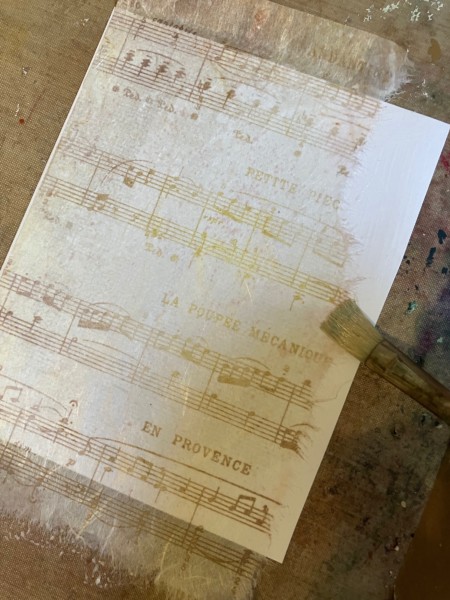
Rice paper is a fabulous material for cardmaking. It layers beautifully over plain or patterned paper, it’s easy to use, and it comes in lots of different patterns and designs. Below, you can see the floral-and-sheet music paper layered onto tan cardstock that has a faint faux-linen design. I love the depth, as well as the tactile nature of the rice paper itself.

What is rice paper?
The type of rice paper I’m working with can be described as a cross between mulberry paper and tissue paper. It’s translucent, making it perfect for layering on top of other designs. The papers I’m working with are from Stamperia, a company with lots and lots of rice papers with borders and all-over prints.
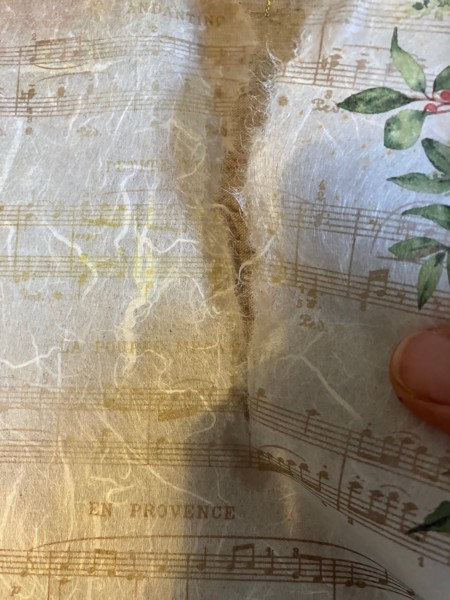
You can cut rice paper with scissors, or tear it. To tear it, I suggest first painting a line with a wet paintbrush to soften the fibers and make it easy to tear in a controlled fashion, like this:
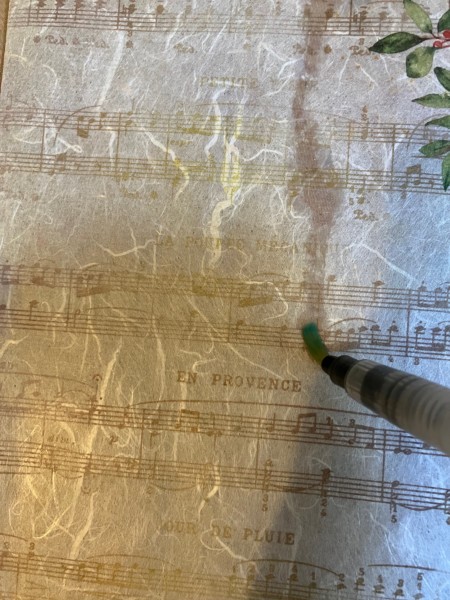
Then, gently pull the paper to tear. If you come across any stubborn fibers, simply use a pair of scissors to snip them.
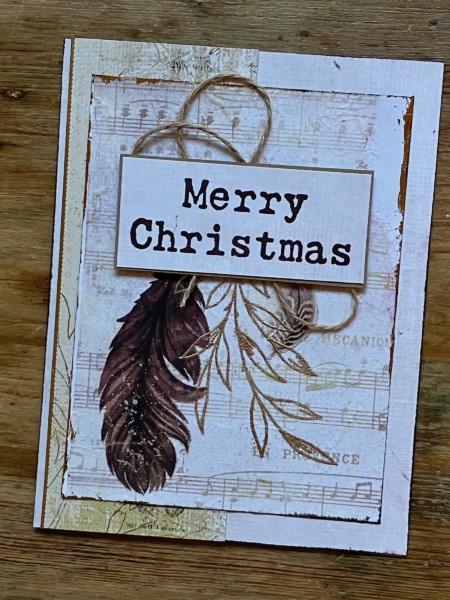
Here’s another look at the card:


The stamp is from PaperArtsy ESN29. The rice paper is Stamperia’s Home for the Holidays Music design.
Gluing rice paper
You can take advantage of the translucency of rice paper by layering it onto another patterned or solid piece of cardstock. For the card above, I glued it onto a neutral faux-linen piece; for the card, below I’ve layered it onto off-white cardstock. I find cardstock-weight paper works best as it lends stability to the rice paper and makes it possible to cut it with a paper trimmer.
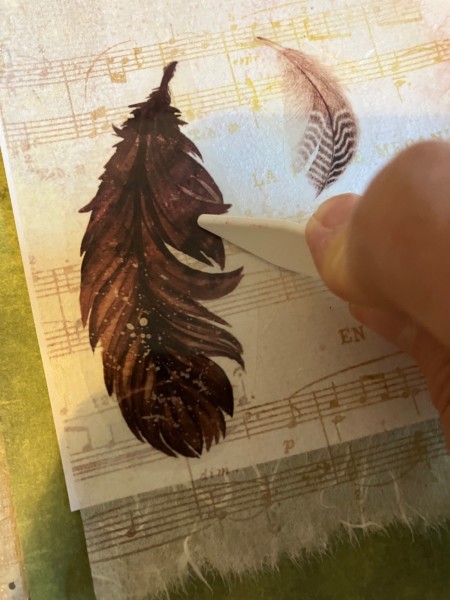
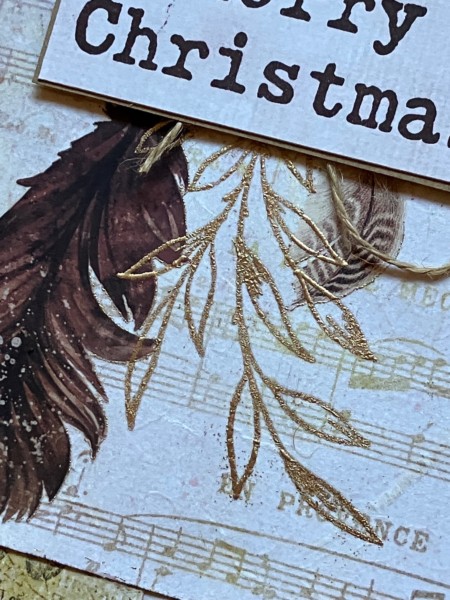
On top of the rice paper, I added Stamperia Our Way rub-ons and a heat-embossed stamped image from ESN17.
But let’s start with gluing the rice paper:
Step one: Add a bit of water to white glue, then use a brush to apply it to your cardstock or other surface.
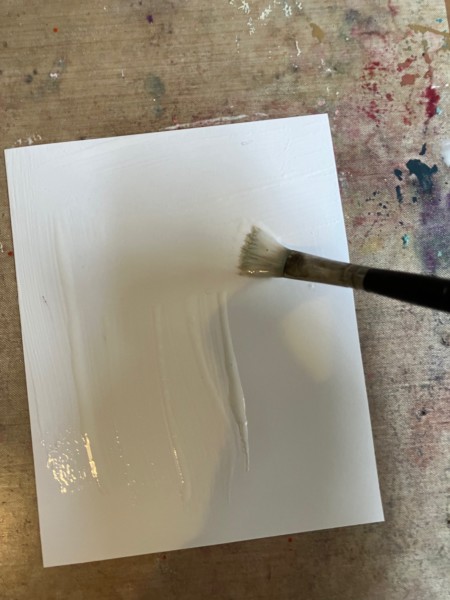
Step two: Place the rice paper onto the wet surface and smooth it down.

Step three: Use the brush to add more watery glue along the edges of the rice paper to secure it in place. Then, let the piece dry thoroughly.
Unlike decoupage or tissue paper, rice paper doesn’t buckle or warp—and unlike mulberry paper, it will maintain its color and design.
After the paper dries, you can also add more to it. (Be sure it’s totally dry though!)
I’ve added rub-ons and a stamped, embossed image.
First, place the rub ons onto the paper, and use a bone folder or similar tool to burnish them in place.
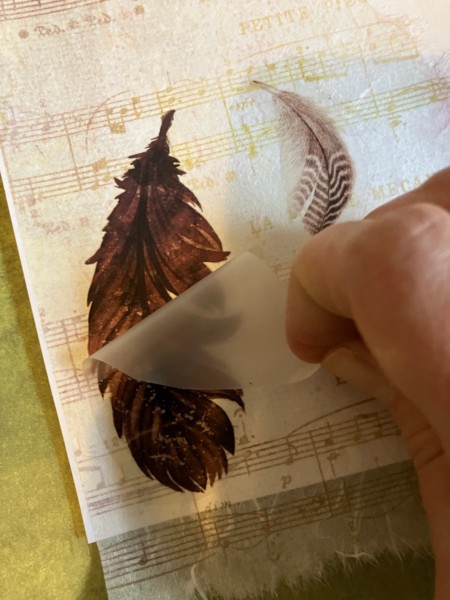
Gently peel off the protective layer. (Do this slowly in case some areas didn’t transfer completely.)
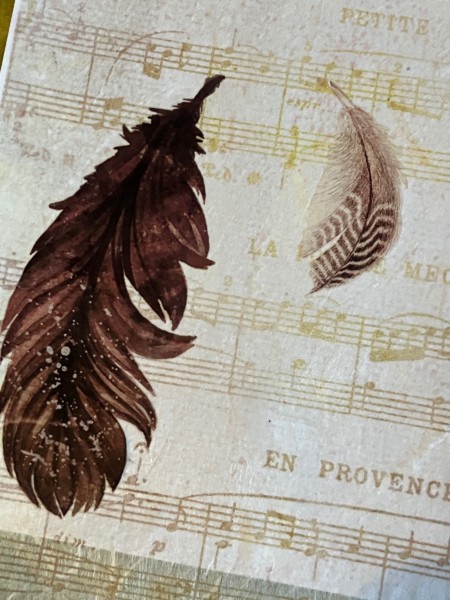
Lovely layers! Then, I added a stamped and embossed image. I first stamped the foliage onto white scrap paper and cut it out so I could play with the positioning before stamping.
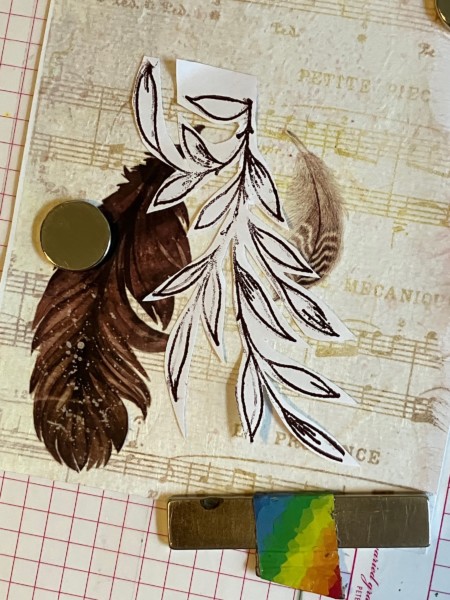
Then, I stamped it with embossing ink and heat-embossed with gold.
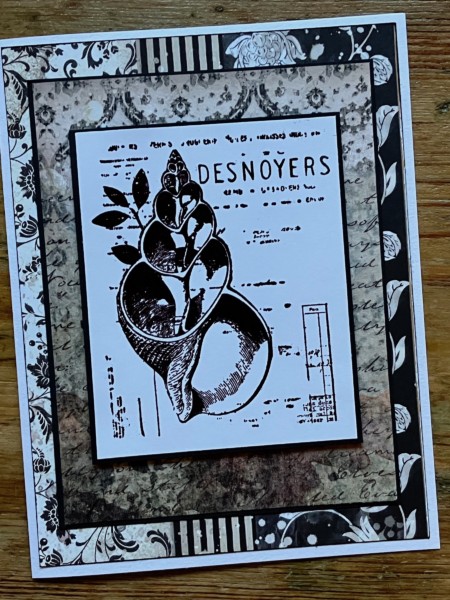
And finally, another card for you—this one is layering rice paper onto heavily patterned paper, simple and easy.
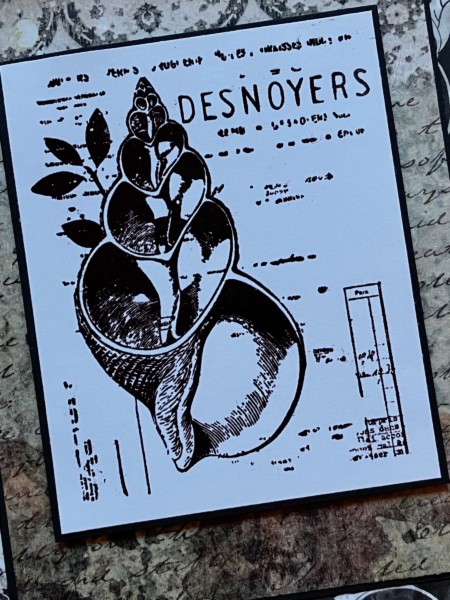
Underneath the shell focal, the middle layer looks like this:
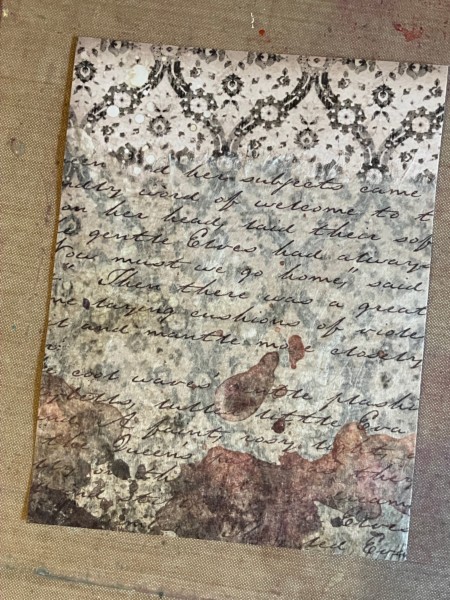
The shell stamp is from ESN55, stamped onto white cardstock. The rice paper is Stamperia’s Our Way Manuscript design, layered onto Stamperia patterned paper. Here’s a closer look—
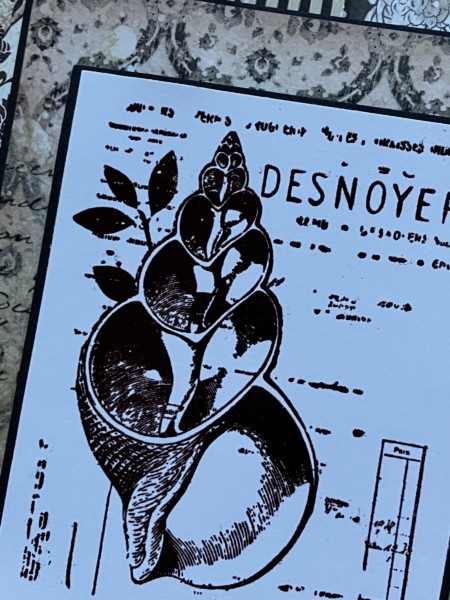
And one more—
If you’re intrigued by rice paper, you might have a look at my Facebook Live from earlier today, or watch me demo more Stamperia rice papers over at Paper Wishes, where I host a regular Webisode series called Saturday with Sara. This one is all about the Our Way collection. Enjoy!


