Hi friends! Today I have two simple and easy cards to share with you, featuring the Polish Papercuts layering dies from Altenew. When I don’t have an idea for a card design, these kinds of layering dies are my go-to: Just die-cut and layer to make cards that can be super-simple, or more elaborate, depending on what you decide. (It’s also one of the most relaxing cardmaking techniques I know!)
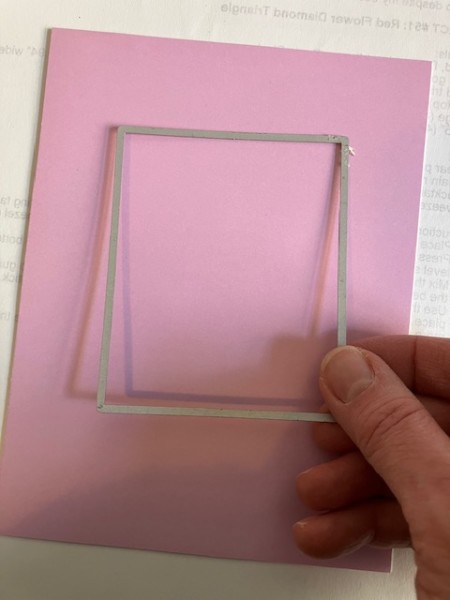
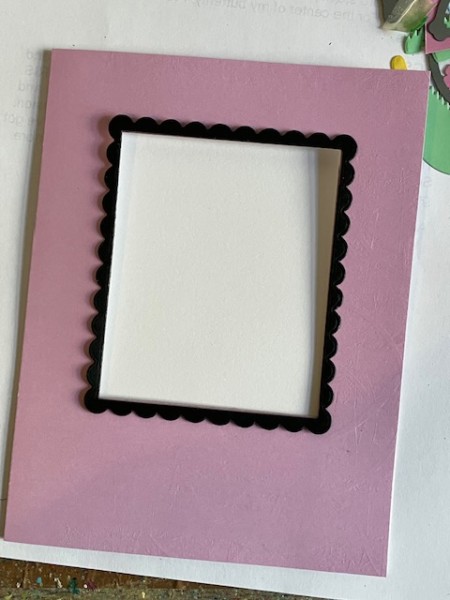
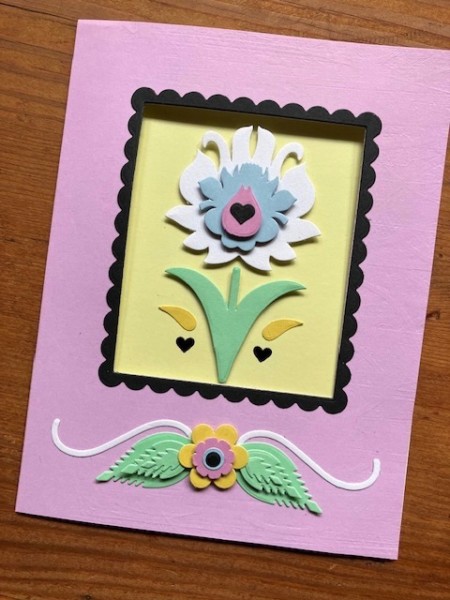
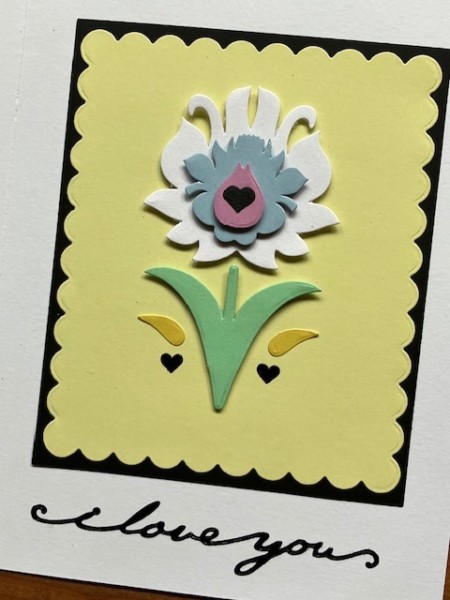
First, let’s start with the pink card on the right. This card has a window aperture cut in the front panel of the card. I’m using Hot Off The Press’ 12 Rectangle and Scallop dies, and you can do this with any nesting-style dies. Here’s how:
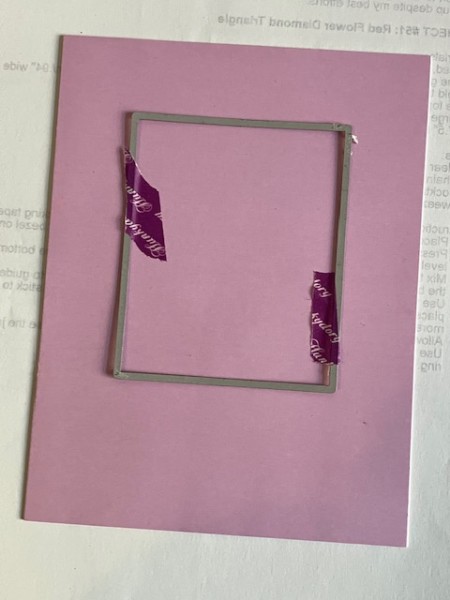
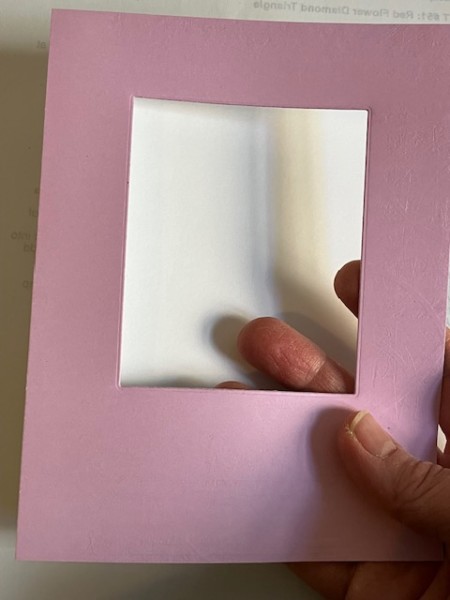
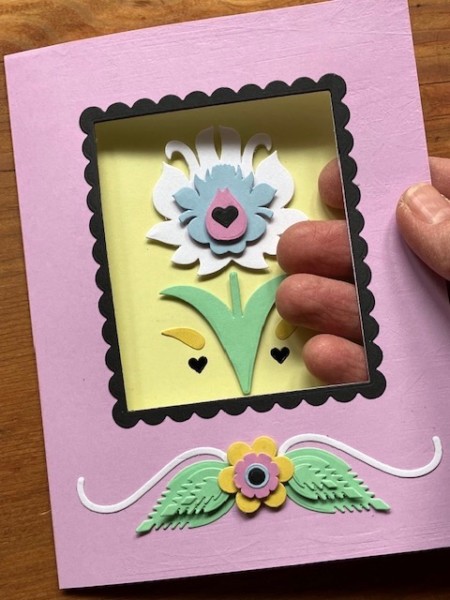
Step 1: Use a rectangle die to cut a window in the front panel of your blank card. (You can cover the card front with paper or cardstock first if you wish,
Step Two: Use a slightly larger scallop die to cut a separate piece of cardstock.
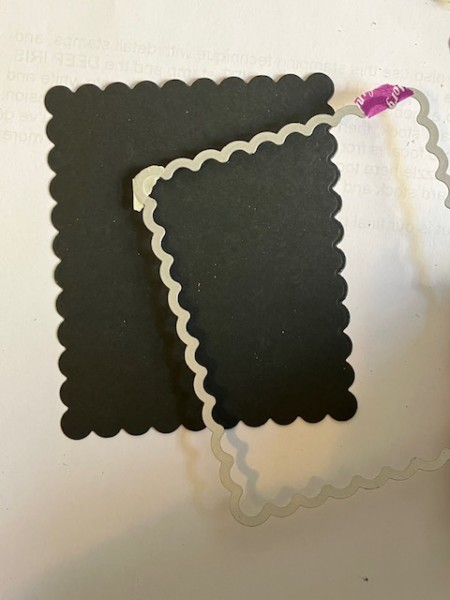
Step Three: From inside that die-cut piece, cut the smaller rectangle.

You may ask: Can you die-cut them both at the same time? Depends on your dies… mine won’t nest together in order to be cut simultaneously.
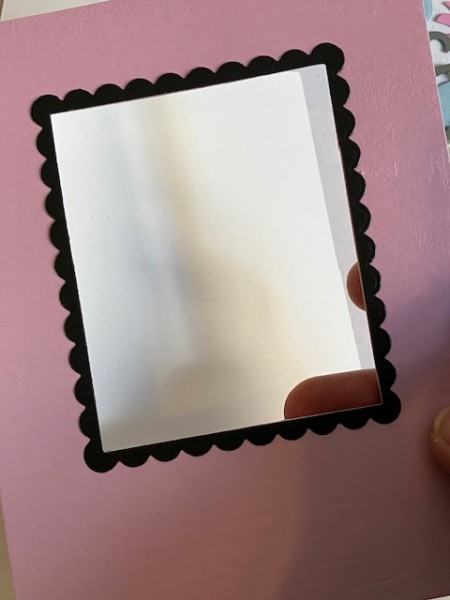
Step Four: Glue the resulting scallop-shaped frame over the die-cut window of the card front.
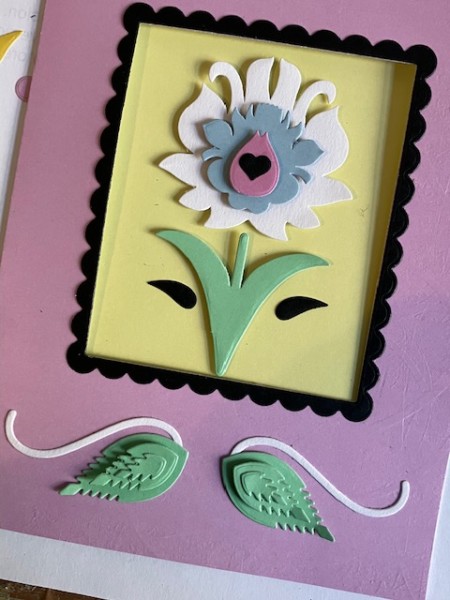
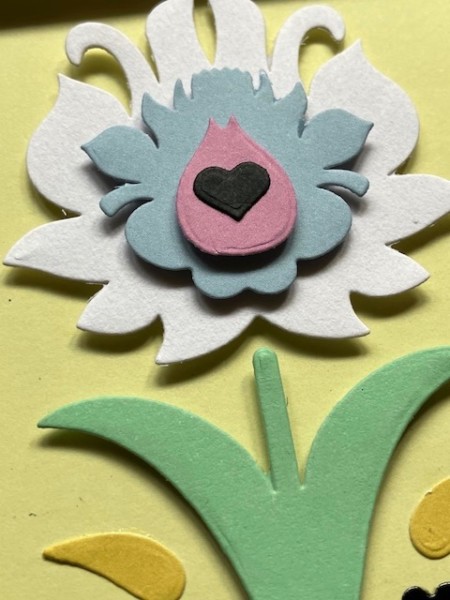
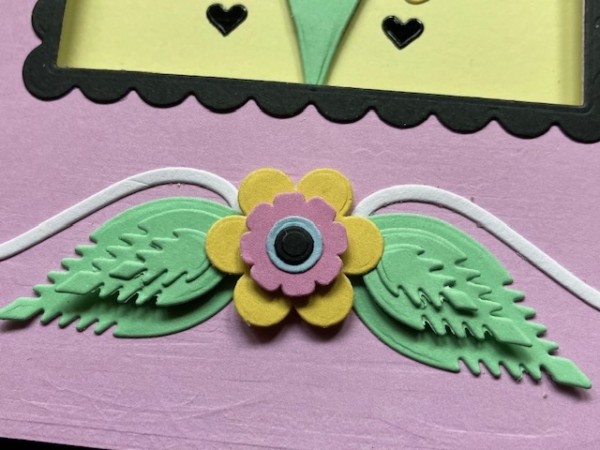
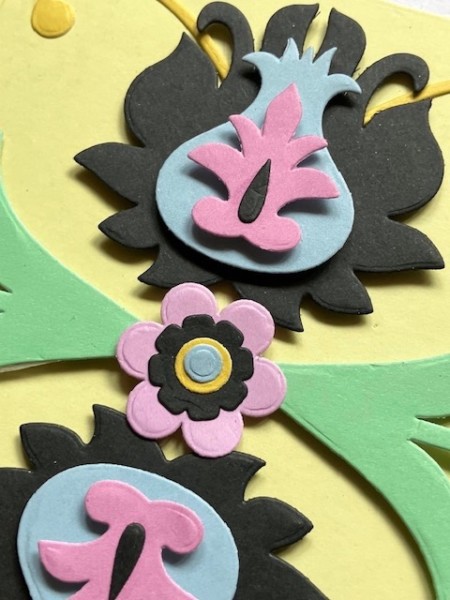
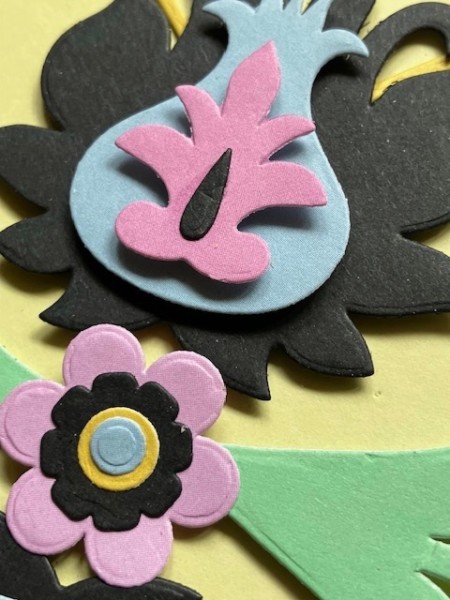
Then, decorate as you wish! I filled the inside and outside of the card with Altenew’s Polish Papercuts 3D dies. These can be configured in lots of different ways to create gorgeous floral motifs. I like to pop up some of the layers with foam tape for extra dimension.
Tip: I find it easiest to die-cut the elements, lay everything out on my card, then take a quick snapshot for reference when I’m building up the motifs.
I often use Sticky Specks to glue down fiddly die-cut pieces, or white glue and a toothpick.
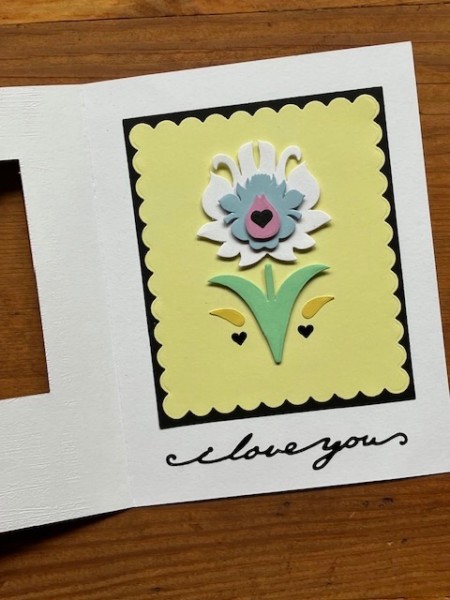
My second card also uses some scalloped rectangles, but they’re just layered on top of the card front, not cut into it.
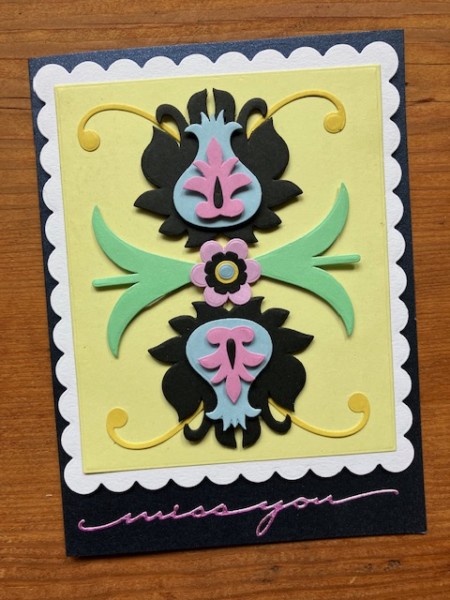
The scripty words on the cards are from Hot Off The Press—they are the Script Dazzles, and make a nice addition to these layered designs.
That’s all for today—I hope you enjoyed the projects and I’ll catch you again next time!