
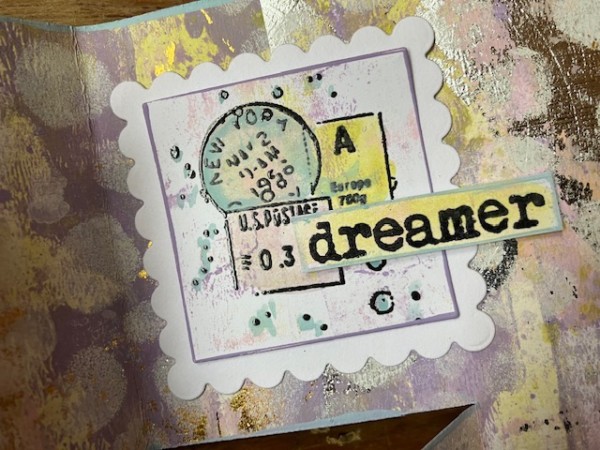
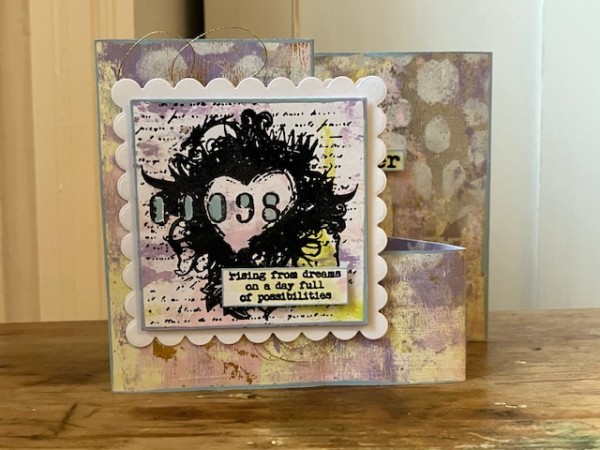
Hello friends! Today I have a collage-style card, featuring my Eclectica ESN65 stamp set from PaperArtsy. My card is a folded design, created with Hot Off The Press’ Tri-Fold Surprise Card Cutting Die, cut from a painted, stenciled masterboard sheet.

Let’s have a look!
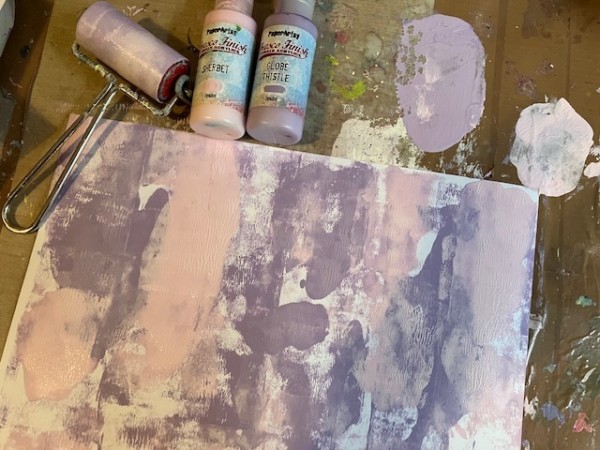
First, what is a masterboard? This is a single sheet of cardstock that’s decorated with color and texture, either with ink, paint, stenciling, texture paste, stamping… any combination of these. For my masterboard, I’m using a sheet of sturdy, smooth cardstock—nothing too heavy, since I’ll be cutting and folding it.
I’m also using PaperArtsy Fresco Finish paints, some of my Eclectica stencils, and some WOW Fab Foil.
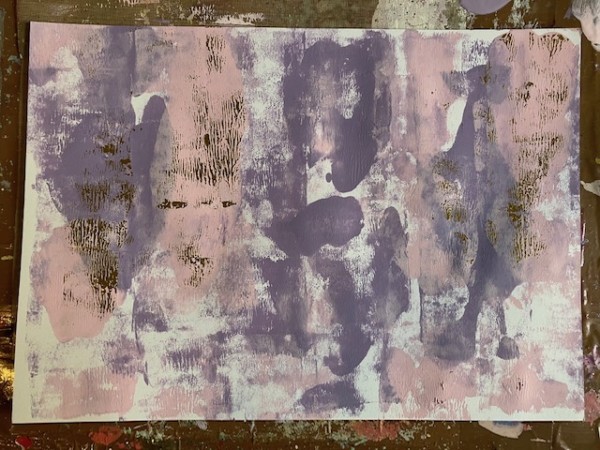
I first brayered the cardstock with Sherbet and Globe Thistle.
Immediately, while the paint was still wet, I placed the Gold Fab Foil right on top. This needs to dry flat and smooth, so I usually place a heavy book or my die-cutting machine plates on top for 15 minutes or so. Then, peel off the foil. You likely won’t have complete coverage—which is the look I’m going for here.
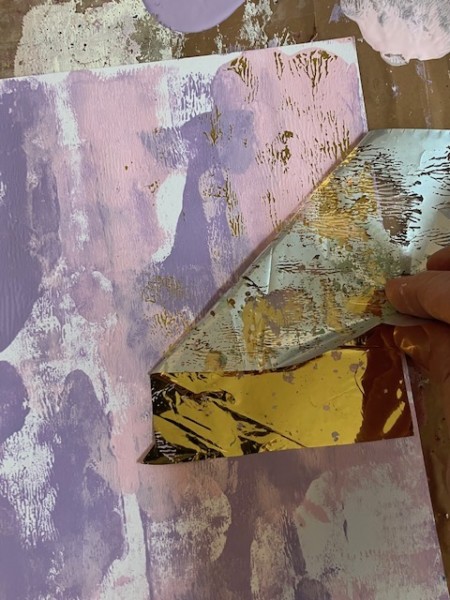
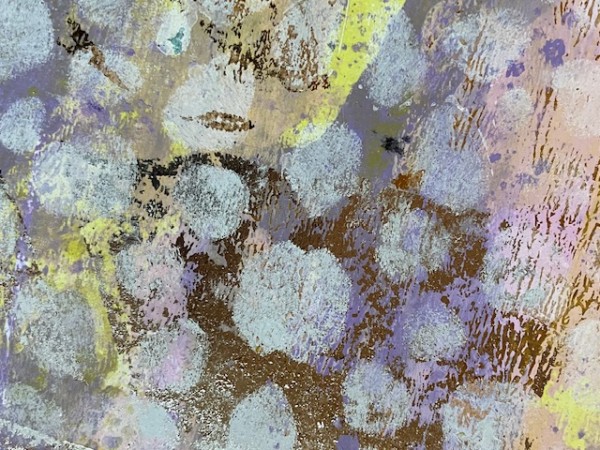
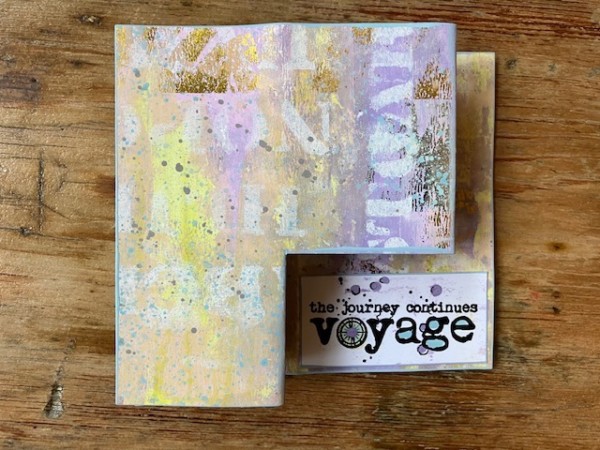
This is what the sheet looks like—
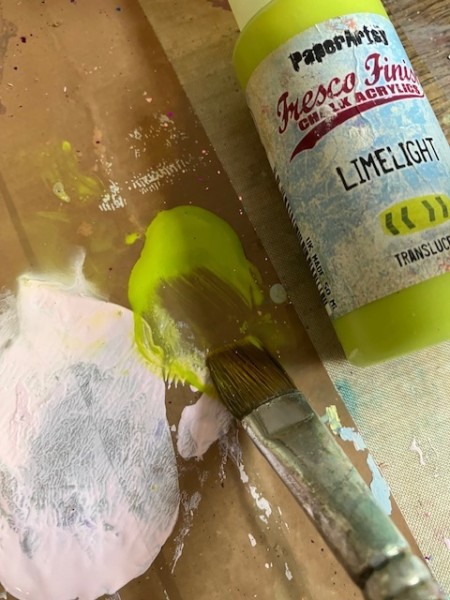
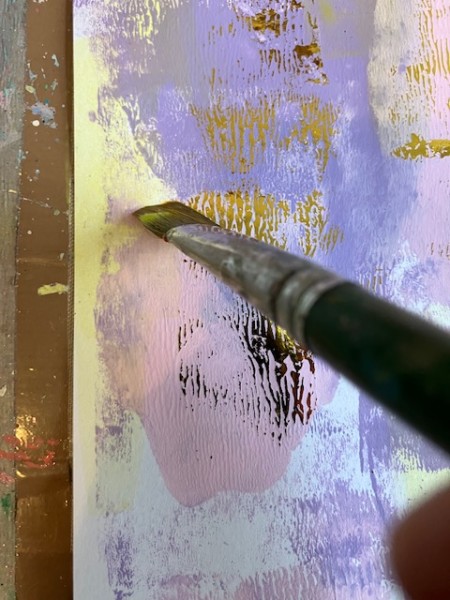
I mixed some watery Limelight paint and filled in some of the white areas of the masterboard.
Then I repeated the foiling technique by splattering paint onto the piece and adding Silver Fab Foil.
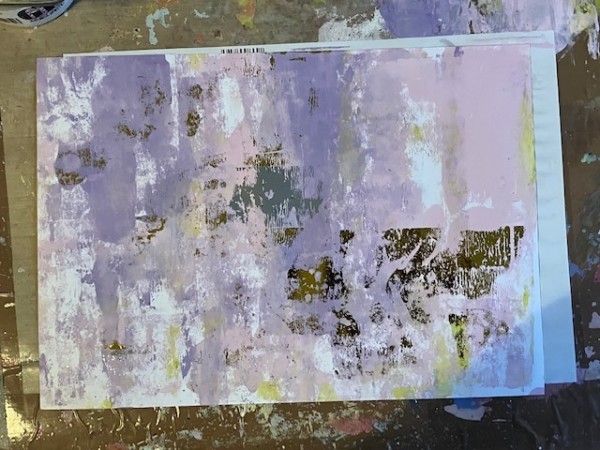
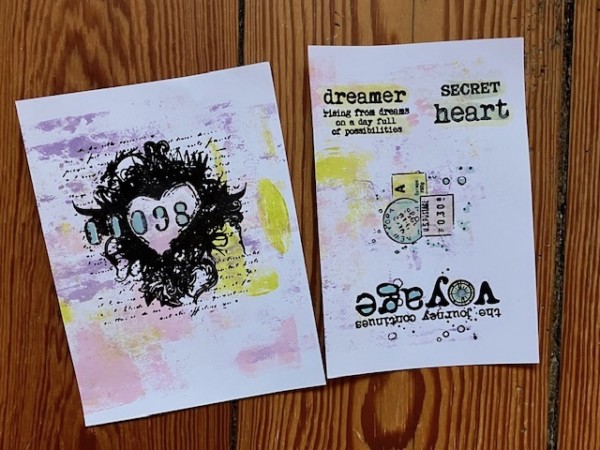
I let that all dry, then flipped the piece over to repeat the process on the other side of the paper. While that dried, I moved on to stamping.
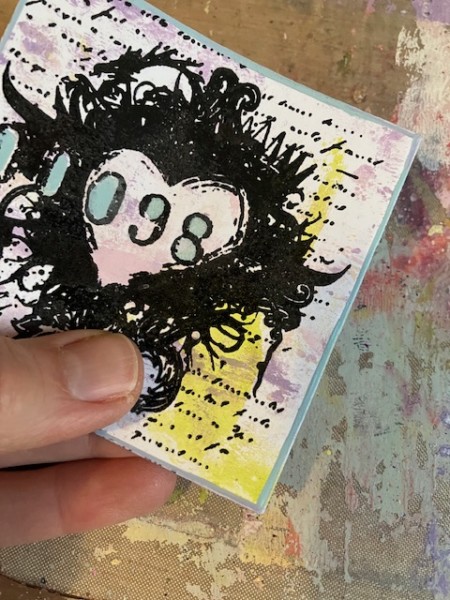
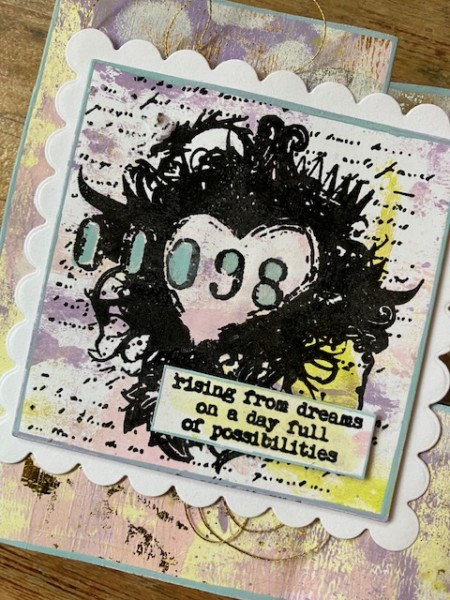
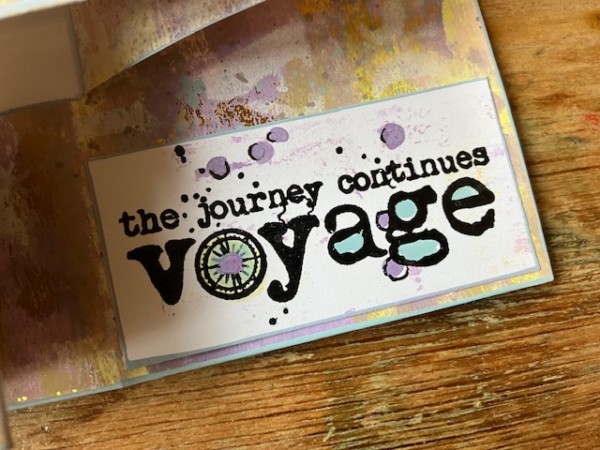
I stamped with Altenew’s Obsidian Black ink, and embossed with clear embossing powder, so I could add watery paint to the images.
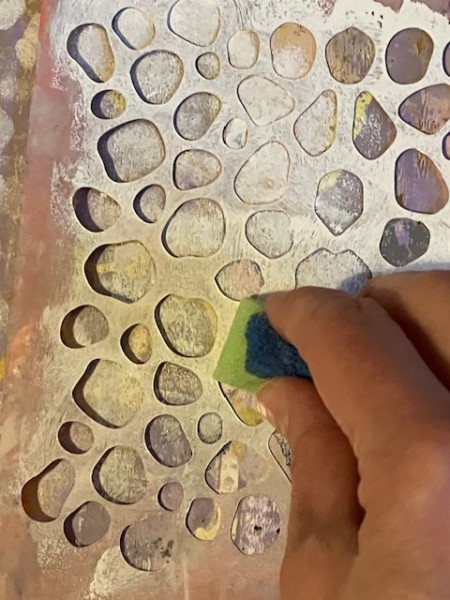
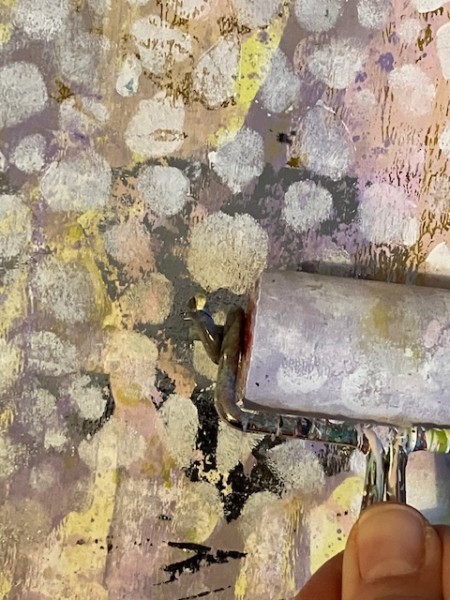
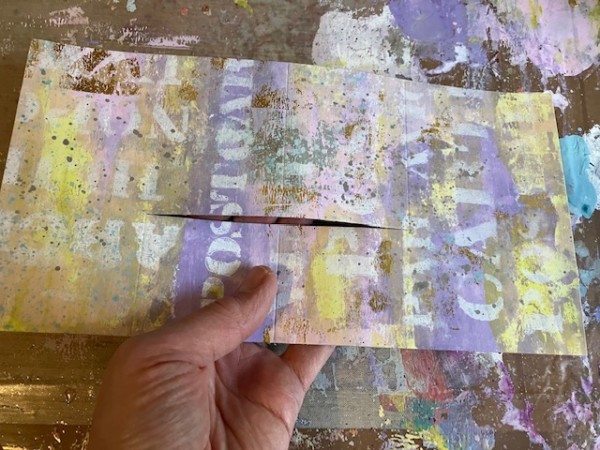
Then back to the masterboard. On one side, I used a bit of sponge to add Chantilly paint through the PS369 Bubbles stencil. After lifting up the stencil, I brayered the paint to smooth out and soften the pattern.
On the other side of the masterboard paper, I did the same process using both PS368 Alphabet stencil and PS370 Vintage Post stencil.
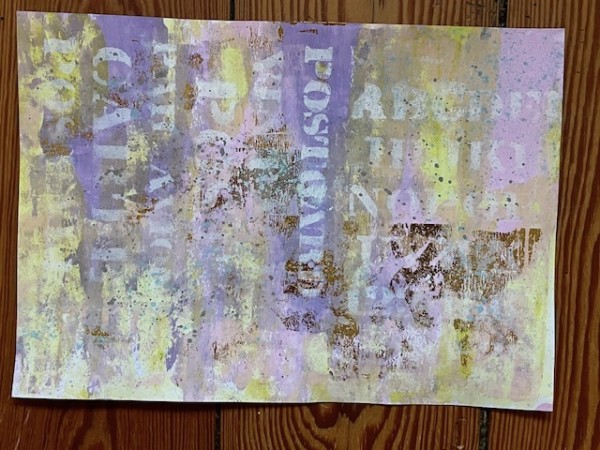
I love how the layers create such depth with the paint colors, the foil and the stenciling!
Once you’re happy with the masterboard, you can grab the cutting die to cut the piece into the folded card base.
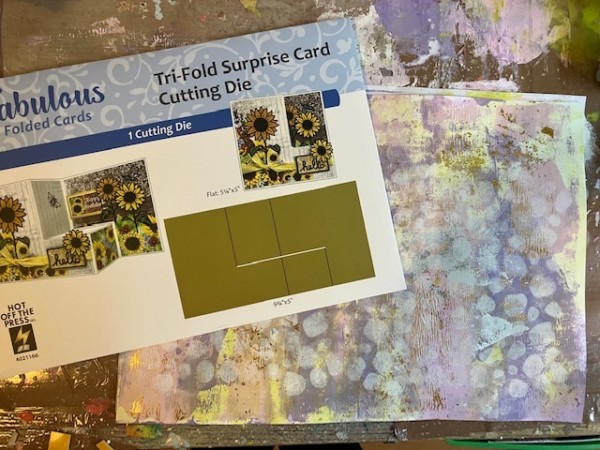
Just run it through your die-cutting machine as normal, and fold it up. (The package has a folding guide.)
I edged all of my pieces—from the card base to all of the stamped images—with Marbles paint.
Then, add the various elements to your card—font, center and back, if you wish!
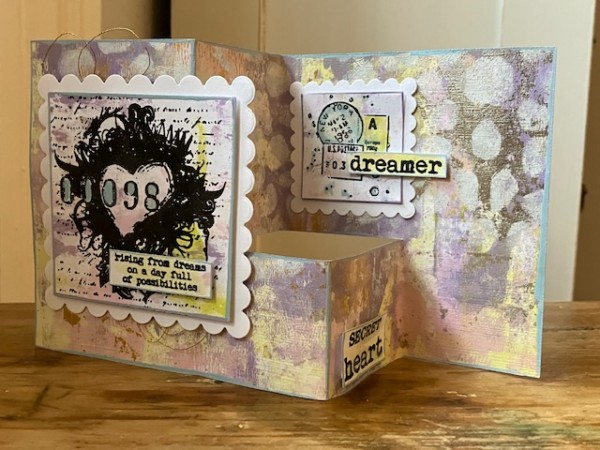

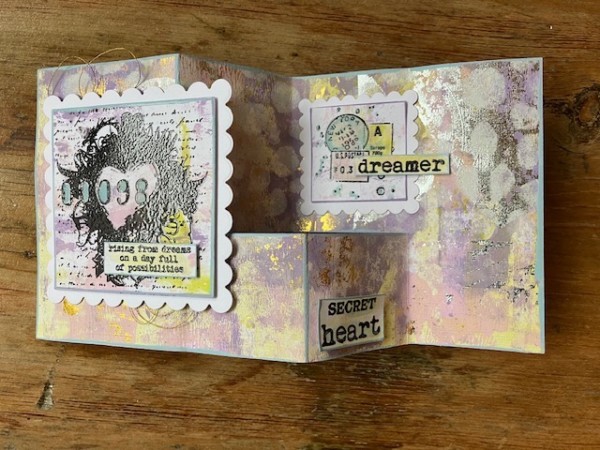

And there you have it—a simple and fun way to not only make your own patterned paper, but put it to use on an easy folded card!


