Glue stick + fold foil is one of the easiest ways to add a distressed style of shine to your projects!

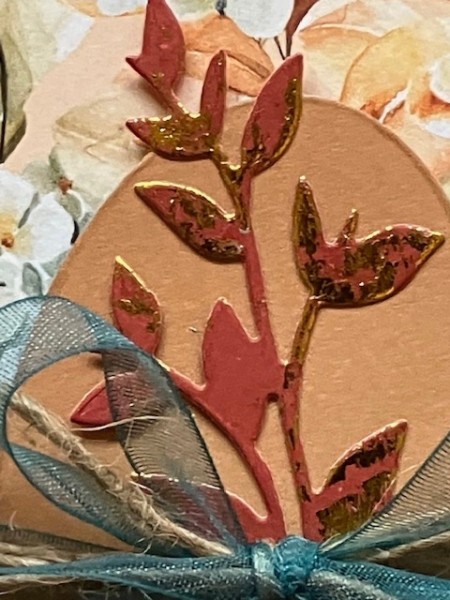
I used this simple technique to add a shabby metallic shine to the die-cut cardstock botanical image. Here’s how to do it!
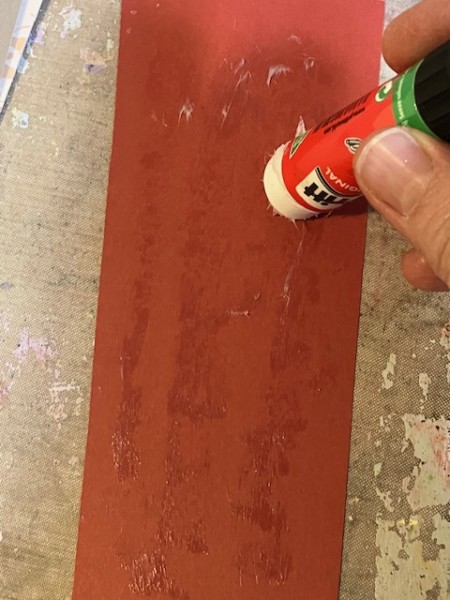
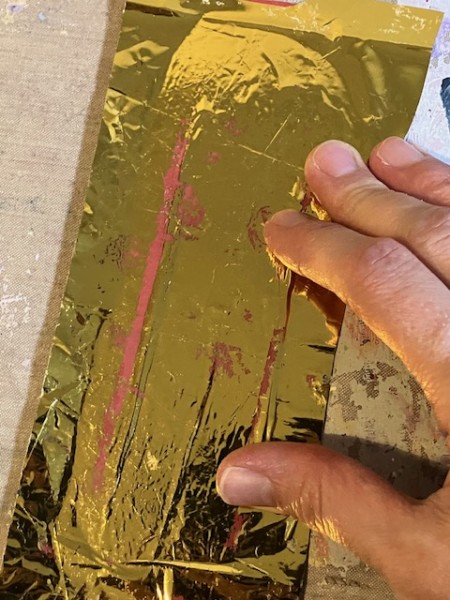
Step 1: Apply a thin and uneven layer of glue stick to the cardstock.
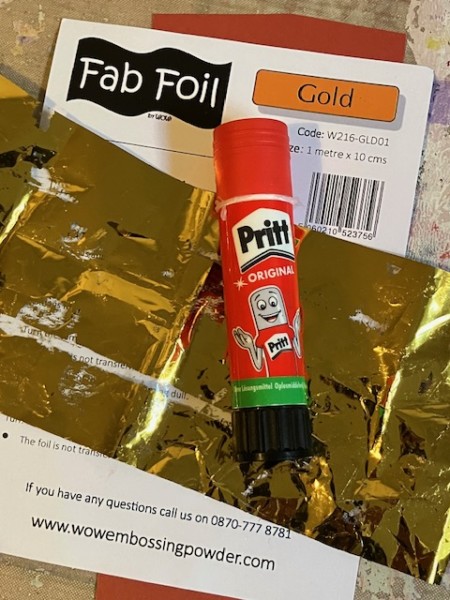
Step 2: Place the foil sheet onto the glue, and press it onto the gluey surface. I’m using the gold foil from WOW. You can find their foils in the US at this website, and here in the UK. My tip? Because I like this shabby effect, I’m using a slightly-used piece of foil from a previous project.
Step 3: Wait a few minutes so the glue can dry, then peel off the foil.
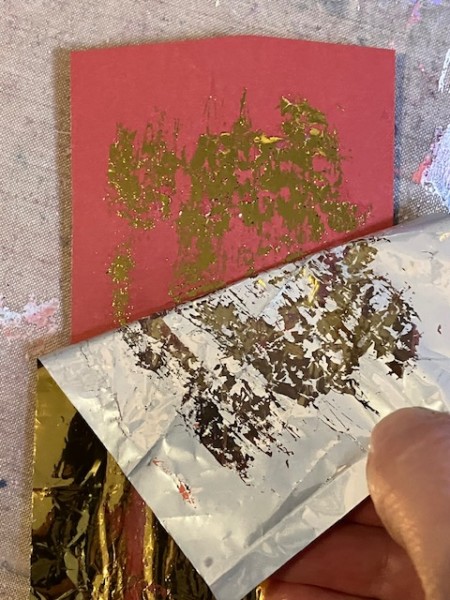
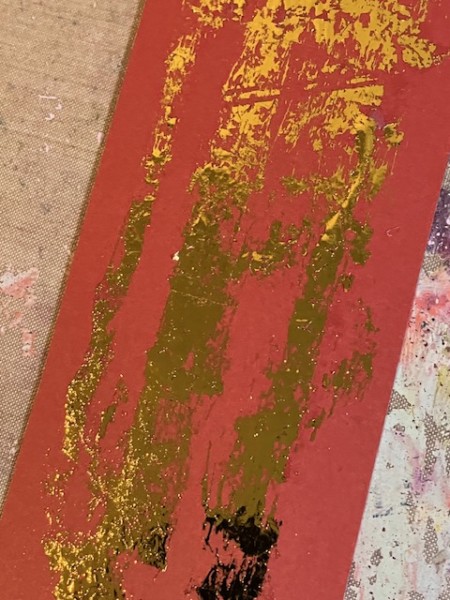
And here you go!
Then, you can die cut the paper. (Make absolutely sure that the glue is dry—otherwise it can gum up your dies!)
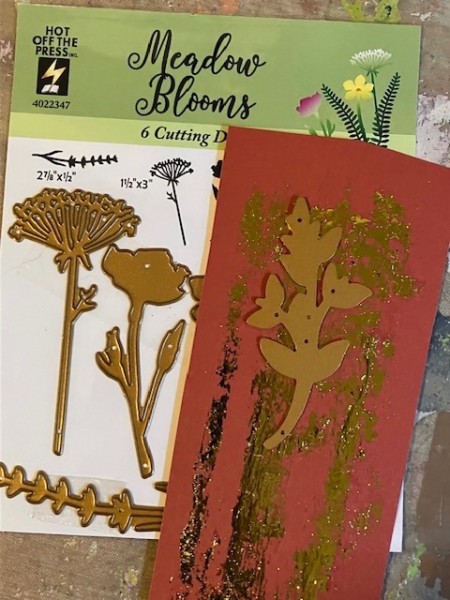
I’m using Hot Off The Press’ Meadow Blooms die set.

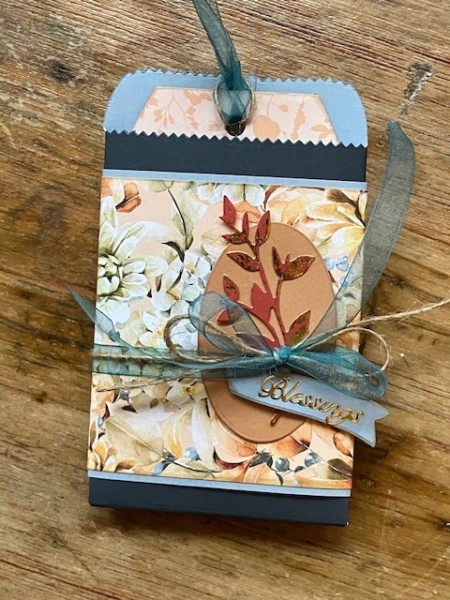
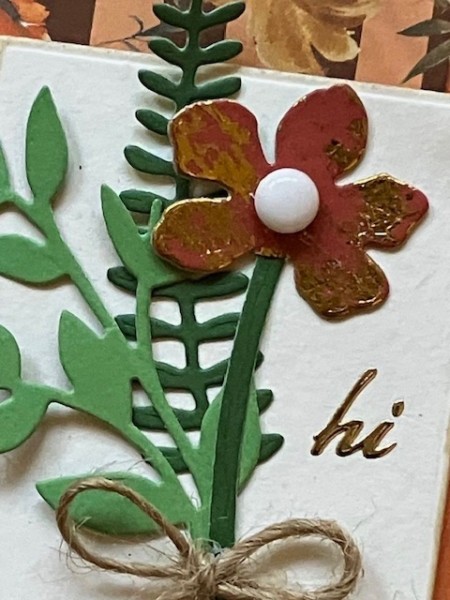
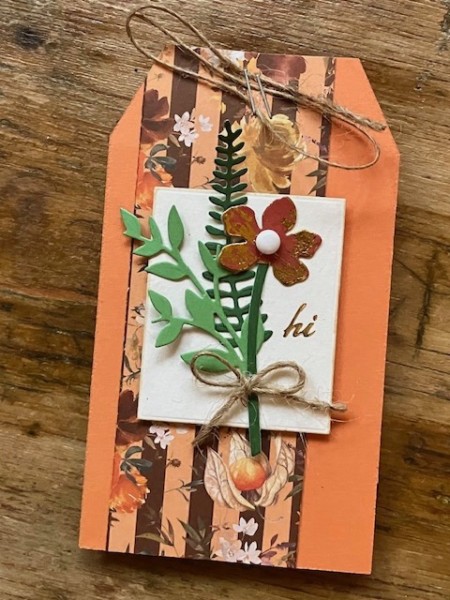
Here’s the botanical as an embellishment on a Tag in a Bag project. For the project, I’ve used Hot Off The Press’ Autumn Garden patterned paper pack and cardstock set.
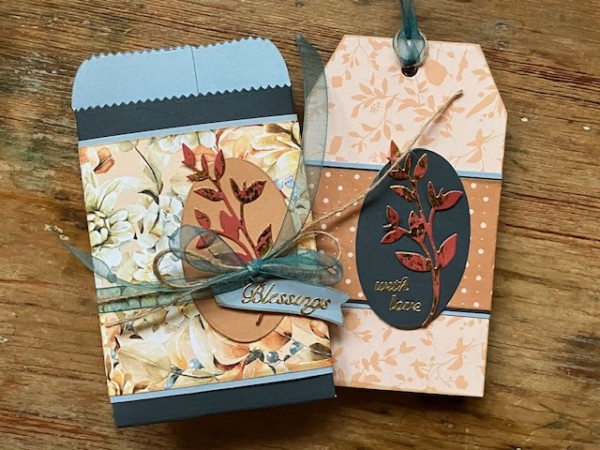
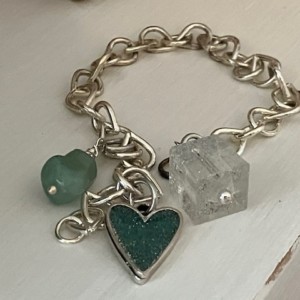
I used the same supplies and techniques for a stand-alone tag—

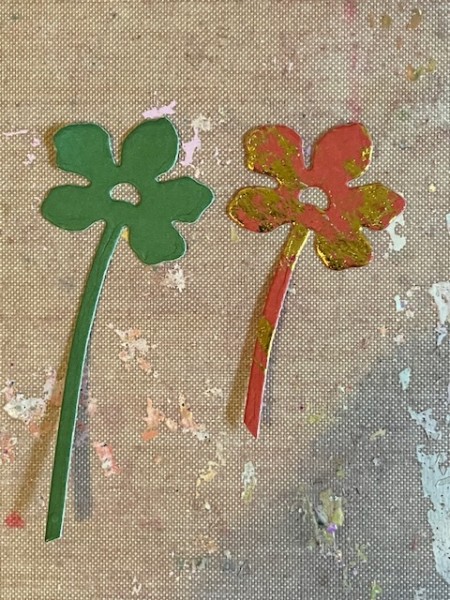
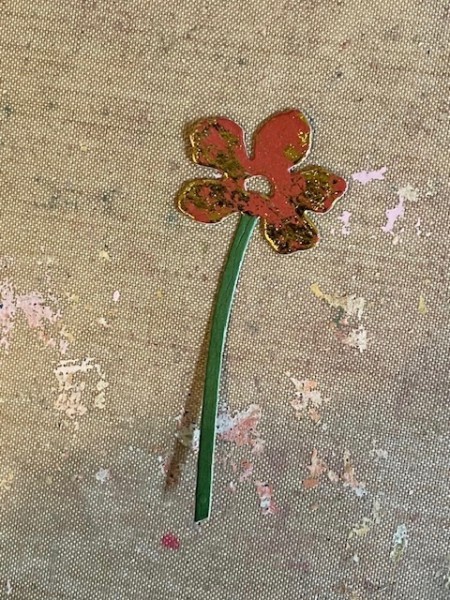
For this tag, I foiled the cardstock as before, then die-cut the flower. I also die-cut a green cardstock flower, then cut off the foiled flower blossom and glued it to the green flower.
Like so—
And then I’ve added the foiled flower to the tag, along with some other die-cut pieces.
And here it is again—
I hope you enjoyed this simple foiling technique and have a chance to give it a try!