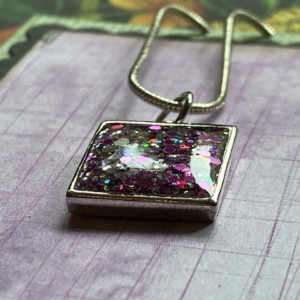
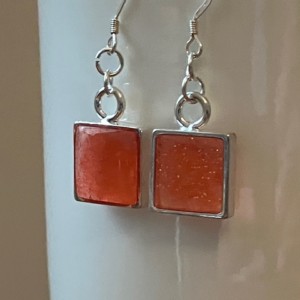
Your garden’s summer days may be over—but if you love to keep flowers with you all year round, a resin pendant may be just the thing!
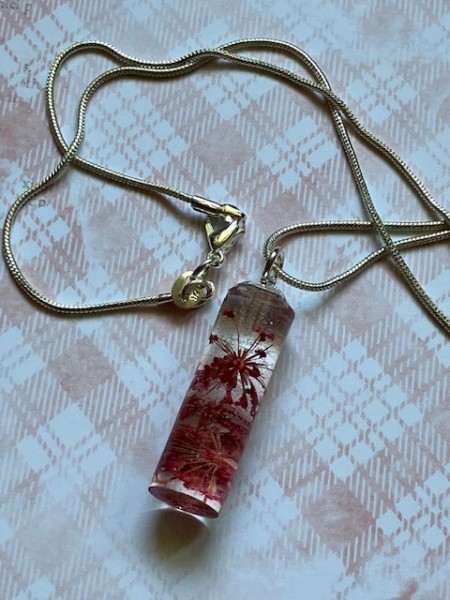
This is a simple project to make. You will need a two-part resin epoxy (I’m using ArtResin) plus some fine clear glitter, dried flowers and a tube pendant mould. You’ll also need basic resin supplies, such as stir sticks and measuring cups and something to protect your table and gloves for your hands.
And, if you like to pair your card-making techniques (and supplies!) with resin, a Tag in a Bag project is a fun way to create a gift presentation too.
Let’s start with the resin pendant. First, follow the manufacturer’s instructions to mix equal parts of the resin and hardener, in a measuring cup. Start with part A.
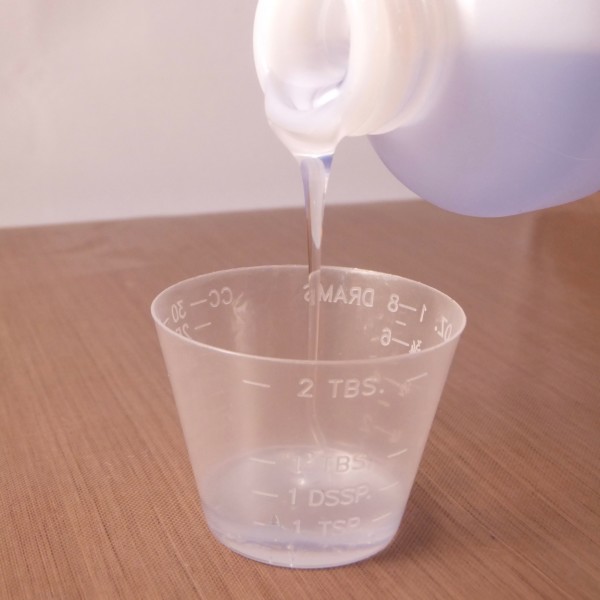
Then, add an equal amount of Part B.
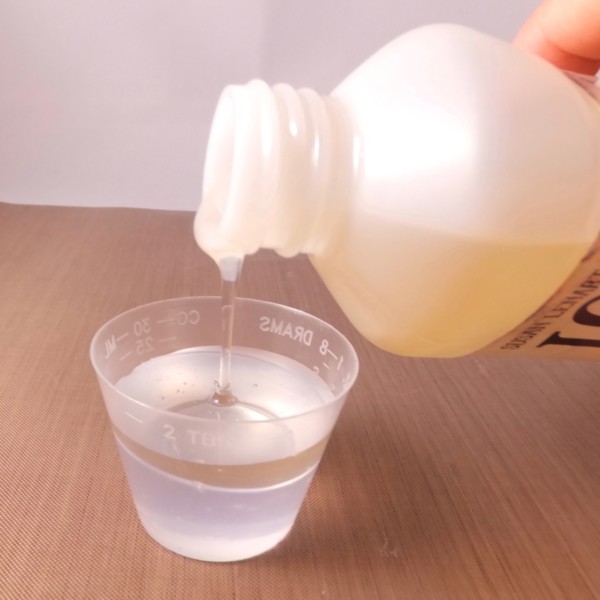
Mix thoroughly, until the two parts are completely blended.
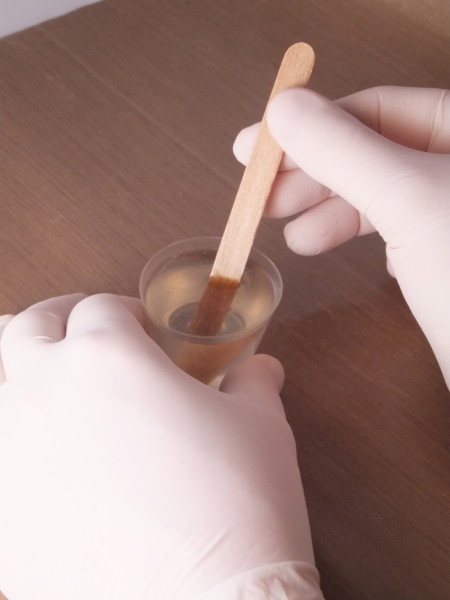
From there, you’re ready to pour.
I’m using a silicone pendant tube mould. Place it on a non-stick surface such as a craft sheet, then pour in a little of the resin. Add some clear glitter. Then, use tweezers to add your dried flowers.
Note: The flowers must be completely dry! Even slightly fresh flowers will not preserve well when embedded in resin.
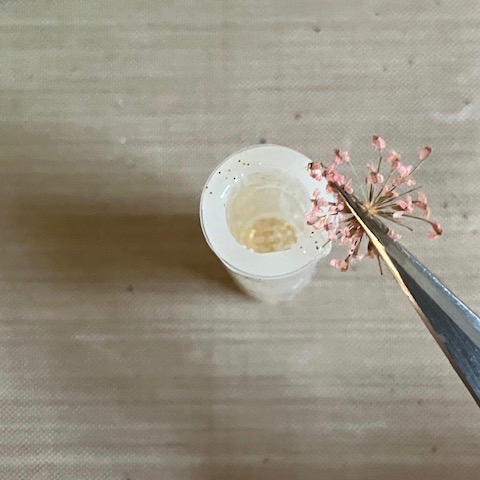
Keep filling the mould until it’s as full as you’d like. You can go all the way to the top of the mould, or not!
While I’m working, I like to keep the mould stable and level by inserting it into a cut portion of a kitchen sponge. Let it cure according to the resin manufacturer’s directions. This is generally 24 hours. Do keep it away from curious pets and children, as well as dust! (Placing a cardboard box over it is a good idea.)
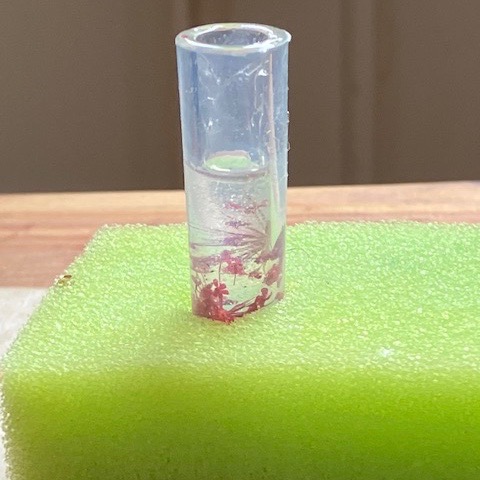
Once it’s dry, you can de-mould it and turn it into a piece of jewellery.
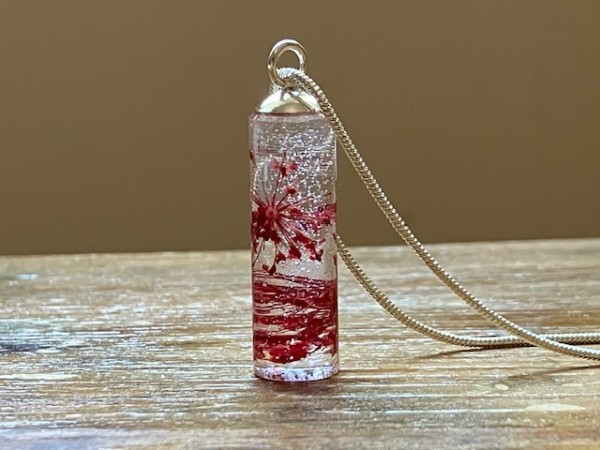
For my piece, I used a silver bead cap on top. You can either use jewellery glue to attach it to the top of the piece, or a dab of mixed resin. Then, string it on cord or a silver chain like I’ve done here.
Easy!
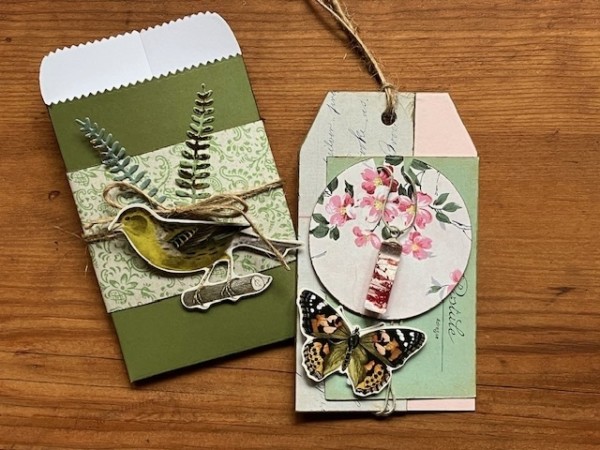
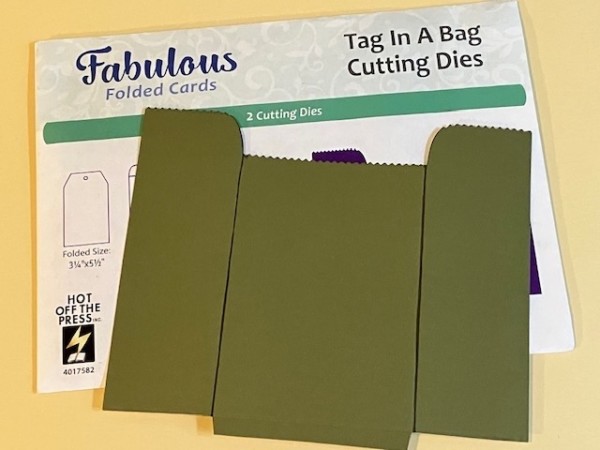
For the gift presentation, I used Hot Off The Press’ Tag in a Bag die. I die-cut the tag from green cardstock.
Then die cut the tag from pink cardstock and layer it with a scrap of patterned paper. I inked all the edges with brown, too.
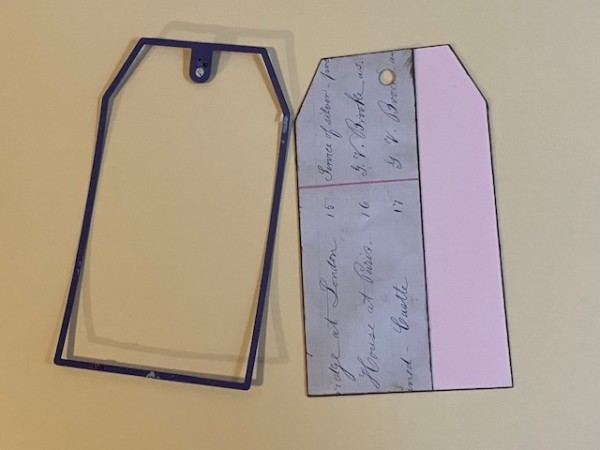
Collage the tag as you wish.
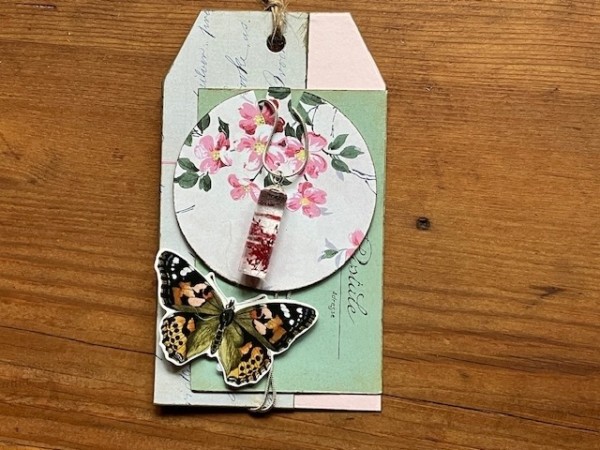
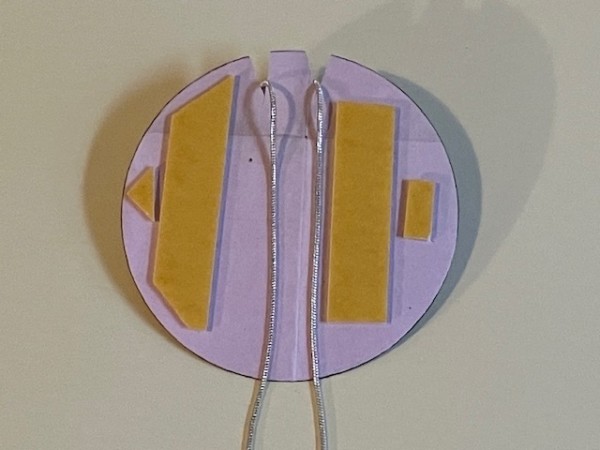
I die-cut a circle of patterned cardstock, then used scissors to cut two slits at the top. This is where the necklace chain can sit.
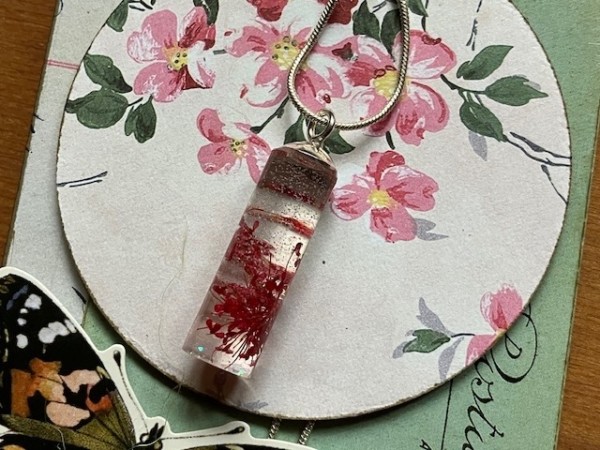
I used foam tape to attach the circle to the tag.
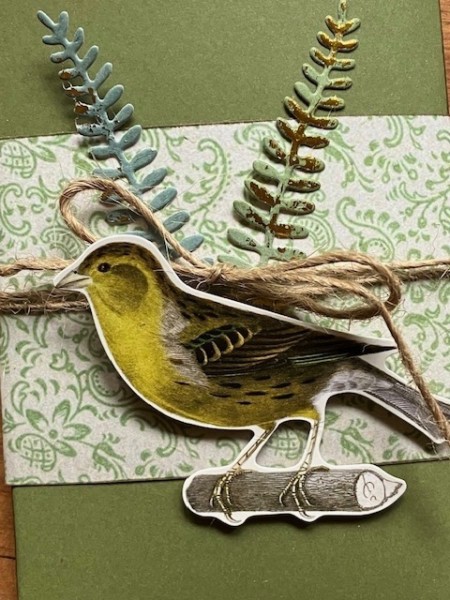
Next, I decorated the bag with more patterned paper (I had a lot of scraps from previous projects!) and some die-cut leaves and a bird embellishment.
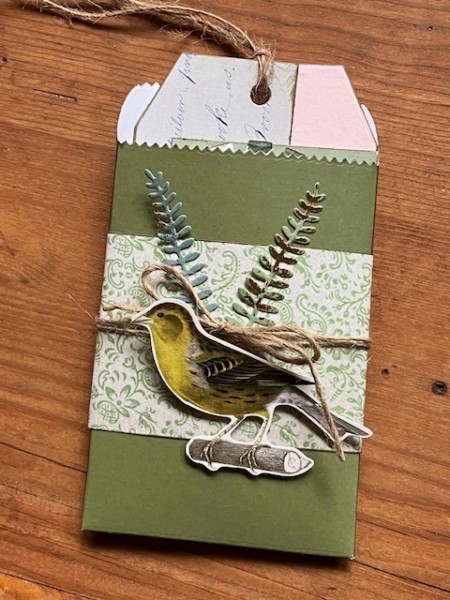
Here’s a closer look—
And another look at the project—


I hope you enjoyed today’s project! See you next week!
PS If resin jewellery inspires your creativity, please have a look at Modern Resin Jewellery, my new book from Search Press!

