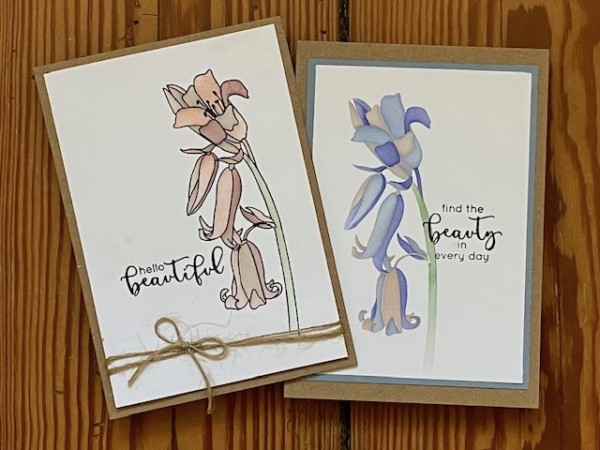
Hi friends! Today I have a couple of easy stamp/stencil floral cards to share with you, featuring Altenew’s Always Be Kind collection. I hosted a Facebook Live on the Altenew page on Monday, showing step-by-steps for these two cards, plus two more. You can click here to watch the complete video.
There are loads of different ways you can use these tools together—the easiest is the stamp-stencil combination that you see at the top left. Let’s take a look.
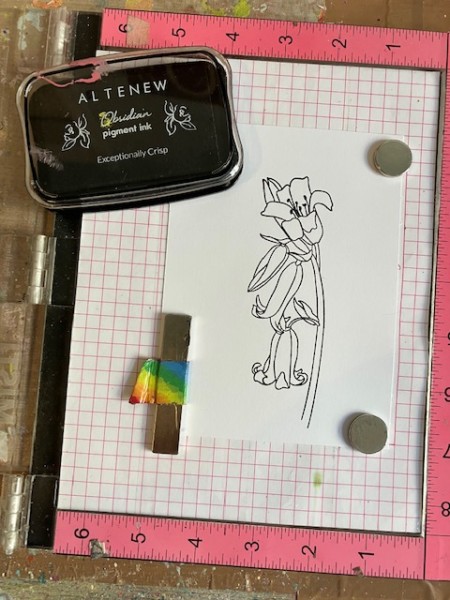
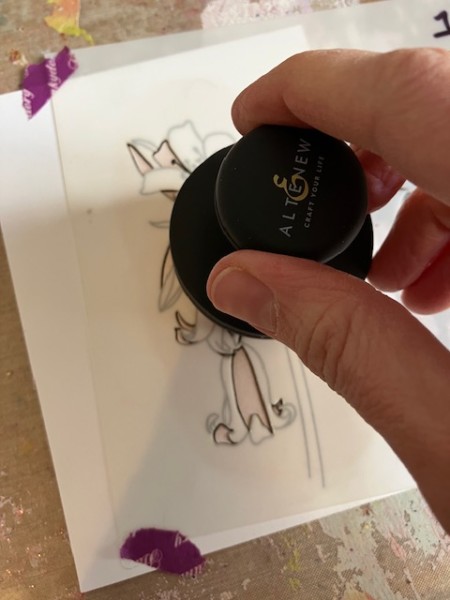
First, stamp the bluebell with black ink. I’m using Obsidian.
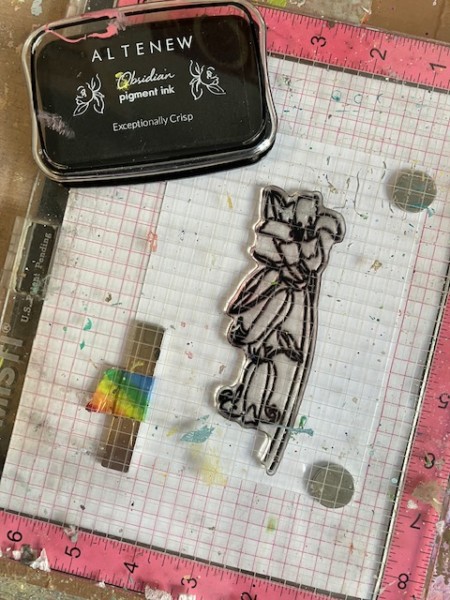
No fancy cardstock, just smooth white card. I’m using my MISTI, but a stamp block would work too.
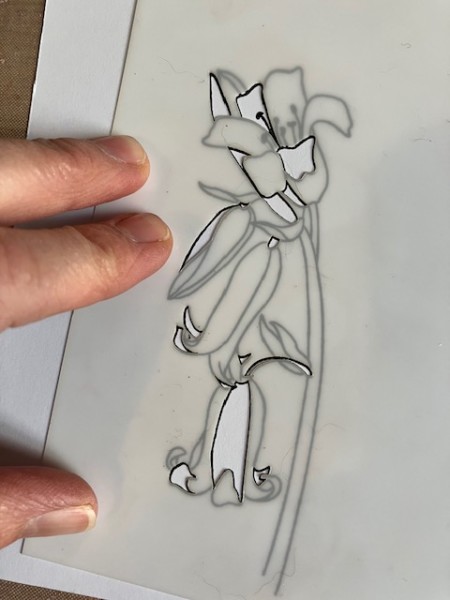
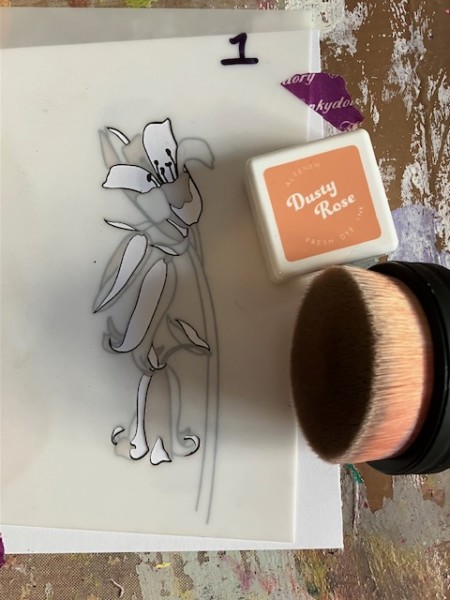
Then, remove the stamped image and get ready to stencil! The stencil set has two stencils, which combine together to color in the image. Start with Stencil #1 (they are marked) and position it over the stamped image, aligning the petals. Note: You’ll be covering most of the petals; this means you can color in separate sections of the flower.
I usually secure my stencil with a bit of low-tack washi or masking tape.
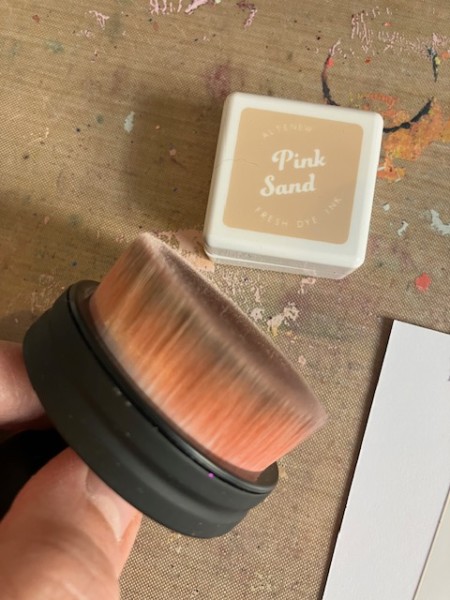
Ink up a blending tool or brush with your first color. I’m using the Woodland Escape set of dye-based ink, which have four different shades of what I call a vintage rose. I start with the lightest color in the set, Pink Sand.
Then, apply the ink through the stencil.
Use a gentle circular motion. You can always add more ink… but it’s tough to remove!
Then lift off the stencil and you’ll have a partially-colored image.
Repeat with the next part of the #1 stencil, and the next ink color. I’m using Dusty Rose.
(I don’t clean the blender brush in between colors… shhhh…)
Then, on with the next color, this time using the image from the #2 stencil. I’m using the third color in the ink set, Toasted Mauve.
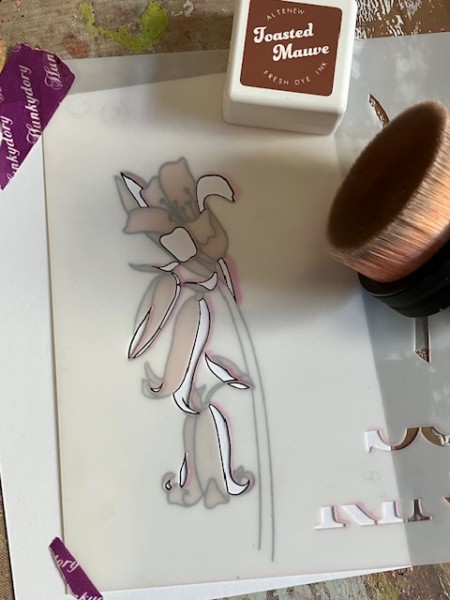
Here it is—
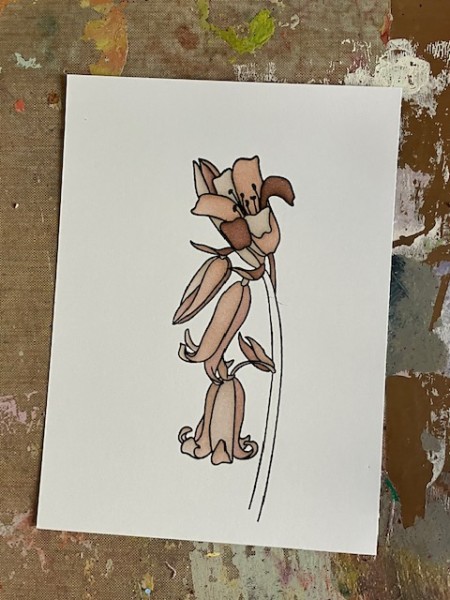
And finally, the stem. This is also on the #2 stencil, and I’m using Silver Sage green ink from the Frosted Foliage ink collection.
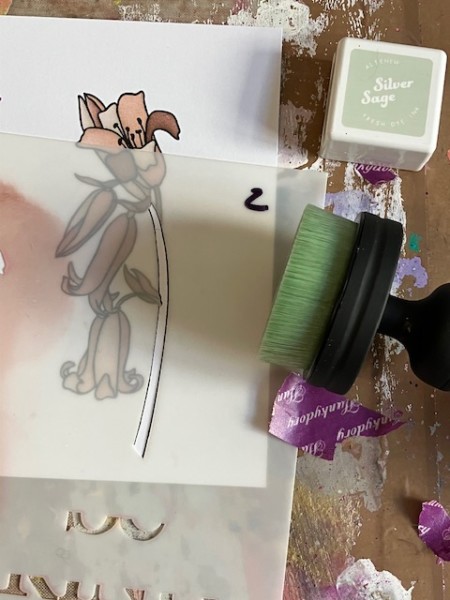
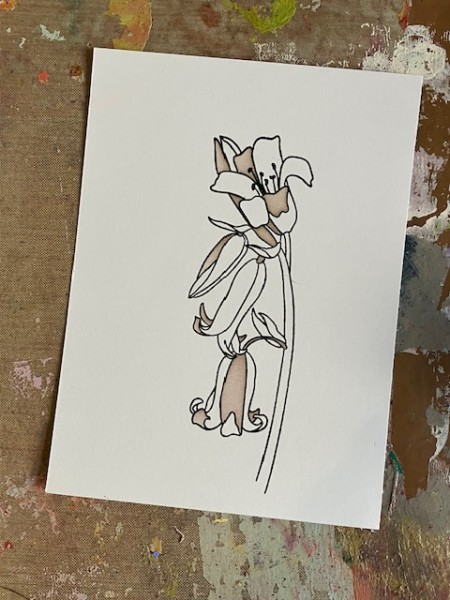
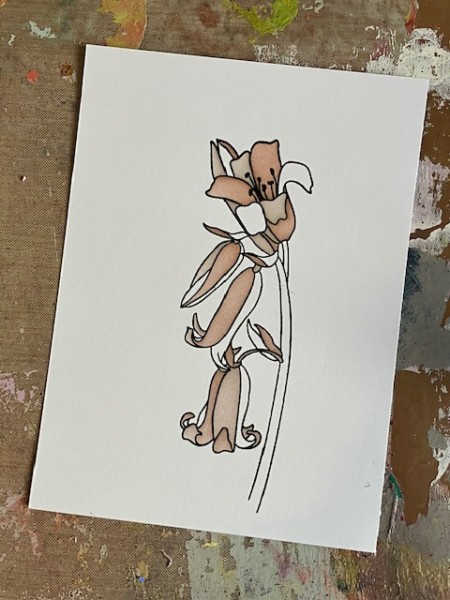
And the finished flower looks like this—

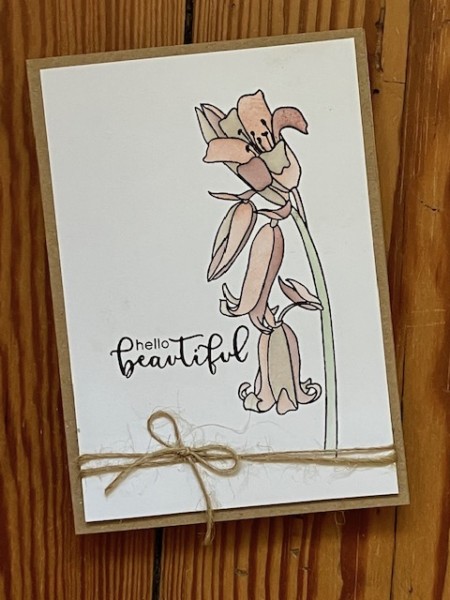
For the finished card, I kept things simple with a bit of hemp twine and a kraft card base.
You can also do the stenciling without the stamped image. This gives you a soft look.
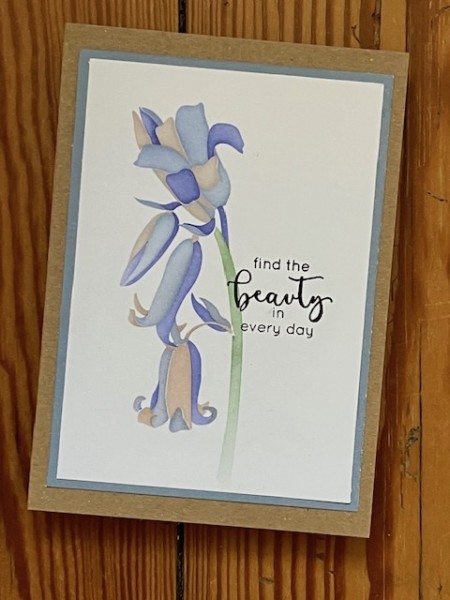
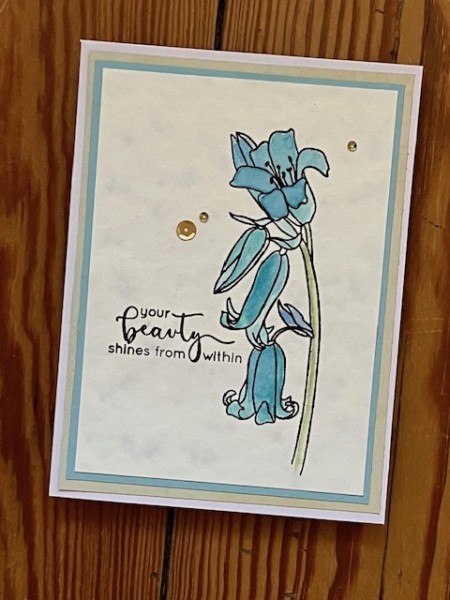
The sentiment stamps I’m using are from the Classic Beauty stamp set.
Of course, you can also stamp the flower image, clear emboss it and paint it in with watercolors for another great look!
I hope you’ve enjoyed this tutorial! Don’t forget, you can watch the video demonstration on Altenew’s Facebook page. Just click here to watch!