Today I have a fun project to share—I was totally inspired by the Everywhere Collection from 49 and Market, as spring and summer often mean a chance to head out of town. This little folder could make a fun card for travelers, especially if paired with a small travel-themed gift. (Tickets to Paris, maybe? LOL.) And for armchair explorers, a gift card to a favorite bookstore is a great way to travel without leaving the comforts of home.
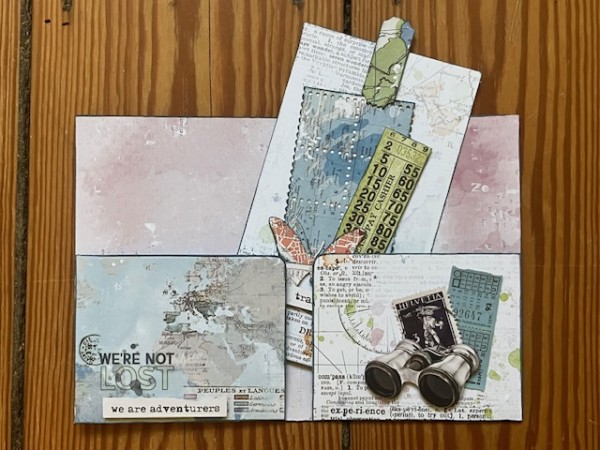
I made a tag to go inside, but you could also turn this into a mini scrapbook, if you tuck inside photos and memorabilia.

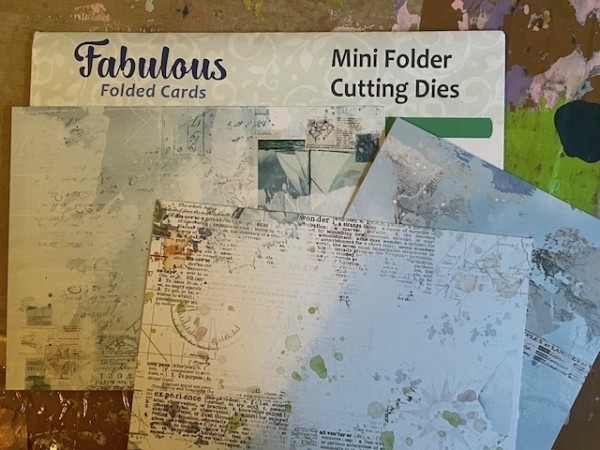
First, I started with double-sided patterned papers from 49 and Market, plus Hot Off The Press’ Mini Folder Cutting Die.
(Please excuse the state of my craft mat!)
First, I splattered blue acrylic paint on the paper I want to use for my folder base.
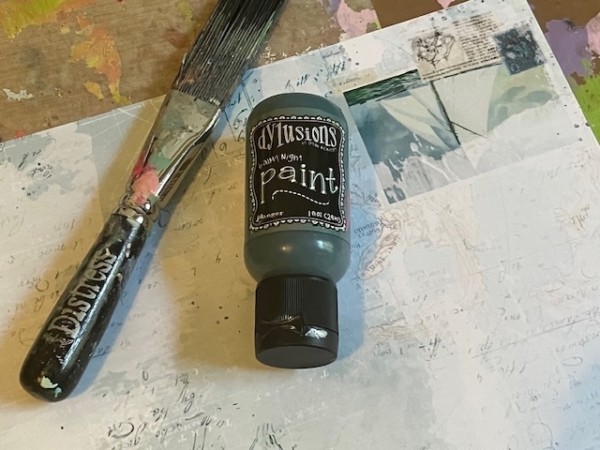
I’m using the Balmy Night acrylic paint, plus a splatter brush.
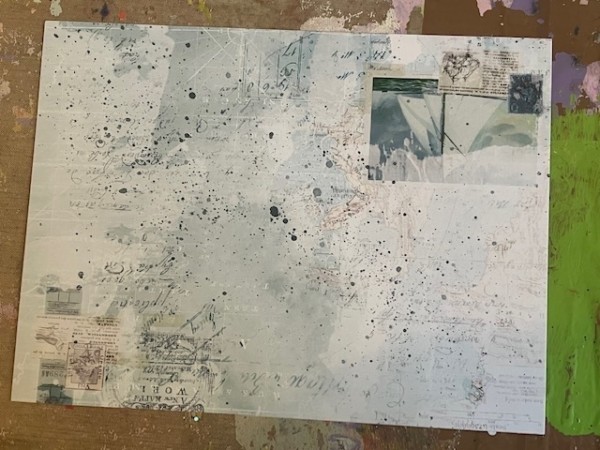
It just gives another nice bit of texture to the already-gorgeous and collaged background.
Then, when the paint is dry, die cut the folder base, and choose two patterned papers for the inside folder pockets.
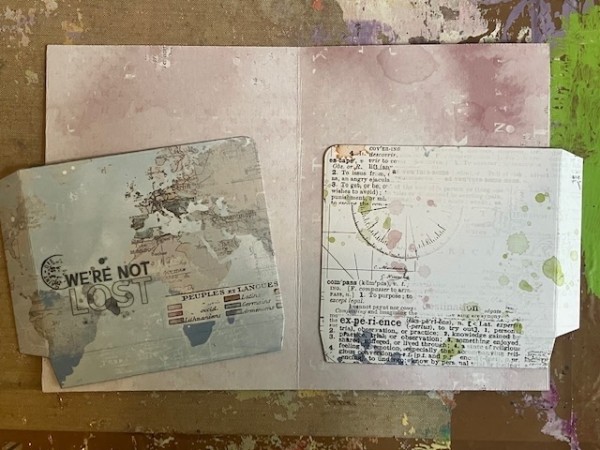
Here I have my folder base paper (you see it as pink—the other side is the blue collage splattered design), plus two pockets.
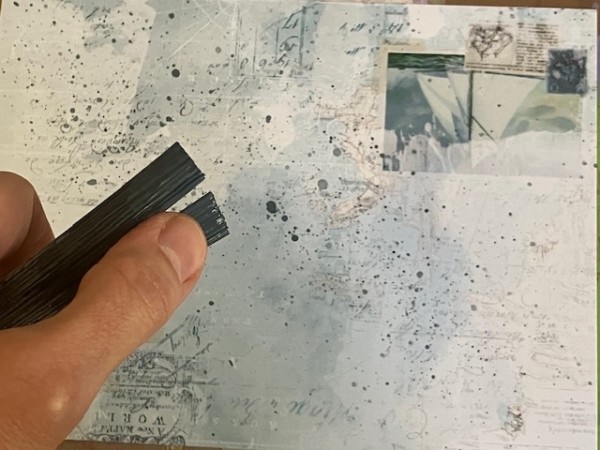
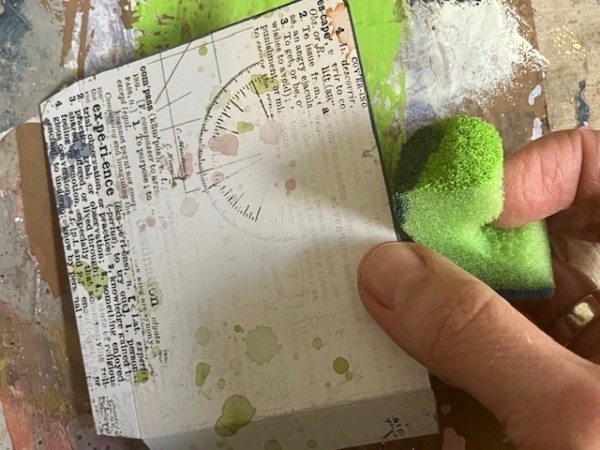
Before I glued them together, I edged all three pieces with Balmy Night.
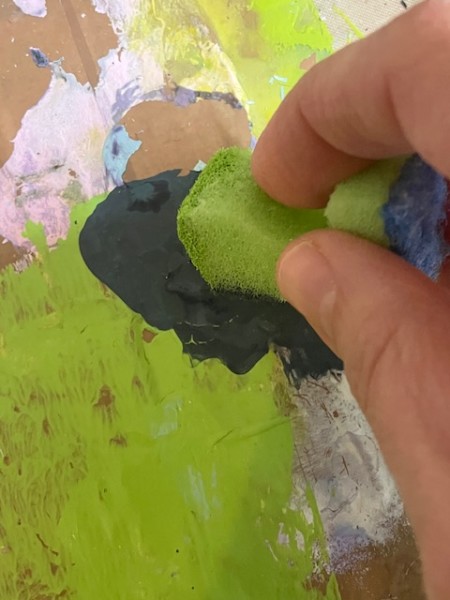
I used some leftover splattering paint, and a portion of a kitchen sponge. I dipped the sponge into the paint, then lightly edged the cardstock.
(This is me awkwardly holding the paper with one hand and the camera with the other! You’ll be much more graceful!)
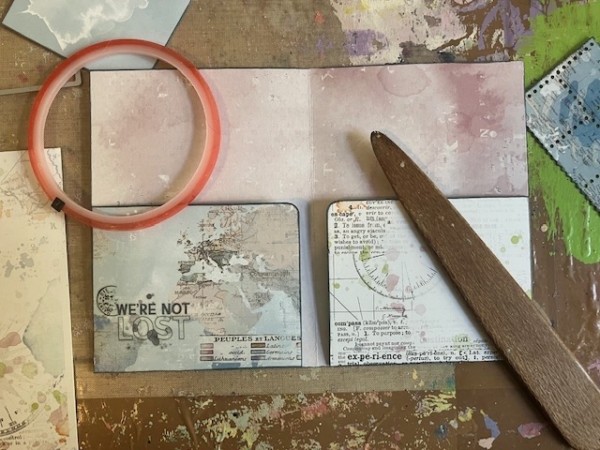
I used extra-sticky tape to glue the pockets to the inside of the folder. A bone folder is great for scoring the pocket edges to give them a nice crisp fold and help them lay flat.
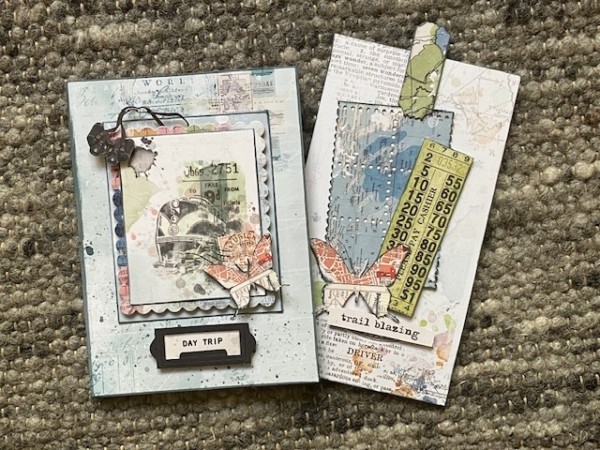
Then for the front of the folder—
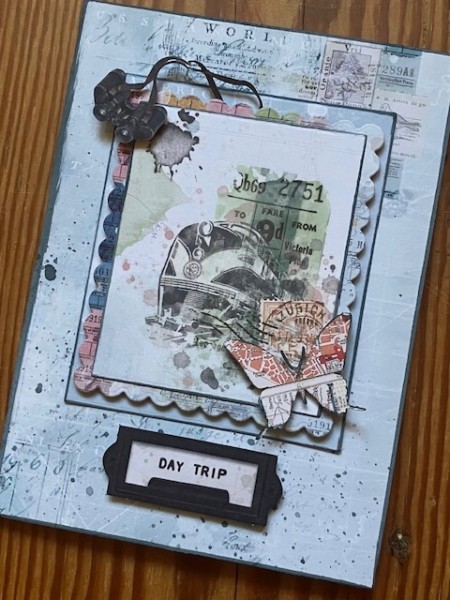
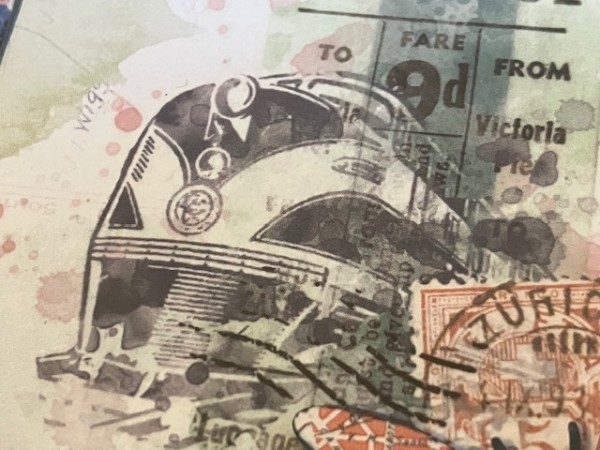
I die-cut a series of nested and scalloped rectangles for the focal. I’ve also edged these with paint, and the scalloped layer is popped up on foam tape. The center image is a rub-on from the collection.
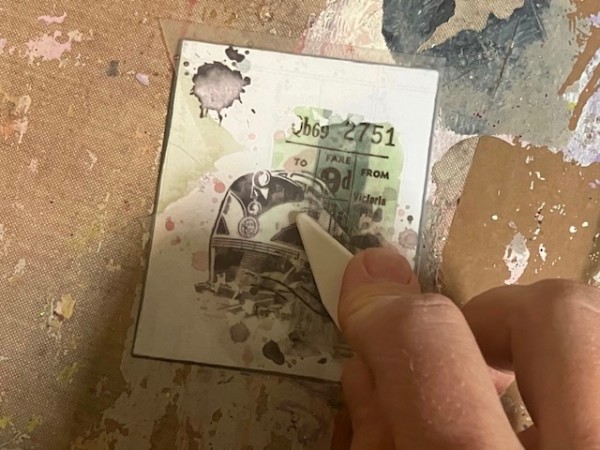
I used the rub-on applicator to add the image to the cardstock.

I love this look!
Then I added laser-cut elements around the main focal, some are popped up with foam tape.
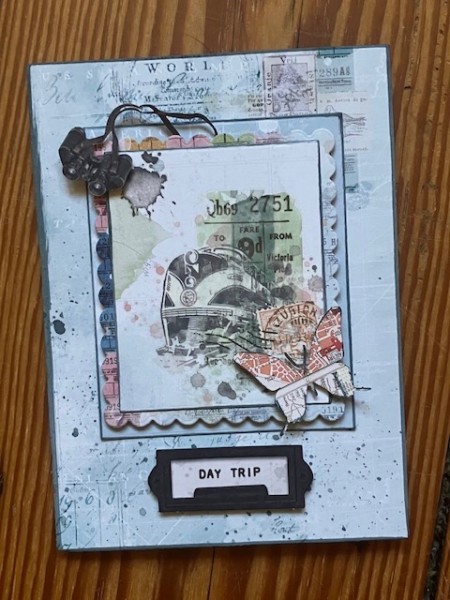
The butterfly is a favorite… I (carefully) edged around the silhouette with paint.

For the inside of the mini folder, I have some more laser-cuts.
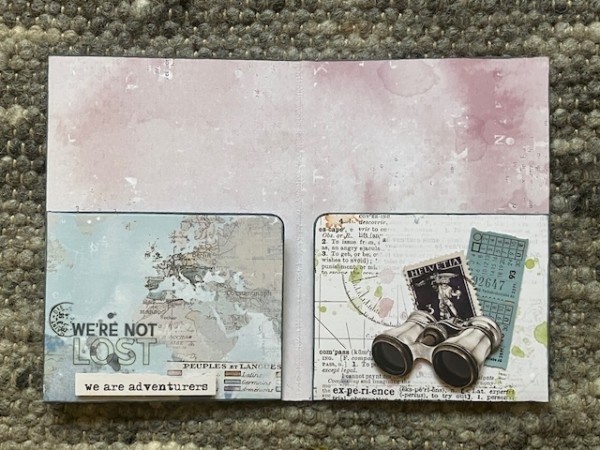
I cut a simple tag shape with some leftover cardstock, then added some more laser-cuts.
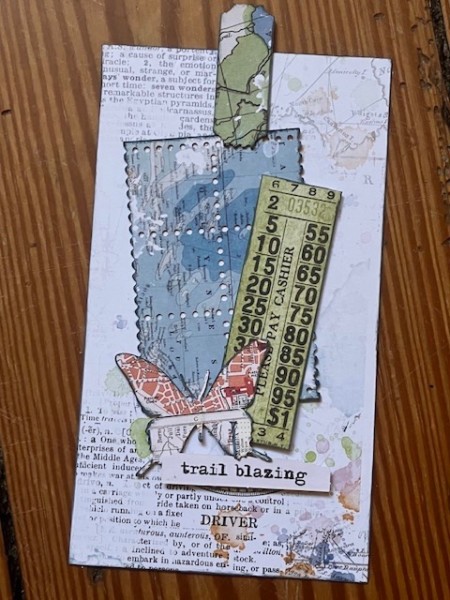
The tag topper is a strip of ticket laser-cuts, folded over and glued to the tag top.
And that’s it—easy, fun and a great way to explore without leaving your craft room!
Enjoy!
All the 49 and Market Everywhere supplies are available on Paper Wishes—you can find them here. The Mini Folder die is also available from Paper Wishes.