

I love embossing folders… they’re versatile, easy to use, and give an easy textured background on your cards.
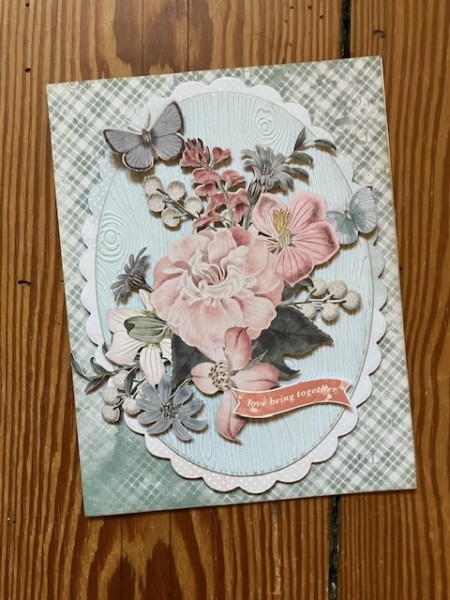
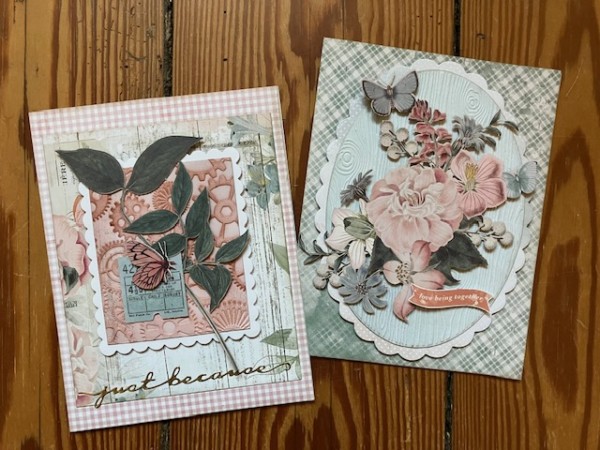
Today I have two cards to share with you, using Crafter’s Companion embossing folders: Cogs and Gears, and Wooden Panels (this is the one you see above). I hosted a Webisode for Paper Wishes last month, using embossing folders to make different projects—you can check that out on the Paper Wishes Webisodes page.
The cards I have today are using the Tranquility collection from 49 and Market, which has beautiful papers, rub ons and laser-cut embellishments. (Plus more!)
Okay, let’s take a look!
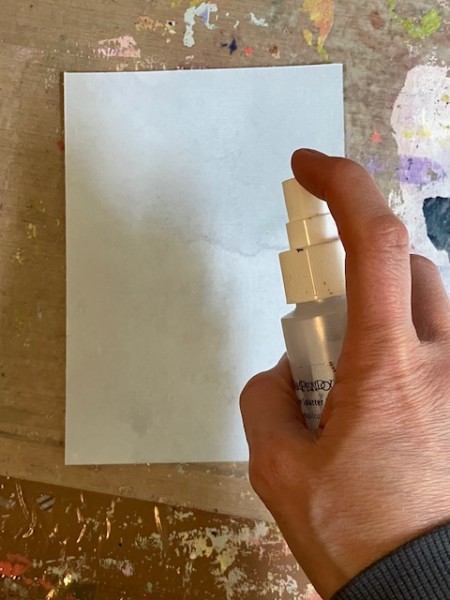
I first start by misting the patterned cardstock on both sides with water. I want to make sure the piece is damp all over; this will help the paper fibers to soften and emboss more deeply. While the cardstock is wet, place it in the embossing folder and run it through your die-cutting machine.
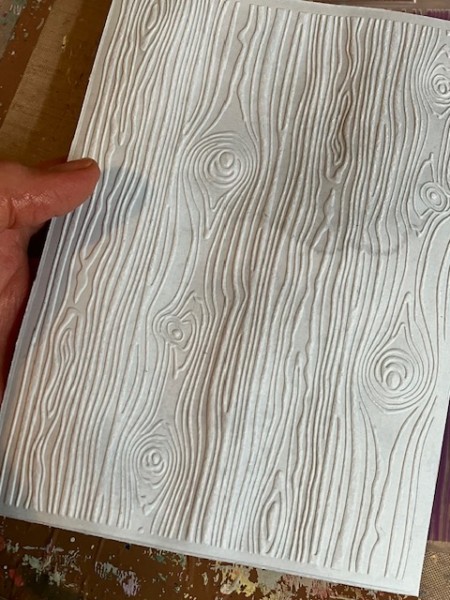
Let the piece dry completely. If you plan to use the entire piece for a background, I suggest placing it under a book to flatten it.

I used an oval cutting die to die-cut my embossed piece, then layered it onto a scalloped nesting oval die-cut shape, and glued it on the front of my card. The laser-cut flower cluster is foam-taped on top.
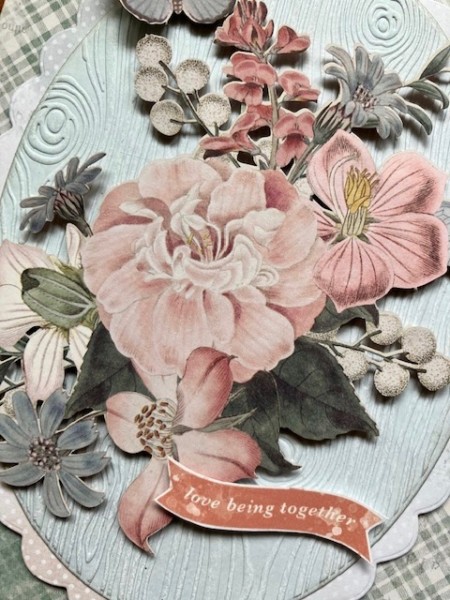
The sentiment is a rub-on from the collection, applied to white cardstock and then fussy-cut and foam-taped to the card front.
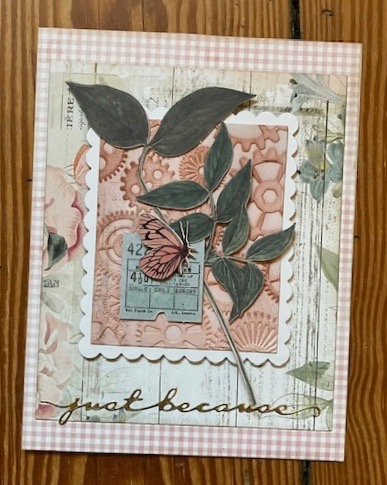
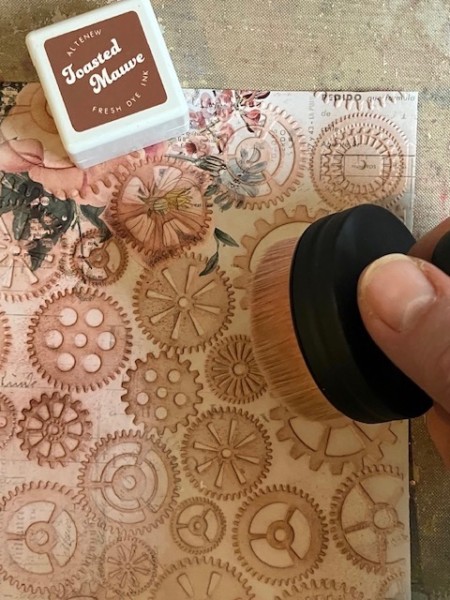
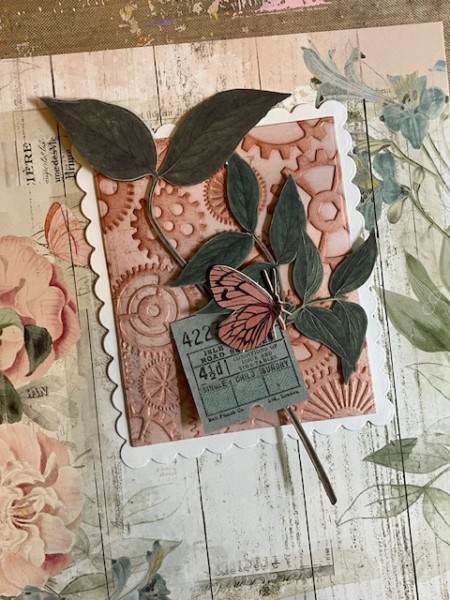
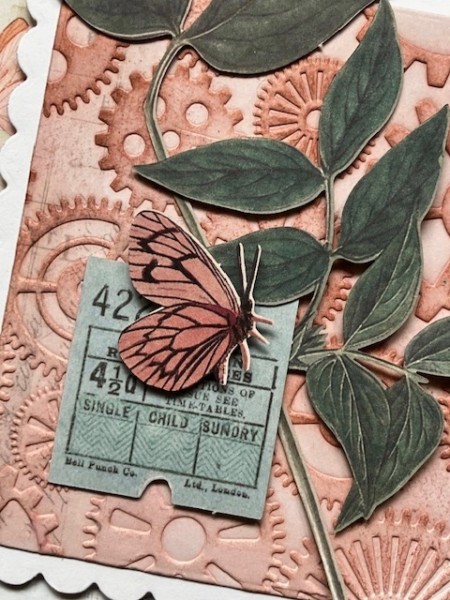
Here’s another option, where I used dye-based ink to shade and color an embossed piece. You can see the Cogs and Gears design in the center.
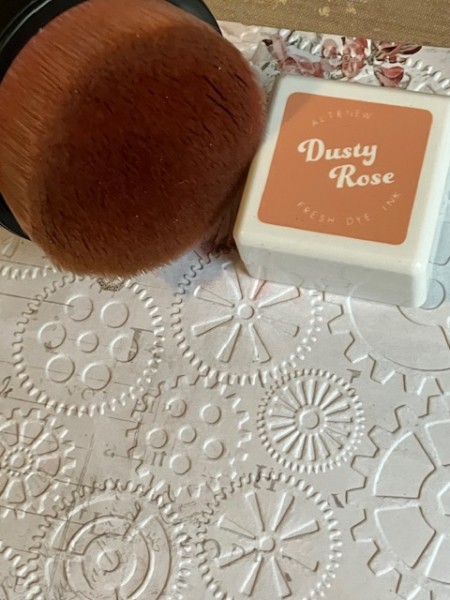
After embossing the cardstock, I blended some Dusty Rose ink to highlight the pattern.
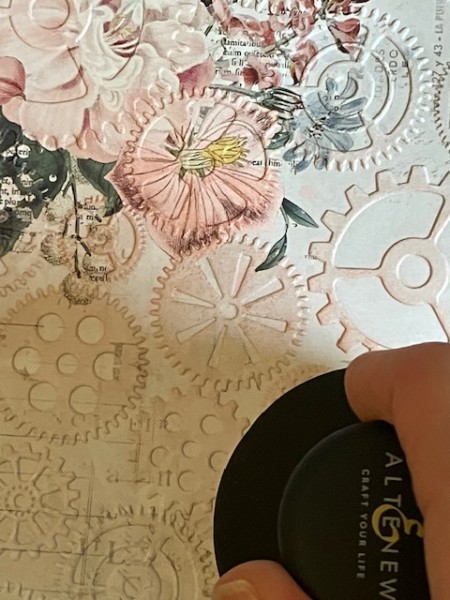
I like to start with a light touch, then add more color. In this case, I decided to also blend in a second color, Toasted Mauve. (Both the inks and the blending tool are from Altenew.)
Then I die-cut the piece into a rectangle and added it to the card, along with laser-cut floral embellishments.
The patterned papers go together so easily, so I worked in the wood-panel floral cardstock as my background.
Here’s another look at both of the cards—
I hope you enjoyed today’s cardmaking session! See you again next time!


