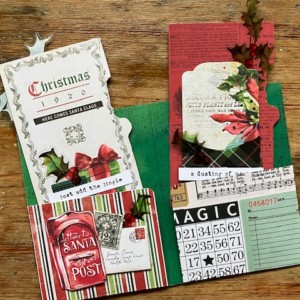
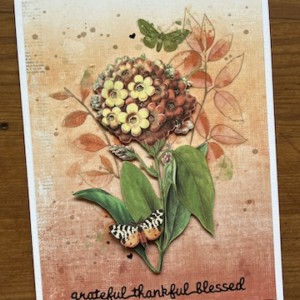
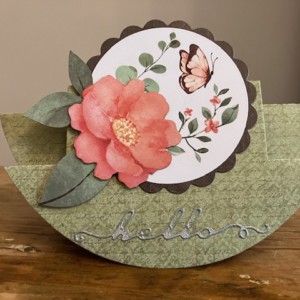
Hi friends! Recently I’ve been playing with Gilding Flakes—these fabulous flakes are a staple in craft rooms, but if you’re like me, it’s been awhile since you’ve created with them. I love revisiting old favorites, and gilding flakes are one of those tried-and-true products that creates a fabulous effect and can be used for so many techniques.
How Do I Use Gilding Flakes?
Gilding is an old and traditional technique that involves applying gold leaf to a surface—think of gilt-edged picture frames, for example. In terms of crafting, we have something that makes it easy and inexpensive to get the effect of gilding on paper and paper-based surfaces: Gilding Flakes.
These are lightweight flakes that adhere to sticky surfaces. Simply cover your surface with specialist glue, add the flakes, then burnish. You do need special adhesive and a scrubby brush for burnishing, and these will often come in a kit with a pot of flakes. I’m using the Copper Kettle Gilding Flakes Kit from Creative Expressions. This includes a pot of Copper Gilding Flakes, a sponge and a tube of Cosmic Shimmer Flake and Glitter Glue.
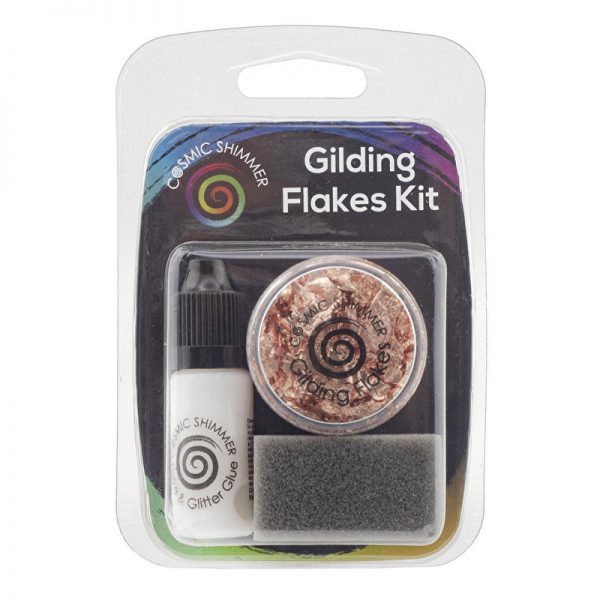
The contents go a looooonnnng way—even if you’re covering larger surface areas, like chipboard pieces.
Tip: I cut the sponge in half so I can use one piece as my glue applicator, and the other to burnish the flakes.
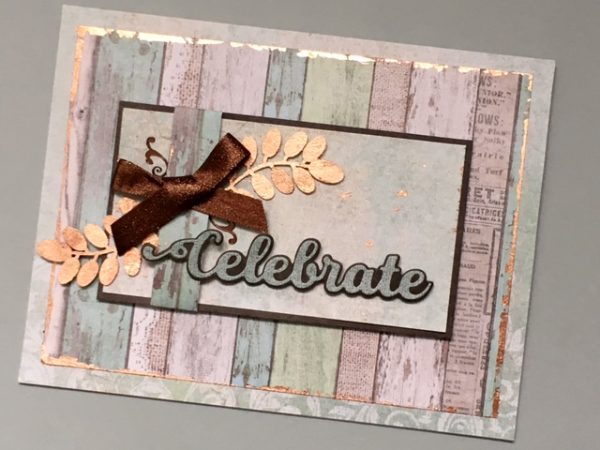
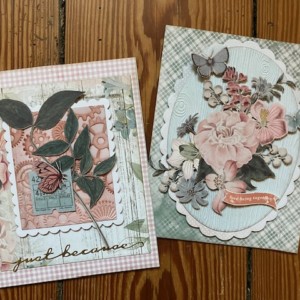
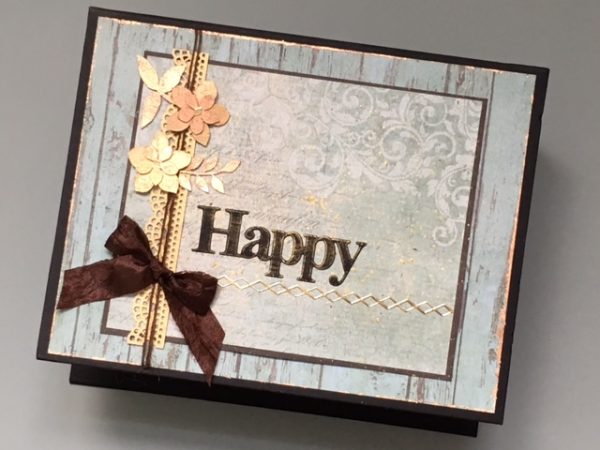
Here you can see I’ve edged the patterned paper with copper—this is such an easy way to add dimension and shine. Just apply the glue around the edges, add the flakes, and burnish.
(If you’re wondering what makes the glue “specialist”, it’s that it won’t dry until you put the flake on. You’ll apply the glue to your surface, wait until it’s tacky—which means you must wait at least a few minutes, but can also leave the piece until the next day. Then apply the flake. Because the glue doesn’t dry on it’s own, you’ll want to keep your gluey applicator separate so it doesn’t stick to everything. I keep mine in a plastic baggie.)
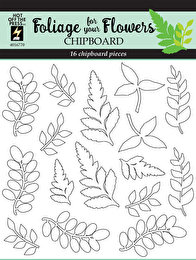
The leaves you see are also gilded with copper. One tip? I leave the chipboard in the backing piece while I gild it, then pop it out. It just makes it easier to get around the detail areas. Another tip? Some chipboard is very, very intricate. I struggled to gild those pieces as the glue inevitably sank into the detail areas. The Foliage for Your Flowers set is perfect:
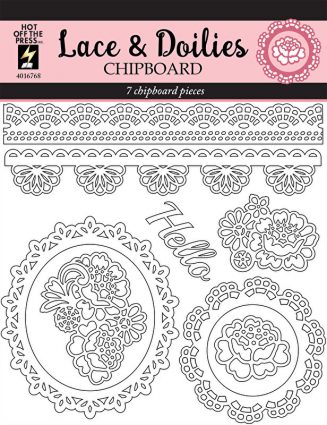
The Lace & Doilies set was a bit too intricate, so I colored those with Opal Polish instead.
You can see them on the border on the front of this album—
The projects were made for the May 23, 2020 Paper Wishes Weekly Webisode. You can click here to see the video. Enjoy!
All projects used the Country Chic paper pack, Creative Expressions Copper Kettle Gilding Flakes Kit, Hot Off The Press chipboard, Dazzles and ribbons. All supplies are available at Paper Wishes.

