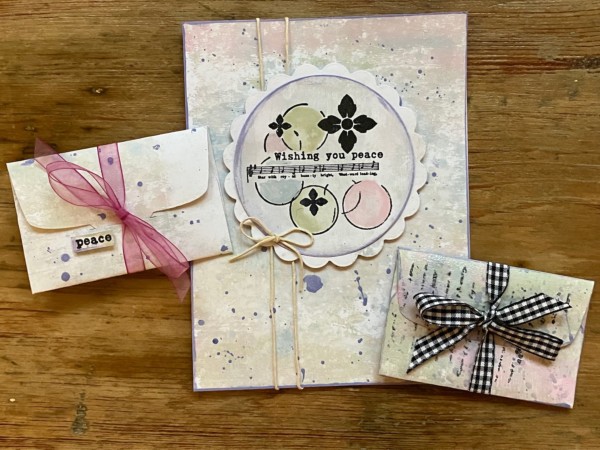
Monoprinted backgrounds are great for cardmaking and for creating smaller gifty projects like these mini gift card envelopes. Even better, monoprints made with a gel plate are easy to make and offer so many different possibilities!
What is a monoprint? Simply put, it’s a print that is made only once… when you make monoprints with a gel plate, you will get a different result every time. No two prints will be alike!
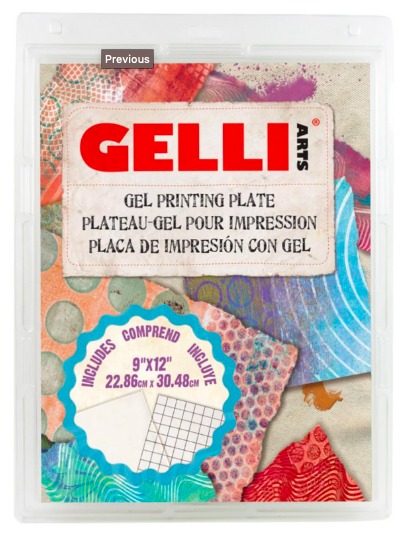
To do this, you’ll need a gel plate. Gelli Arts has several, in a variety of sizes. I have a 9″x 12″ and a 3″x5″ and use them both—for these projects, I’m using the larger, 9″x12″ plate.
Then, just grab some acrylic paints, a brayer and paper. Save the watercolor and specialty papers for another project—for monoprinting, lightweight paper works really well, and you can use copier paper too. For the mini envelopes, I used a lightweight smooth white cardstock.
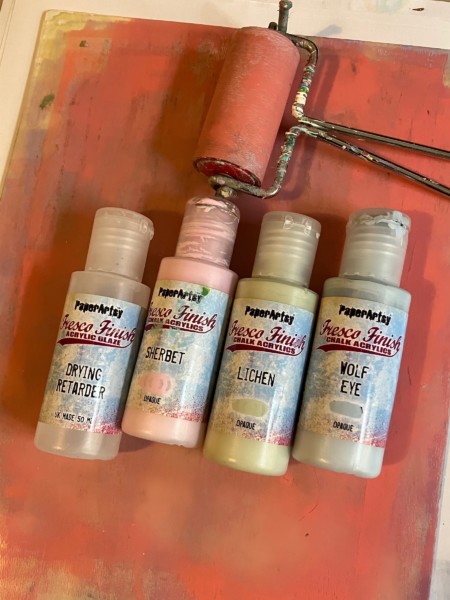
You can see my (not very clean) gel plate, which I’ve placed onto scrap paper on my craft mat. I’m using a variety of PaperArtsy Fresco Finish acrylic paints. Because these are quick-drying paints, I’m also using a Drying Retarder to keep the open time a bit longer. It’s not strictly necessary, but does help. I also have a brayer.
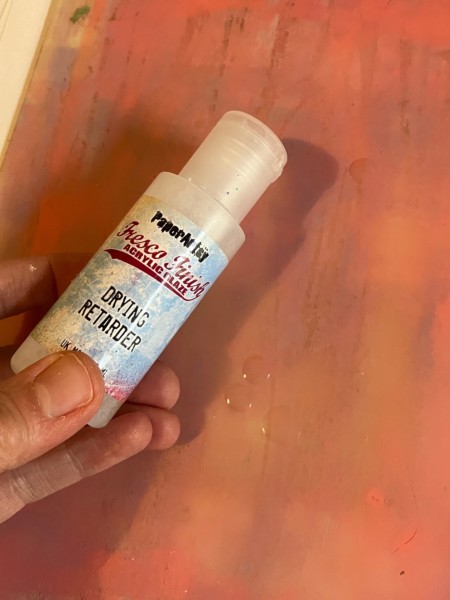
Put just a drop or two of the Drying Retarder on the gel plate and roll it out with the brayer.
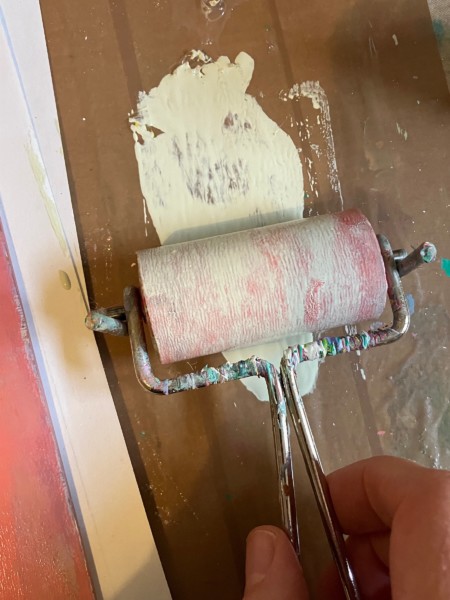
You have a choice when it comes to your paints. Some folks deposit the paint from the bottle onto the plate and spread it out with the brayer; I prefer to decant a bit onto my craft mat, then pick it up with my brayer and roll the painty brayer onto my gel plate. Otherwise I tend to put too much directly onto the plate.
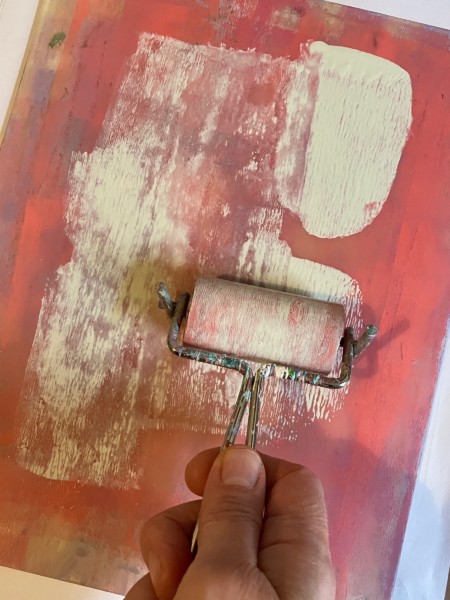
Spread out the paint on the gel plate.
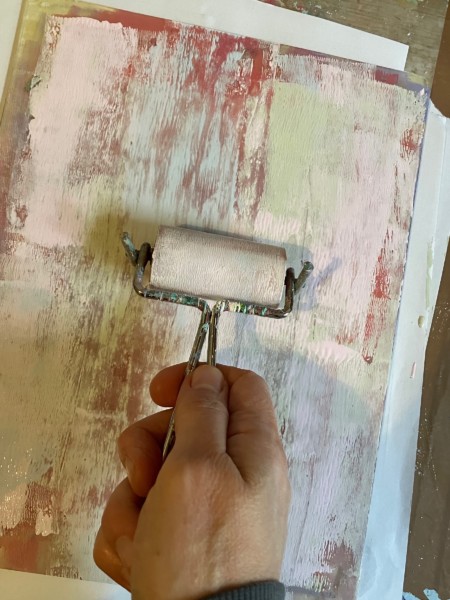
Repeat to add more colors, overlapping and blending, or applying them in patchy areas.
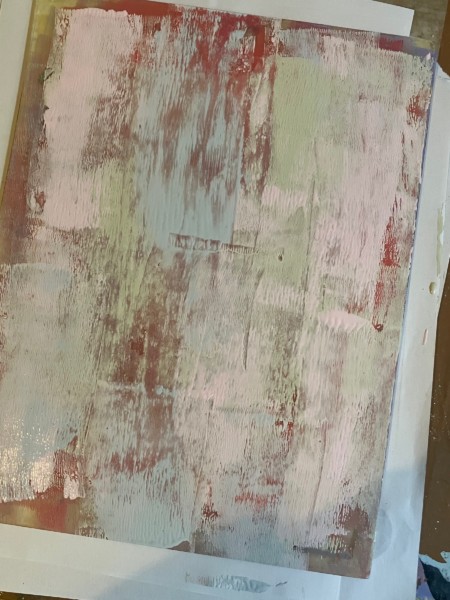
Here’s what my plate looked like!
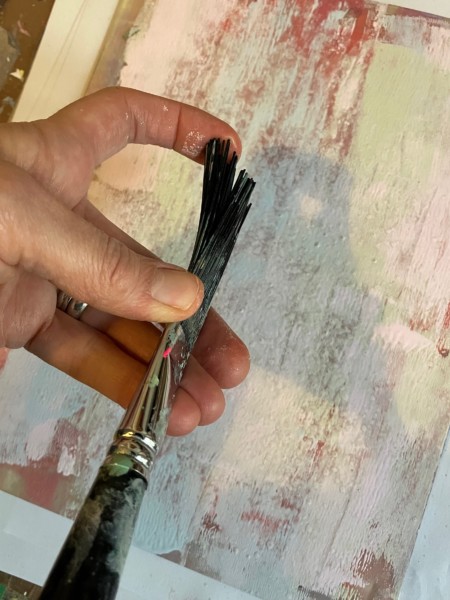
I then splattered water onto the gel plate to create a subtle pattern. You could also splatter another paint color.
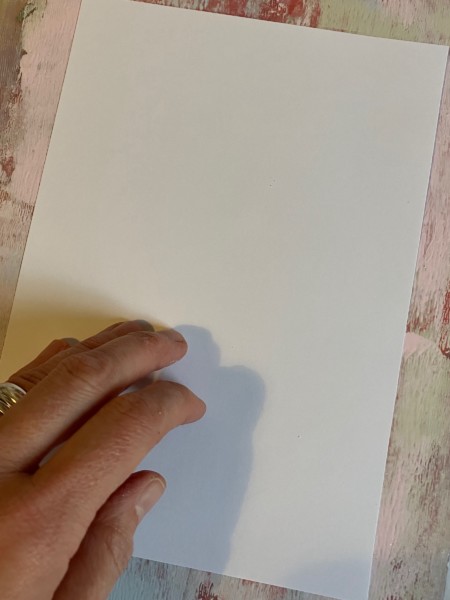
Press a piece of paper—remember, lightweight paper works best—then lift up. You’ll want to do this part fairly quickly, and please don’t leave the paper sitting in the wet paint or it is very difficult to lift off and will tear. (Experience talking here!)
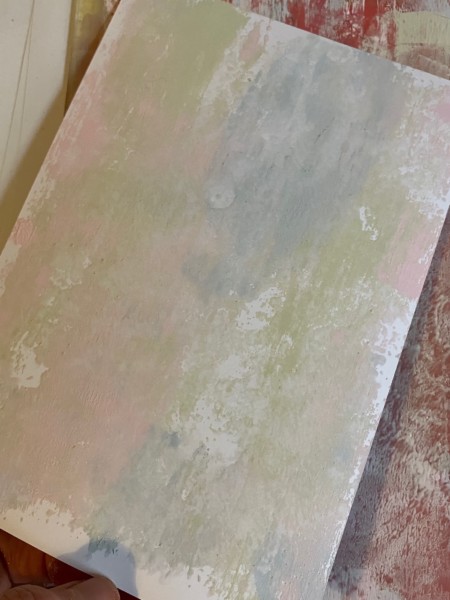
When you lift off the paper, you’ll see the beautiful monoprint. From here, you can add more paint and more Drying Retarder and continue pulling prints. You do not need to clean the plate in between prints unless you want to change color palette completely.
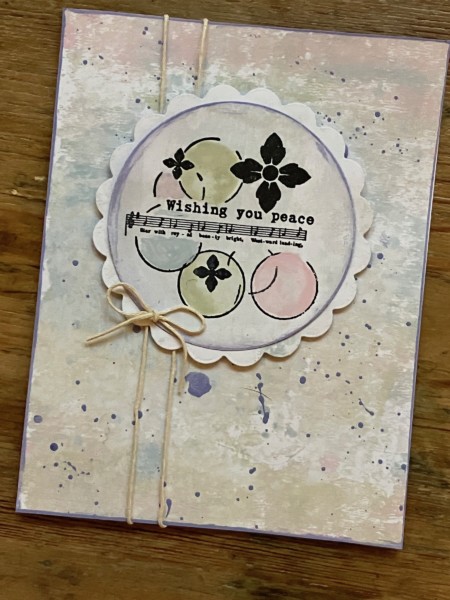
I used one of my monoprinted papers for the front of my card. You’ll see some purple splatters on the background paper—I did that after I made the monoprint.
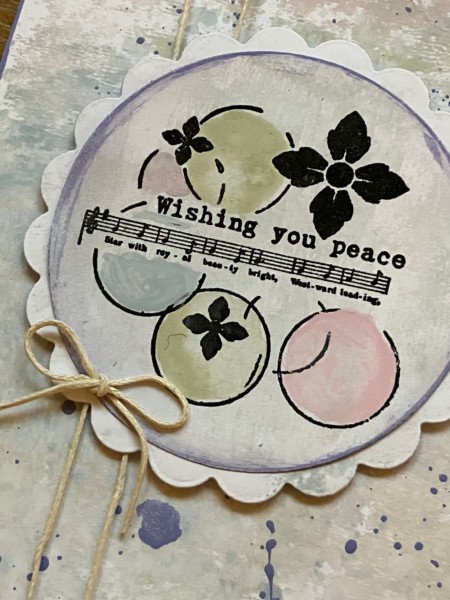
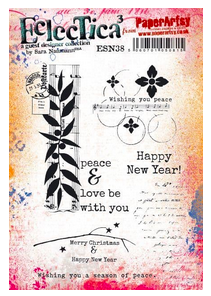
Then I stamped the collage focal with black on a monoprinted piece that was very lightly painted, embossed it with clear embossing powder, and used watery acrylic paints to color in some of the circles. The stamp is from PaperArtsy Eclectica ESN38.
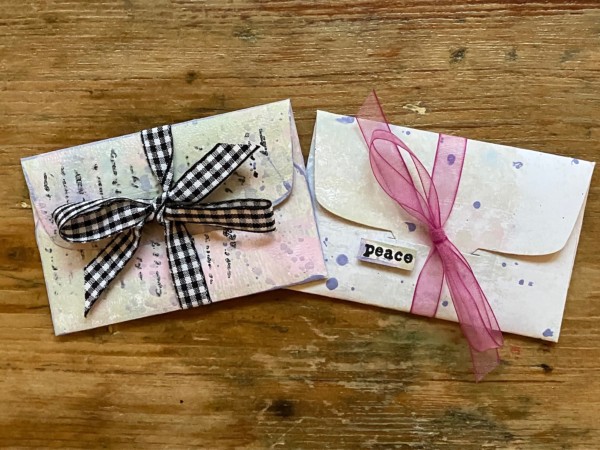
Then I used monoprints for little gift card holders. You can see the die-cutting and folding instructions from last week’s blog post.
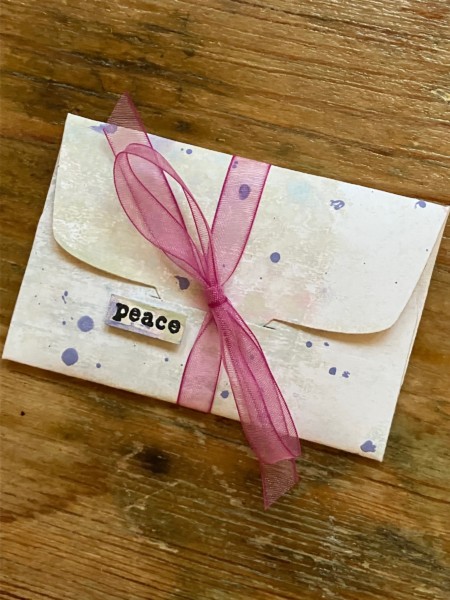
The word “peace” is cut from the “wishing you a season of peace” sentiment from the stamp set.
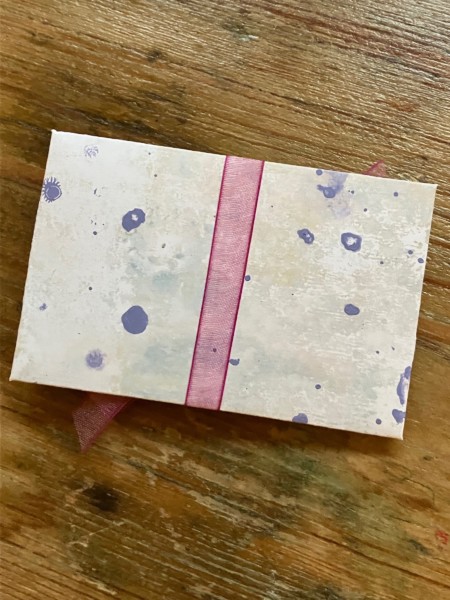
Here’s the back, with some lovely splatters.
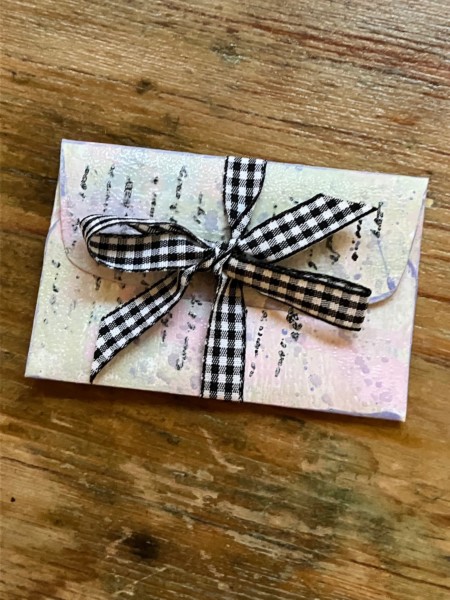
Here’s another envelope, this time I stamped the script with black and clear-embossed it.
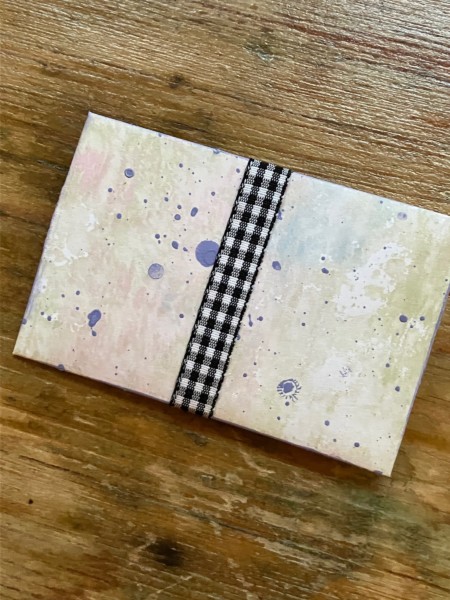
Here’s another look at them both—
Easy, right? And such fun to create your own patterned papers!
Thanks for stopping by—see you again soon!

