Love to add your own bit of sparkle? Then grab your embossing powder and resin, and see how easy it is to make your own resin beads—perfect for papercraft embellishments as seen above, or as jewellery—
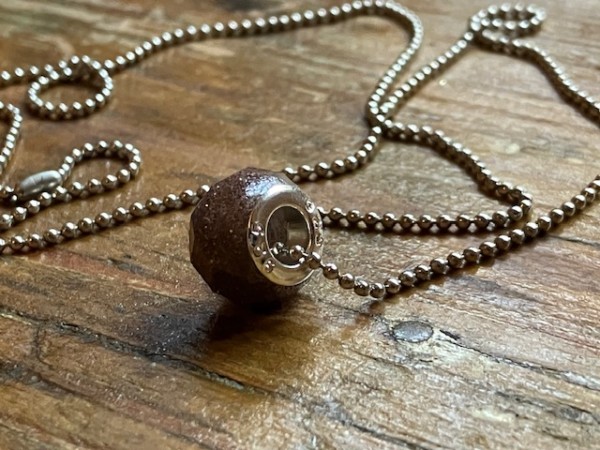
I’ve used moulds to create both beads. I LOVE moulds because they are easy to use and inexpensive. Simply mix your two-part resin epoxy as usual, add in some embossing powder (I’m using my Brassy Twinkle from WOW! Embossing) and pour into the mould. Once the piece is dry—in about 24 hours, usually—you can pop it out of the mould and start working with it. The resin will usually cure in 72 hours. Before it cures, you can sand off any excess resin and add metal grommets as I’ve done with the jewellery bead.
What You Need
- Two part resin epoxy: I’m using ArtResin
- Embossing powder: I’ve got Brassy Twinkle from WOW! Embossing
- Bead mould (or bead mold, depending on your location!): Try this one, or this one from Resin Obsession
- If you’re making the European beads like the faceted one on the chain, these grommets give a nice bit of polish
- Stir sticks and measuring cups
- Protective gear: Gloves, craft mat, apron, ventilation
How To Do It
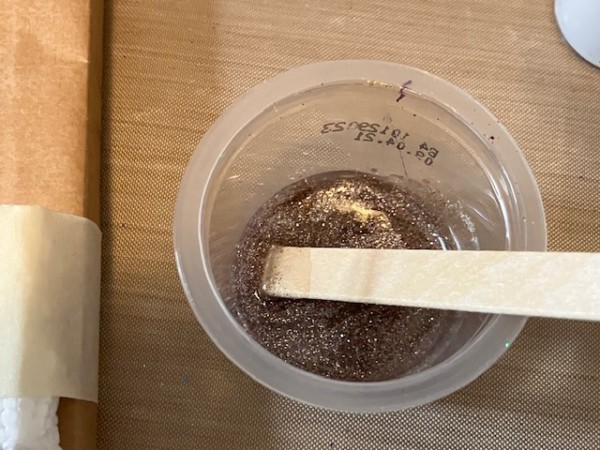
After you mix your resin according to the manufacturer instructions, then you can add in a bit of embossing powder. Start with a little bit of powder, then mix and see if you want to add more. Make sure the mixture remains fluid enough to pour into the mould.
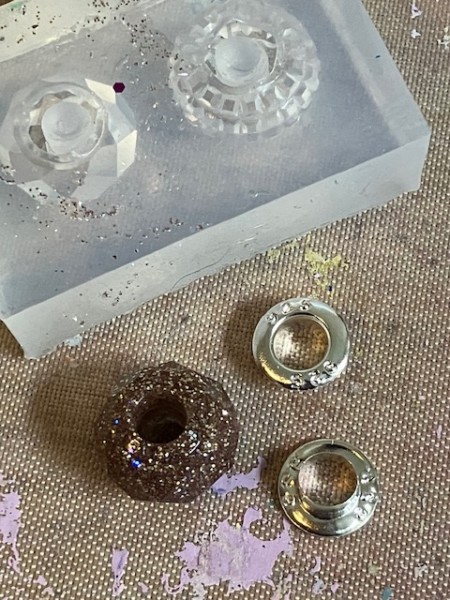
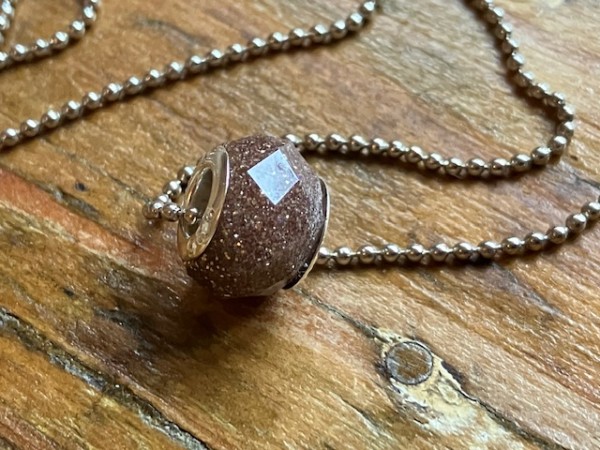
Pour or drizzle the resin into the mould and let dry. After the piece has dried—with ArtResin, this is 24 hours—you can de-mould the piece. Like popping out an ice cube! For the faceted bead, I added metal grommets on either side for extra polish. In this case, I just strung the bead onto ball chain and can wear it right away!
For my tag embellishment, I used a square bead mould.
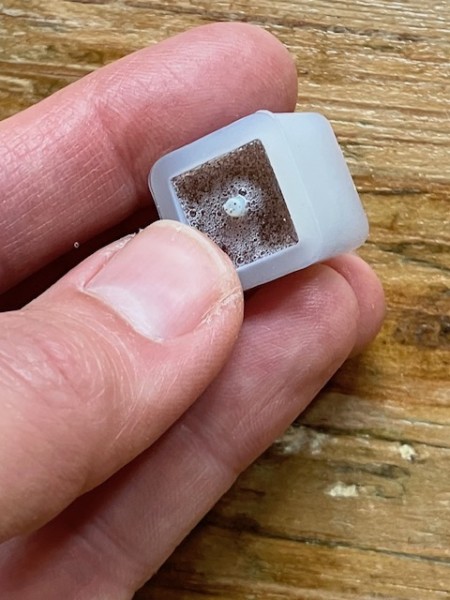
I could see I had some bubbles that dried on one end of the bead. But, no worries—I can sand the bottom of the bead to smooth things out, then make it the bottom of the bead and distract with a metal spacer bead. If you sand resin, please exercise caution—wear a mask and work with wet sandpaper so you don’t inhale resin particles. A great article on sanding resin is over on the Resin Obsession blog.
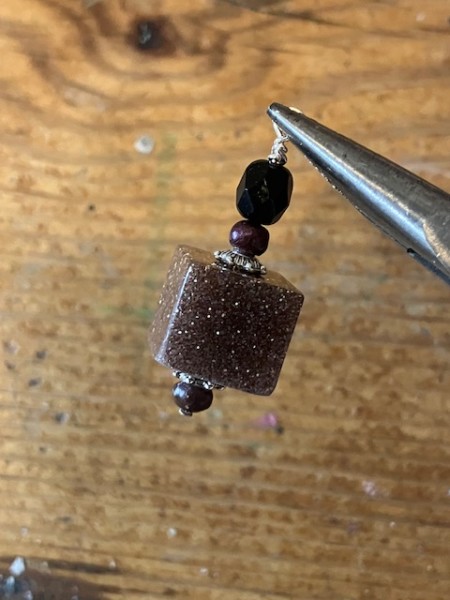
I strung my bead on a wire headpin with a couple of spacer beads, then made a loop at the top.

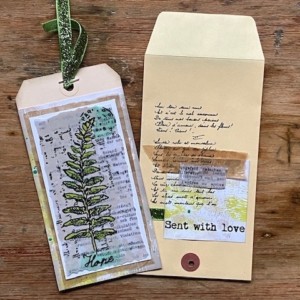
And there it is! Here’s a look at the full project—
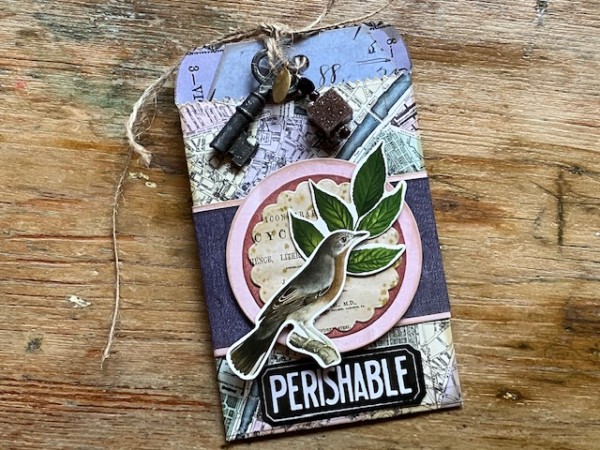
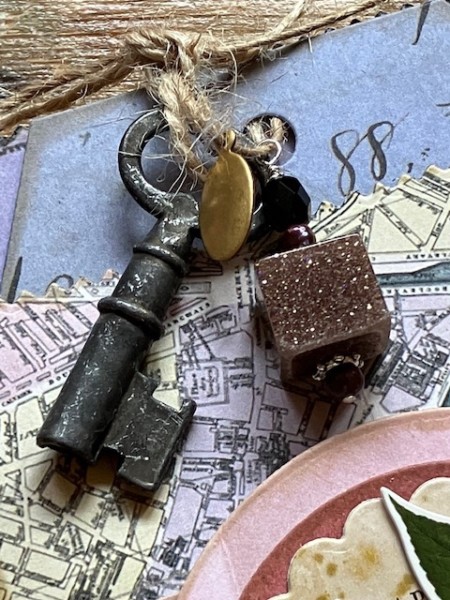
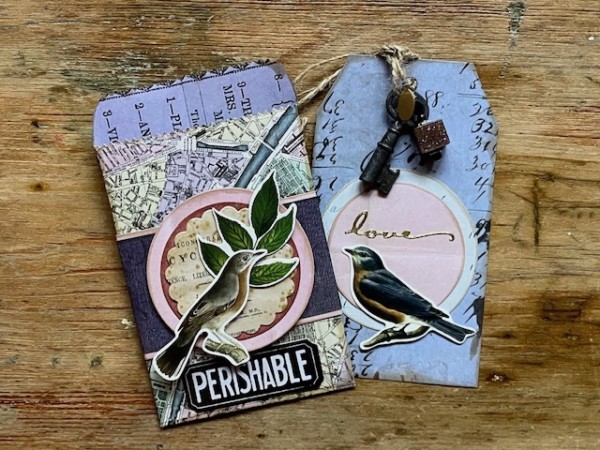
This is a Tag in a Bag project, and I’ve used the bead as an embellishment on the top of the tag, along with an old key and a gold charm.
I’m using Hot Off The Press’ Tag in a Bag die and the Tim Holtz Idea-ology Backdrops Cardstock and Layering Die Cuts.
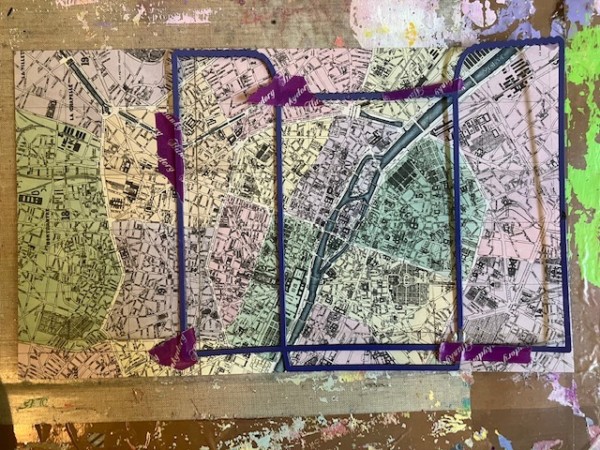
Use the bag die to create the pocket.
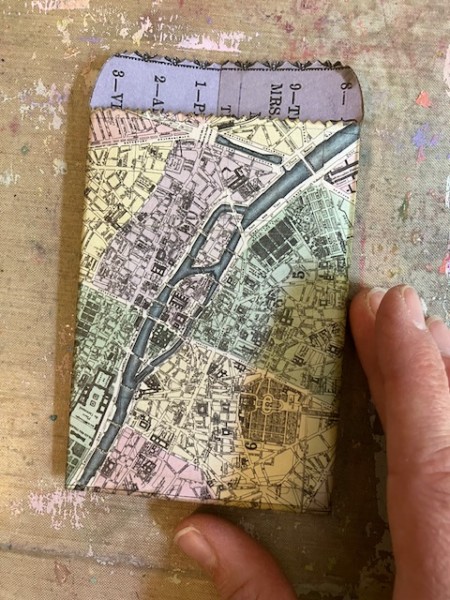
Fold it up and secure with adhesive.
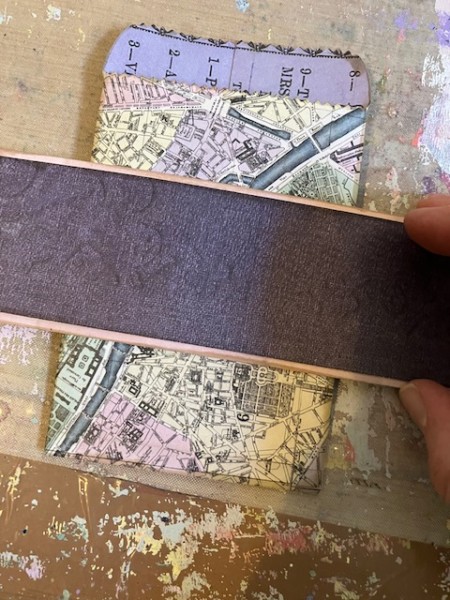
Wrap with coordinating cardstock layers, then add the focal embellishments.
The tag is die-cut from another gorgeous paper—
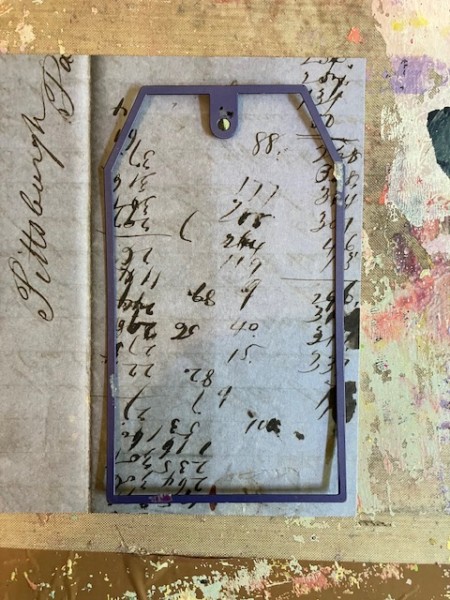
Then decorate as you wish and insert in the bag.
There you are! Beautiful beads for both jewelry or papercrafting—and all with just a few supplies, including your favorite color of embossing powder.
For more resin ideas and projects, please have a look at my new book, Modern Resin Jewellery, out now from Search Press!