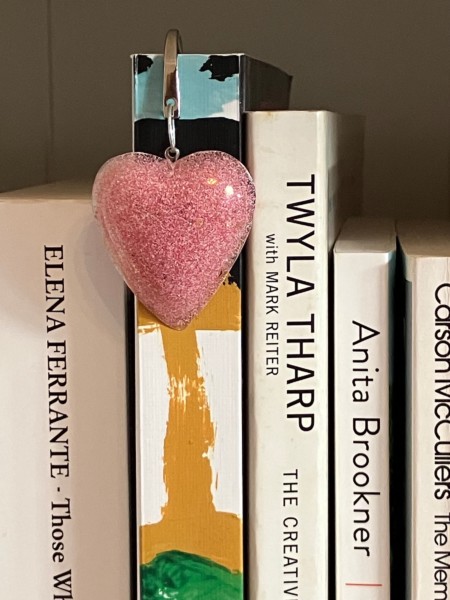
Because I love books! What could be better than marking your place with a custom-made resin bookmark charm? It’s super easy to make and a lot of fun to give as a gift or keep for yourself.

You’ll need the following:
- A two-part resin epoxy (you can use Art Resin, or Alumilite Clear Cast)
- Cup, stir sticks, and craft mat to protect your table, as well as an apron to protect clothes and gloves
- Embossing powder for color: I’m using Strawberry Sparkle from WOW! (UK peeps can click here; US folks here).
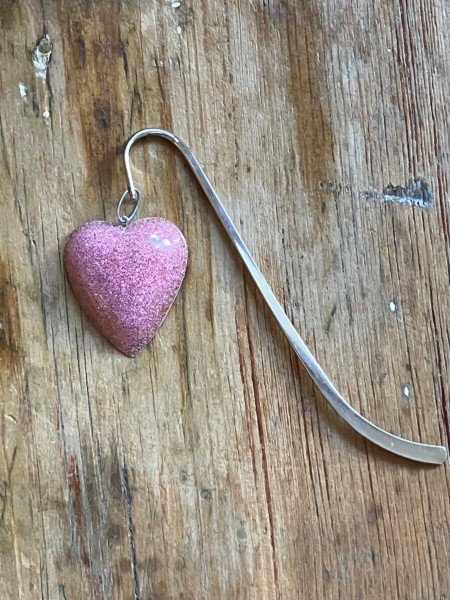
- Heart mold/mould. I found mine online—simply google “silicone heart mould for resin jewelry” and lots of them will come up. And of course, you can use lots of other shapes as well. My heart shape is a little more than an inch wide, and a little more than an inch tall.
- Metal hook bookmark with loop. Try Fire Mountain Gems for these, in silver and gold
- Jump ring and metal bail
- Jewelry glue

Grab your supplies and mix up your resin—
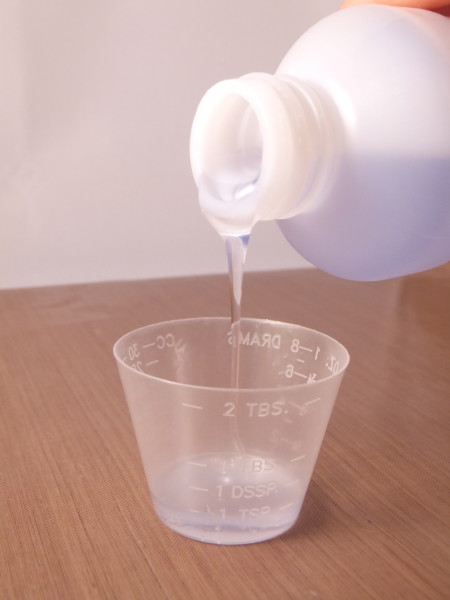
Please read the manufacturer’s directions—most two-part resin epoxy works the same way, but there may be variations. Here, I’m pouring one part of the Part A (resin) into a measuring cup. Note: Most resin sets contain measuring cups and stir sticks!
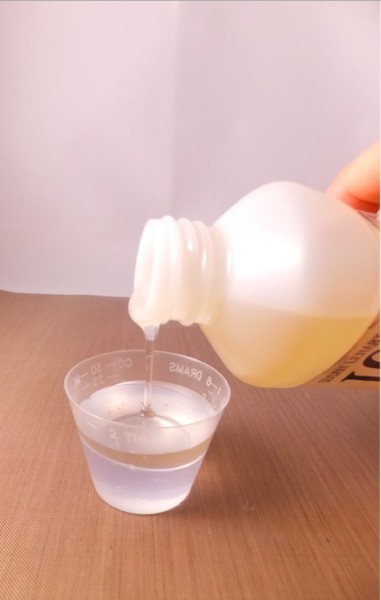
Add an equal part of Part B (hardener).
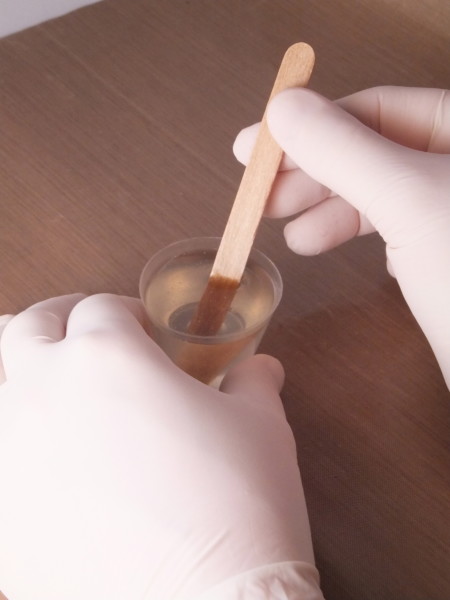
Once you’ve mixed the two parts thoroughly according to the directions (generally, stirring for 4 minutes to get rid of all striations, then stirring another 3 minutes, scraping down the sides of the stir stick and the cup.
Then add your embossing powder to the resin and pour into the mould. You can decant some of the resin into a separate measuring cup, then add embossing powder to that mixture. How much embossing powder to use is up to you, mainly depending on how large the mould is, and how translucent you want your finished piece to be. Add a little bit to start, mix, then add more to get the look you’re after.
Fill the mould shape to the edges but take care not to overflow. It’s a good idea to have more mould shapes on hand in case you have more resin.
Make sure the mould is resting on a flat, level surface and let it dry—usually 18-24 hours. After that, you can demould the heart and use it as you wish! Curing time can take a bit longer, so just don’t seal the piece in an airtight container until it is cured.
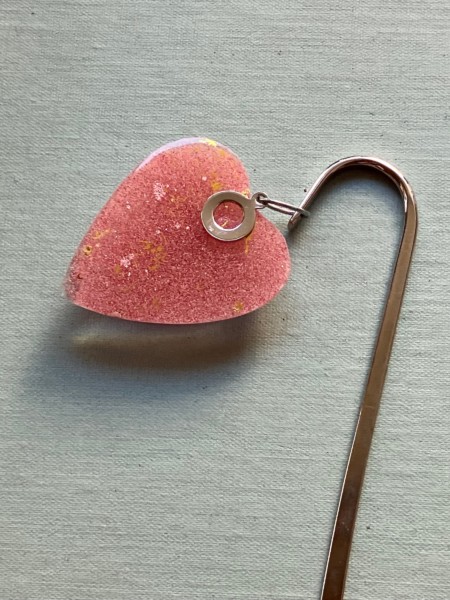
I glued my metal bail onto the back of the resin heart; when that is dry, then use the jump ring to attach the heart to the loop on the bookmark. (When you open the jump ring, use a twisting motion rather than a pulling motion.)
And there you go!
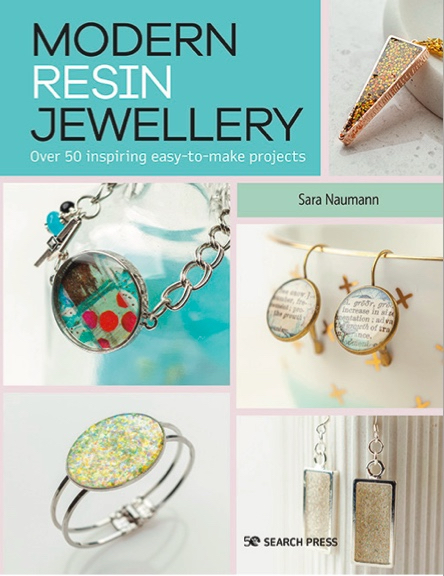
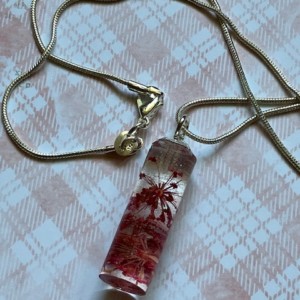
This resin heart could just as easily be a pendant, too! And f you want to explore using resin to create jewelry pieces, please have a look at my book, Modern Resin Jewellery—out now from Search Press!